
21OAK may earn a commission when you buy through links on our site.

How to find the best portable induction cooktop

You’ve probably heard about induction cooking. It seems that it’s absolutely everywhere these days. But do you know what an induction cooktop is or why it might be worth adding these countertop burners to your kitchen lineup? 

All about induction cooktops

Induction is widely considered to be superior to electric and gas cooking. Why? It’s faster, easier to use, and a whole lot safer, too.

  • Without question, induction is the safest cooking technology. The key to induction is that the heat transfers directly to the cookware, so only the pans get hot, never the burners. In fact, the burners actually need magnetic cookware to function, so the burners automatically shut off once the cookware is removed. You never need to worry that you’ve left this cooktop on.
  • Induction cooking is significantly faster than either gas or electric cooktops. That magnetic reaction that happens when you place a pan on an induction burner happens instantaneously so your pan will completely heat through in less than a minute. You’ll be whipping up meals in no time, and we mean no time!  
  • Induction cooktops are so much more responsive than electric or gas cooktops. With electric cooktops, response time is very slow. You can lower the heat level, but it still takes significant time to adjust and you may end up having to remove a pot from the heated coil to prevent burning food. Since only the pan heats with an induction cooktop, there is minimal heat lingering in the burner when you adjust the setting.  
  • If you’re looking to spend more time enjoying the process of cooking and less time cleaning, induction cooktops are for you. Because the cooktop itself doesn’t heat up, spilled food will not stick to it. Simply wipe spills away — no nooks and crannies for food to get trapped in, just a smooth glass surface that cleans up in a snap!
  • Who wants to save money? Faster cooking times means you’re consuming less energy. Plus, the lack of residual heat that would normally surround your gas or electric cooktop means a cooler kitchen and lower energy costs!

What can your portable induction cooktop do? Depending on the model, you can use it to:

  • Dehydrate
  • Broil
  • Roast
  • Grill
  • Bake 
  • Steam
  • Fry
Mile Atanasov/Shutterstock

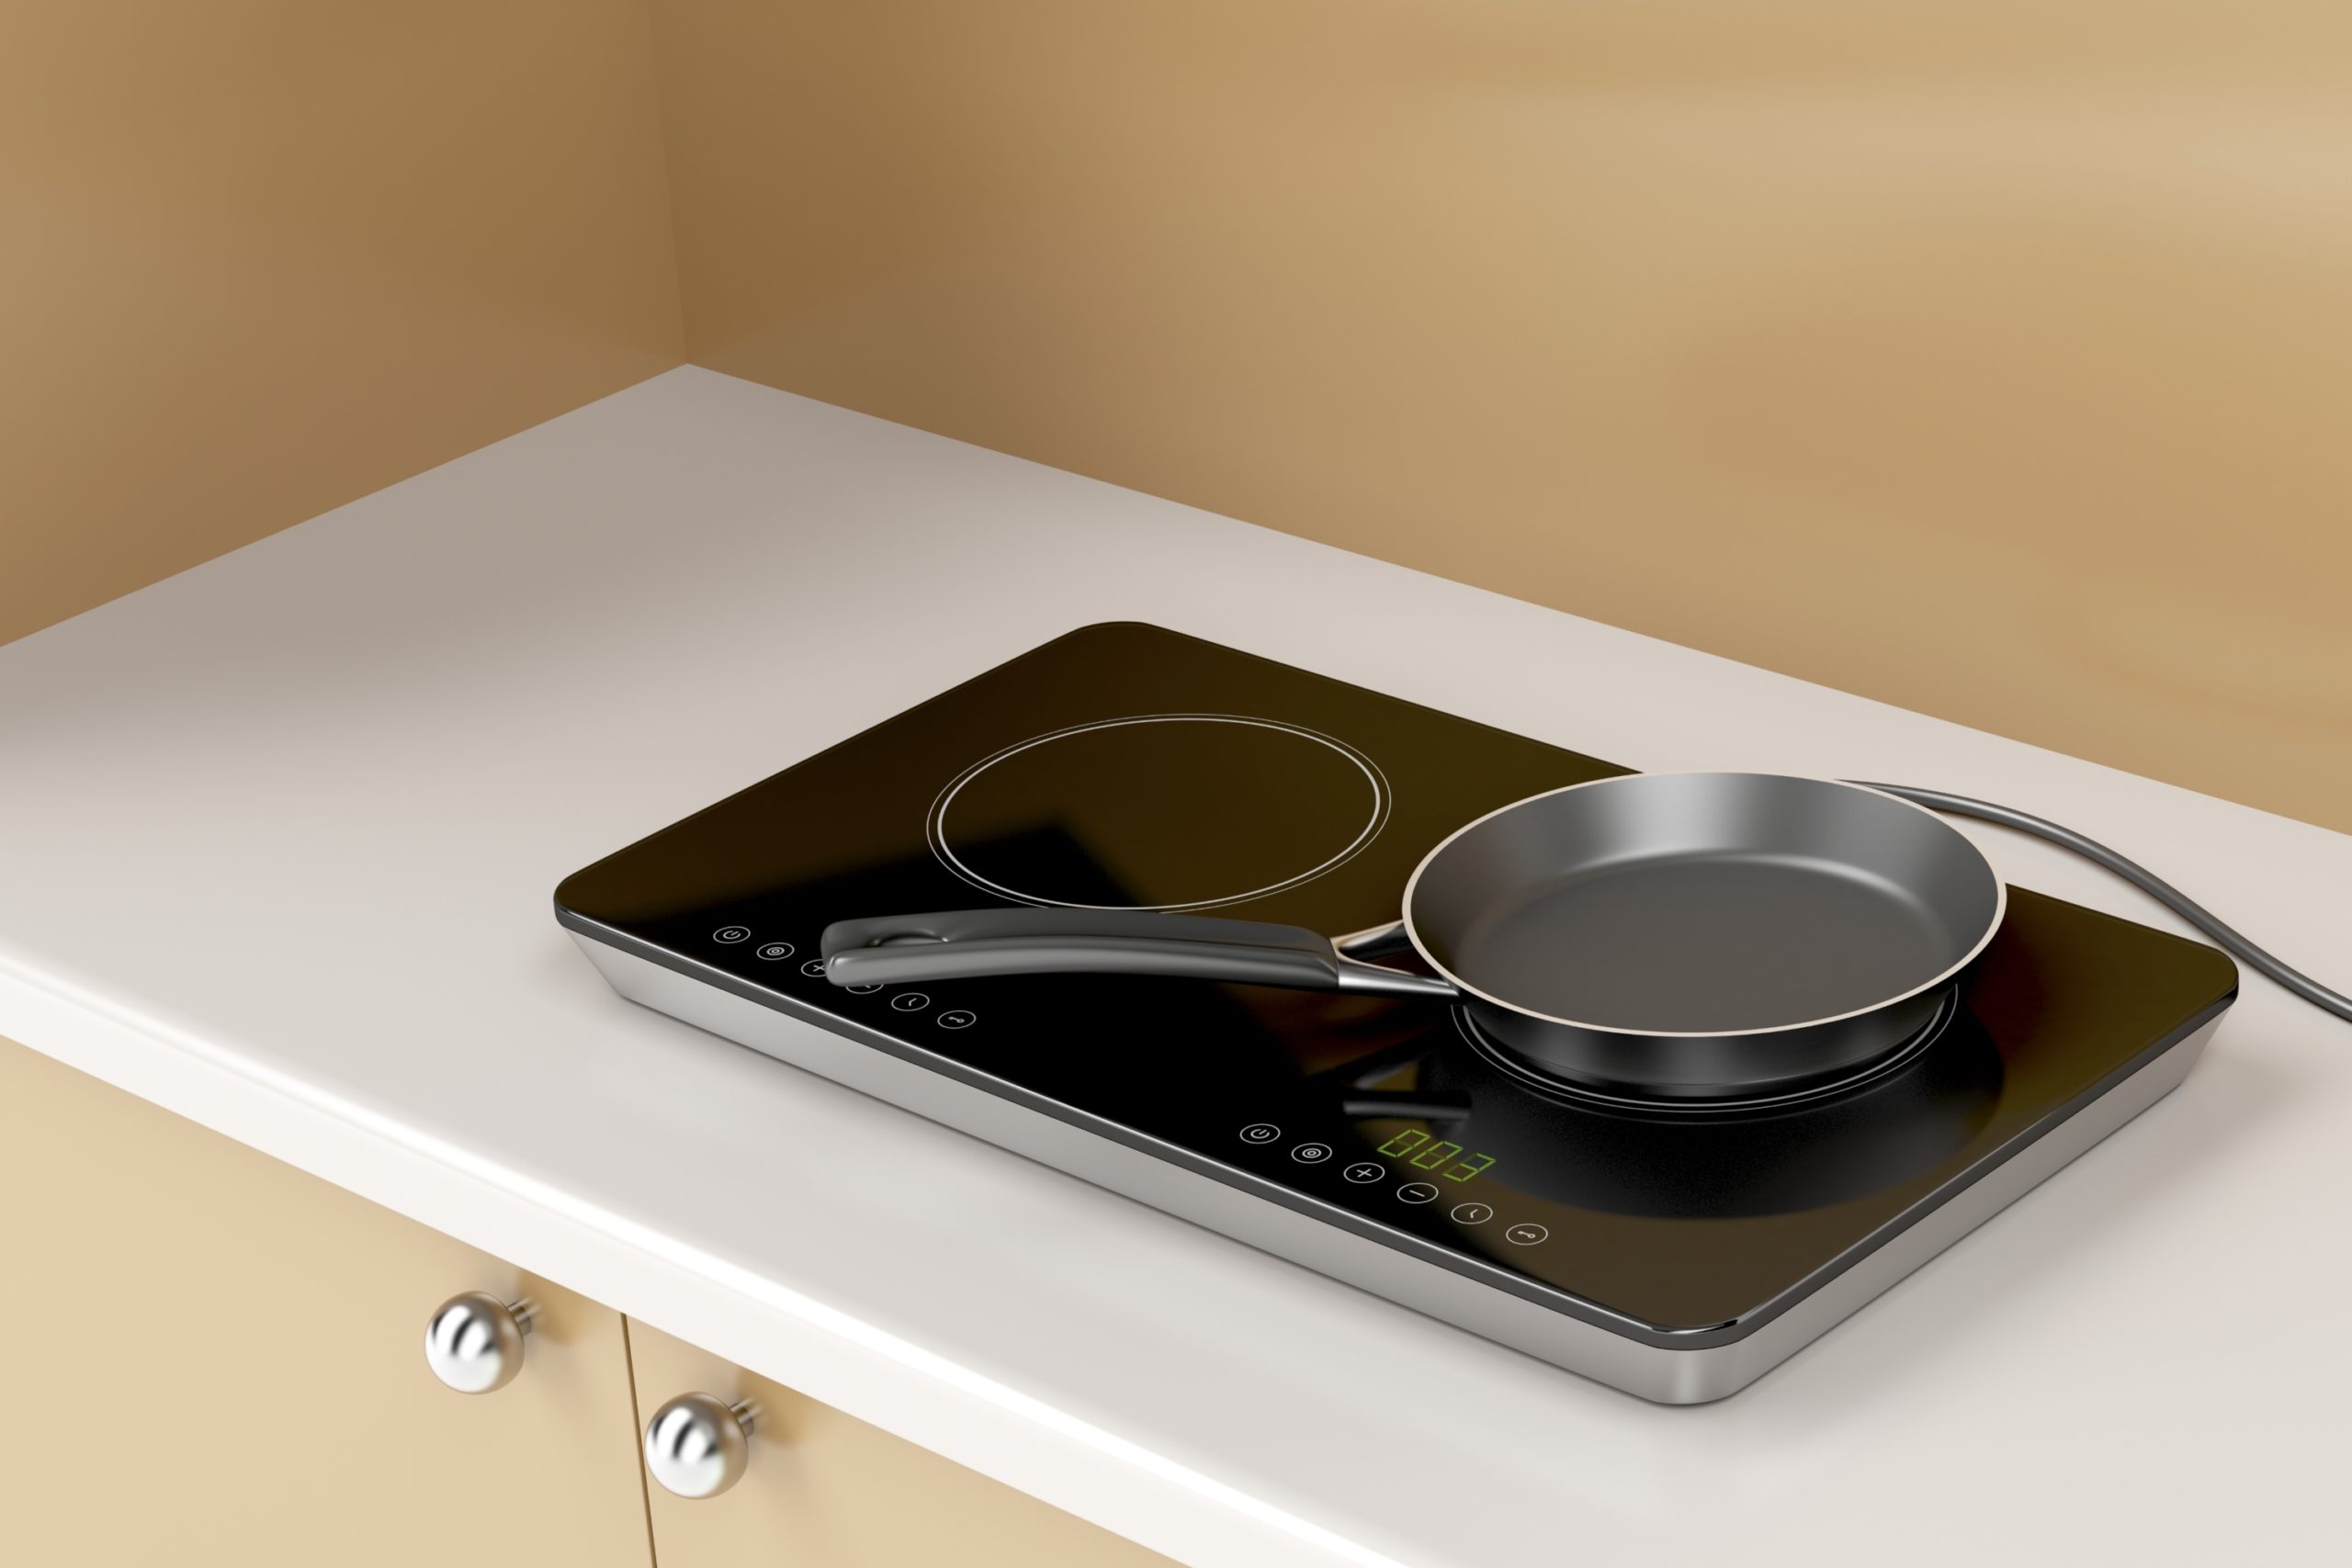
Why you need a portable induction cooktop

So now that you know about induction cooking, you may want to consider adding a portable induction cooktop to your home. After all, who couldn’t use extra countertop burners when entertaining for a holiday or big crowd?

Portable induction cooktops are perfect for adding extra cooking surfaces to a small kitchen and of course, they are indispensable when hosting large gatherings where you don’t have enough stove space.  

But what about the portability feature? Will there really be a reason you’ll want to pack up your induction cooktop and take it with you? Absolutely! So many people do it, that some portable induction cooktops actually come with travel bags. 

Maybe you’ve entered the chili cook-off at your daughter’s elementary school and countertop burners are at a premium. Or perhaps it’s just so hot inside that you want to cook outdoors. All you need is an extension cord and you can whip up dinner from your deck or patio. 

Which is the best induction hot plate for you?

Induction cooktops have a rather unwarranted reputation of being pricey, but there are many portable inductions cooktops that are very affordably priced.

  • You can get a single burner unit, with great customer reviews and loaded with features for under $100. There are even highly rated styles you can find under $50.

  • If you need more, there are styles that come with double burners, so you can cook twice as much in a fraction of the time! 

  • You can find lightweight induction hot plates that weigh just 4 pounds but can cook every bit as efficiently as other induction cooktops. 

Whatever your cooking needs and whatever your budget, if you are looking for a cooktop that will provide fast, even heating, lower energy costs, and cool-surface safety, then an induction cooktop is perfect for you.

Editors' Recommendations

Kim Renta
Former Digital Trends Contributor
Kim has written for Bloomingdales, Movado, and various e-commerce wine sites. When she's not writing about wine and…
How to clean a Keurig (Spoiler alert: You’re not cleaning it often enough)
Cleaning your Keurig is super easy and you can do it in under an hour
Single serve coffee maker

Keurigs make mornings easier for many people. You can have a flavorful cup of coffee ready in minutes with a few simple steps. However, while Keurig coffee makers have certainly made mornings easier for many people on the go, they must also be cleaned regularly to maintain their superb performance. The last thing you want is bacteria building up in your coffee maker or poor-quality cups of coffee. So, follow these steps on how to clean a Keurig.

Do Keurig coffee machines need cleaning?
The short answer is yes. Keurig coffee machines may be simpler than traditional drip coffee makers, but that doesn’t mean they’re exempt from cleaning. With frequent usage, Keurigs can become dark, damp homes to all sorts of bacteria, causing grime, slime, and even hard water buildup to stain your machine. Thankfully, Keurig coffee makers are fairly easy to clean.

Read more
How to properly clean grout in your kitchen and bathroom
Clean grout like a pro with the tips from this guide
Kitchen subway tile backsplash with dark grout

Cleaning grout can be a tedious task, but it's essential for maintaining a clean and pristine appearance in your kitchen and bathroom. Over time, grout can accumulate dirt, grime, and stains, making it look dingy and unattractive. However, with the right tools and techniques, you can restore your grout to its former glory and keep it looking fresh for years to come. Here's how to clean grout the right way so that it looks like new.

What you'll need
Before you begin cleaning your grout, it's important to gather the necessary supplies. You'll need:

Read more
How to fold a fitted sheet with no aggravation
Folding a fitted sheet is easier than you think
neatly folded and stacked linens

Folding fitted sheets might seem like a daunting task, but mastering this skill can save you from wrinkled and messy bedding while also keeping your linen closet neat and tidy. Learning how to fold a fitted sheet is a valuable life skill that can make your daily chores more manageable and your home more organized.

Step-by-step directions
In this guide, we will take you through a step-by-step process that will finally leave you with neatly folded fitted sheets every time.
1. Lay the fitted sheet on a flat surface
To begin, find a flat surface where you can spread out your fitted sheet. This could be your bed, a kitchen table, or a handy folding area in your lovely laundry room. The key is to ensure you have enough space to work with the sheet comfortably. Lay the fitted sheet with the elastic side facing up, as this will make the folding process much smoother.
2. Gather the corners together
The next step is to gather the corners of the fitted sheet together. Start by slipping your hands into the back of the sheet's long side corners. Then, give the sheet a good shake to straighten it out. Slowly move each hand down the short edge until you reach the next corner. Once you've reached a corner, pick it up and tuck it into the other two corners you previously worked with. The goal is to have all the corner seams fully inside each other, creating a neat bundle in your hands.
3. Make a rectangle with your sheet
Now that you have all the corners together, move your right hand over your left hand, so all the corners are on your left hand. You will be left with two straight edges. Lay the sheet back on your flat surface with the elastic still facing up. Take a moment to smooth out any wrinkles or folds to ensure your sheet forms a clean rectangle.
4. Do the three-way folds
With your sheet in the shape of a rectangle, it's time to perform the three-way folds. Start by folding one-third of the sheet over toward the center. Then, fold the other third over the first fold. You should now have a narrower rectangle. Finally, fold the narrow rectangle into thirds once again. This will result in a compact square of easy-to-store linen sets.

Read more