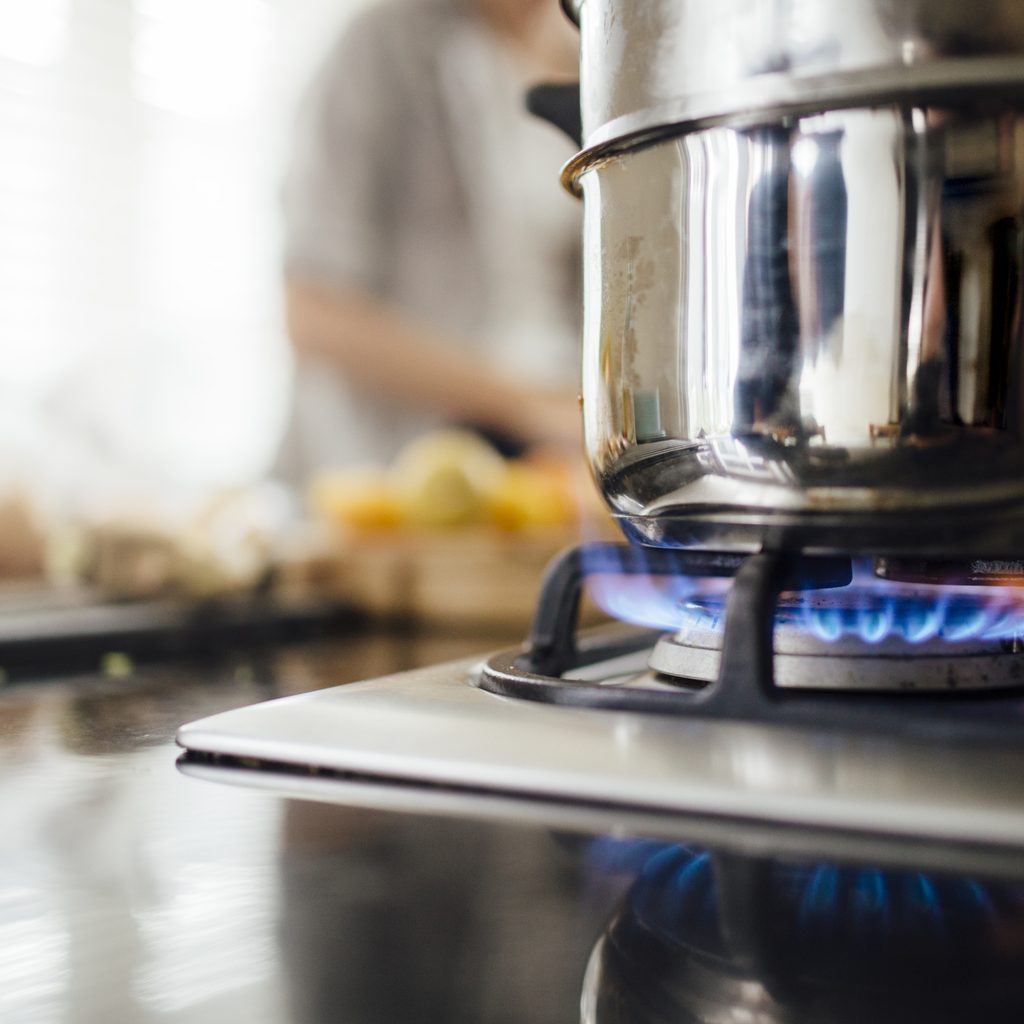
Gas stoves are common in several households, and many professional chefs swear by them, since gas burners are more effective and easier to control when cooking meals at a precise temperature. They can be a wonderful tool in any kitchen, but just like all our cooking necessities, they require a bit of cleaning every so often.
Gas burners can become weak over time due to clogged ports or dirty burners. From grease build-up to small spills, these burners see a lot of action and it's important to give them some TLC. To ensure your gas stove continuously operates at the top of its game, it’s important to give a proper cleaning to your burners now and again.

How your gas burner works
Gas burners operate by receiving an air-gas mixture that is sent through the main gas line. Gas stoves typically have a gas valve that attaches a line to the stove and sends the air-gas mixture to each burner.
Older burners have a pilot light, while newer gas burners have a small spark pilot located on the side of each burner. The burner itself is a small ceramic disk with holes that allows the air-gas mixture to flow through. When the spark or pilot is lit, the gas ignites and flows through the burner’s holes. The airflow is then controlled via a knob on the front of the stove, allowing you to generate more or less flame as needed.
How often should you clean a gas burner?
You should clean your gas burner once a year. Many people choose to clean their burners when they clean the interior of their oven. However, a good measure for cleaning your burners is when you notice the flame getting weaker. A weak flame is a good indication that the ports or burners are clogged and need cleaning.
Below are the steps you need to take to clean a gas stove burner properly. Take your time and refer to your owner’s manual when necessary.

How to clean your gas stove burner
Step 1: Read the manual/instructions.
Before you start, it’s always a good idea to reference your owner’s manual. If you don’t have the manual that came with your cooktop, you can always download a manual online via the manufacturer’s site. The manual will give you recommendations on tools, cleaning procedures, and other materials needed to clean your stovetop safely.
Step 2: Shut off the gas.
Before you remove the burner caps, shut off the gas. A valve will be nearby, connecting your stove to the main gas line. Turn the valve to close off the gas connection before moving on. Also, be sure your stovetop and burners are completely cooled before you begin cleaning.
Step 3: Remove the burner caps.
Remove the ceramic burner caps. They should pop off easily as they are only on to diffuse the flames.
Step 4: Remove the burner heads.
Remove the burner heads, which are beneath the burner caps. When removing the heads, be sure to lift them straight up. Be firm but gentle when removing, so you don't damage the venturi tubes beneath. The tubes underneath connect to the main gas line in the stove, and damage could prevent the stovetop from functioning properly.
Step 5: Soak and scrub the removed parts.
Place the removed parts (burners and caps) in a bowl of warm water and dish soap. Allow the parts to soak for approximately 30 minutes.
Once they’ve soaked for about half an hour, pull them out one by one and scrub them with the old toothbrush to clear away debris. For debris that doesn't come off with the toothbrush, use a straightened paper clip to unclog the holes in the heads and caps. Be careful not to damage the metal of the burner heads as you clean.
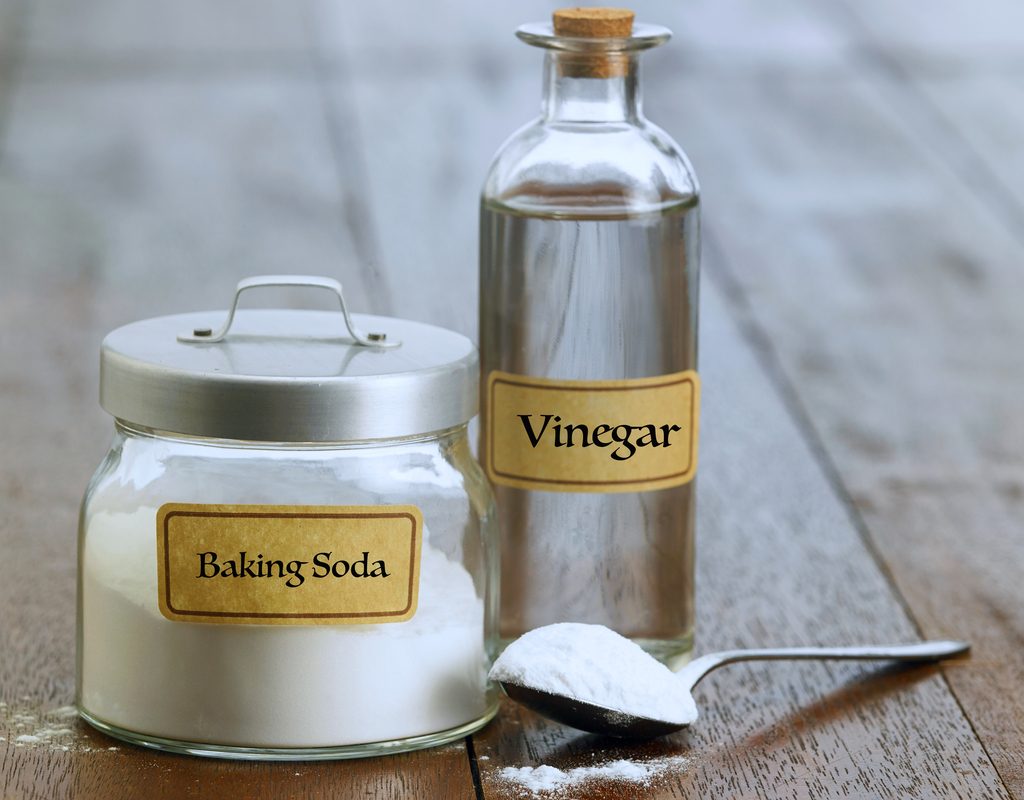
You can also create a paste of one part water to one part baking soda to help remove stuck-on debris. Use a gentle scrubbing pad to work the paste onto the burner parts and rinse thoroughly under running water.
Step 6: Let the burner parts dry.
After you’ve washed and rinsed all of your burner parts, pat them dry with a towel and set them aside. Let them air dry until they are entirely free of water.
Step 7: Reassemble and test the burners.
Reassemble your burner heads and caps by popping them back into their initial positions. Turn on your gas valve and light your burners to ensure they are functioning normally.
What are the best cleaners for gas stove burners?
There are a few tried and true stove cleaners that homeowners come back to time and again. While you can certainly purchase a specialty cleaning product from your local grocery or home store, a few simple cleaners can clear up stove top grime quickly and easily.
Vinegar and baking soda
Vinegar and baking soda is a classic cleaning combo that many homeowners keep on standby. Using one part baking soda and one part vinegar, you can create a nice paste that will help scrub away grit and grime. Alternatively, when working with burners that don’t have caked-on grease, soaking them in plain white or apple cider vinegar will also help to remove lighter stains.
Dish soap
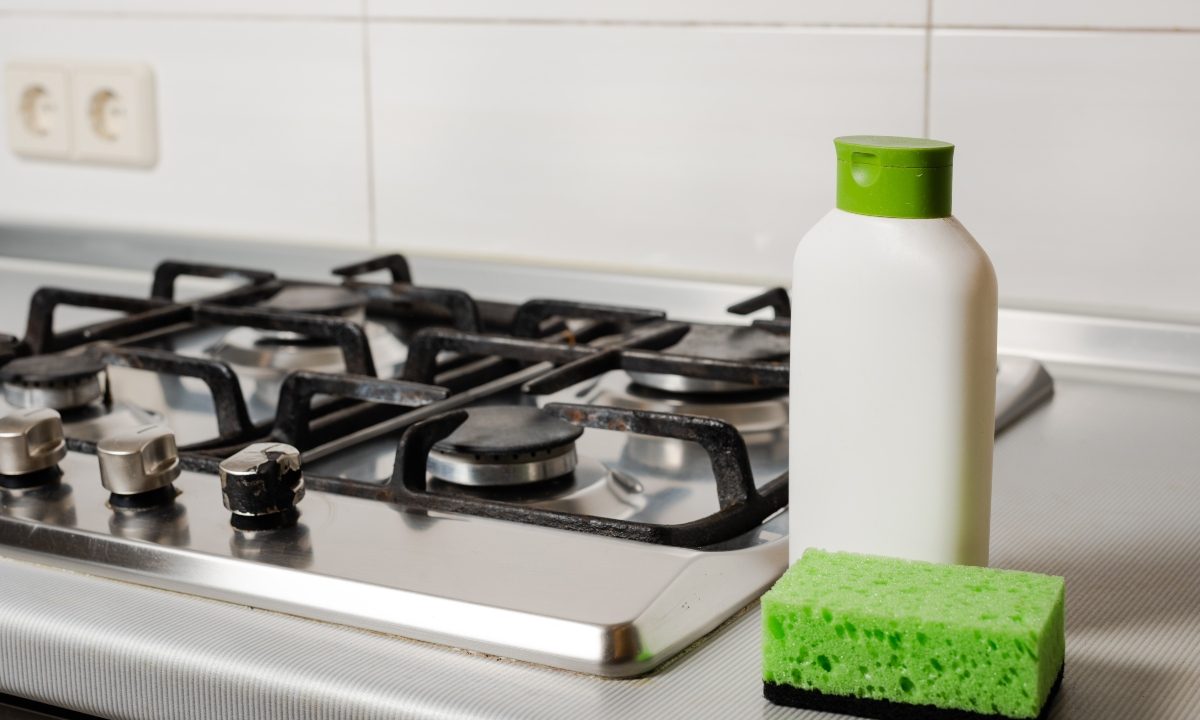
Dish soap is a go-to for many homeowners who want to clean their gas stove burners. This is because the suds can break down grease easily, and dish soap is easier to rinse off than the vinegar/baking soda paste. While both are effective, dish soap is an excellent tool for those who prefer a simpler solution.
Cleaning your gas stove burners isn't as daunting as it looks. Take your time and be thorough with your cleaning process. Always ensure your components are well rinsed and free of soap or debris before drying. Additionally, if you notice any discoloration, make sure your burners are on correctly, are completely dried, and have no soap remnants. If done correctly, you’ll be left with clean burners that are ready to fire up for your next meal.


