 Have you run out of cabinet space? Is your ceiling looking a little dingy and outdated? Are some of the ceiling tiles discolored? If you answered yes to any of these, it might be time to start thinking about remodeling your kitchen ceiling. But, there are some things you need to think about before you start on demolition.
Dropped ceilings
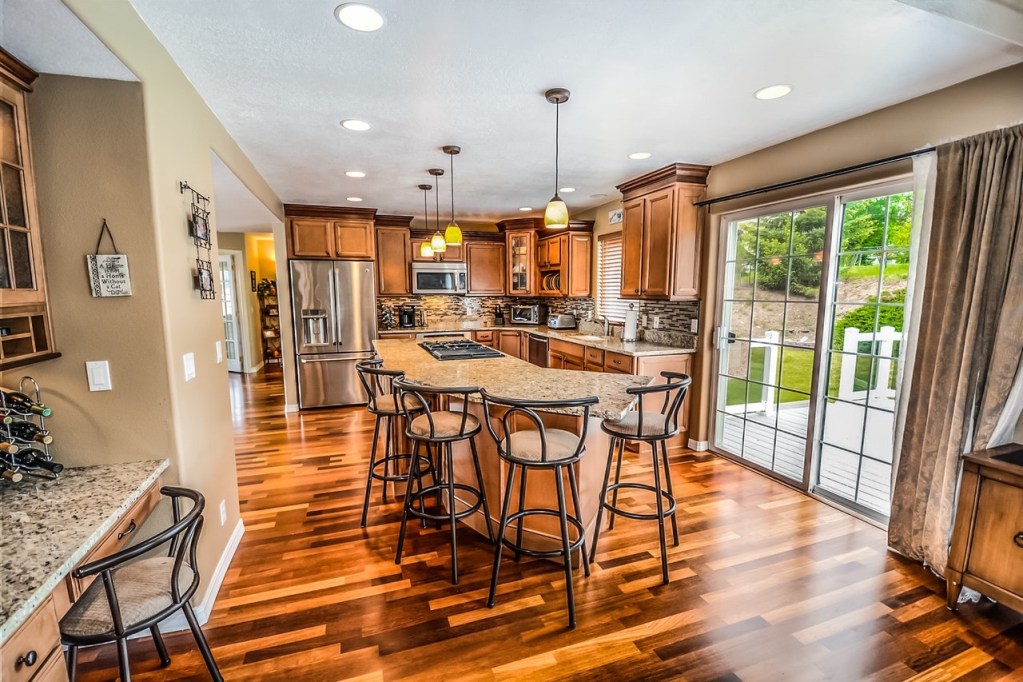
The most common ceiling type in most older kitchens (six years or more) is a drop ceiling. Sometimes called a suspended ceiling, this type involves tiles on a grid that are lower than the actual ceiling. Why? Because there is lots of stuff going on up there that people want hidden!
There is wiring, hood venting, air conditioning, heating ducts, and, well, did we mention lots of wiring? Microwaves, ovens, and refrigerators need lots of juice, and the resulting tangle of cords and cables are both chaotic and ugly. Dropped ceilings meant you could access all those things by just moving a tile over and taking a look. However, dropped ceilings aren’t very aesthetically appealing, and you’re certainly not alone in wanting to do a remodel.
How to remove a dropped ceiling
- Slide the tiles out and remove the grid panels and cross pieces. The cross pieces have probably been nailed or tacked to keep everything in place, so you need to remove the nails or screws.
- Patch the holes left behind, either with spackle or another product, depending on your ceiling’s material.
In theory, it would be this easy. If you were bringing someone in to demo the grid ceiling, it would cost between $2 and $7 per square foot. So a 10 x 12 -foot ceiling removal would run between $240 to $840. Typically, dropped ceilings are four to five inches from the wiring and ductwork, so you can raise the dropped ceiling and give yourself enough room for cabinets that reach up to the ceiling.
If you are going to DIY it, make sure you are not moving electrical wires where they shouldn’t be and make sure you aren’t compressing the ductwork. If you are replacing your current dropped ceiling with another dropped ceiling, you have to buy new tiles, get the frame and cross pieces, paint them if necessary, and cut the tiles with enough overlap so that they sit on the grid. Keep all of this in mind when considering cost.
 What about the soffit or bulkhead?
 What about the soffit or bulkhead?
Parts of your kitchen ceiling may be lower and squared-off. That may or may not be where the ductwork and wiring live. The only way to determine that is to find your original house plans or cut a hole in the soffit and send in a camera to check things out.
If you find ductwork and wires, they have to be moved (which is costly and needs to be done by a professional). Or you can figure out another way to hide them. One way is to put short cabinets at the top of taller cabinets and hide the duct and wires with cabinet fronts.
Options, options, options
 Options, options, options
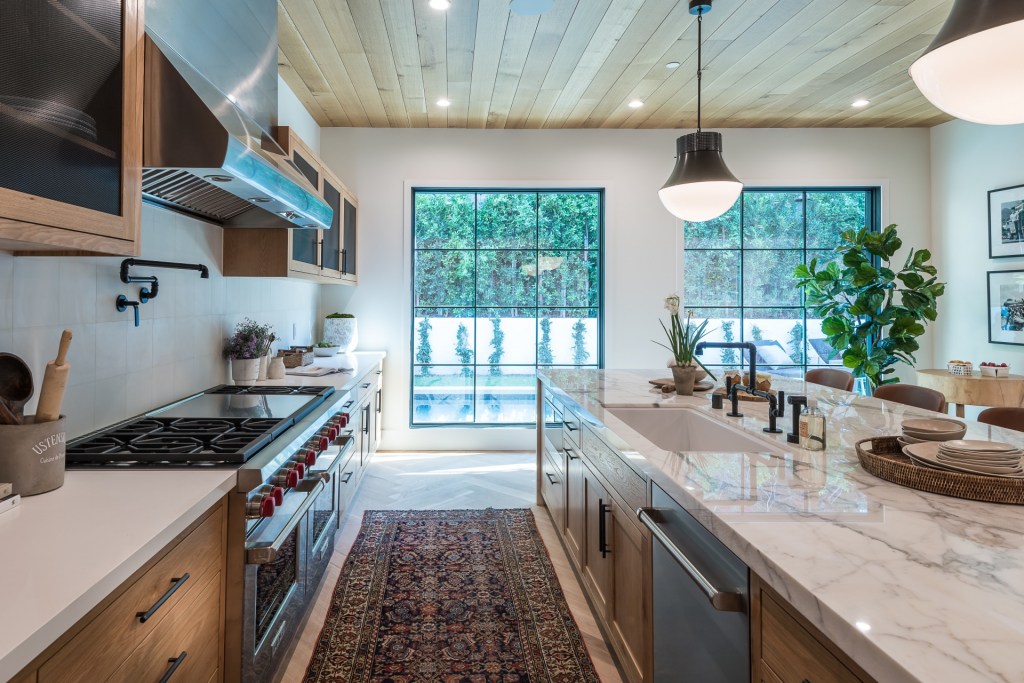
The most economical way to remodel your ceiling is to paint it. Or, you can drywall after you take the dropped ceiling out and then paint. You can also put up wooden beams for a more rustic vibe – shiplap or commercially-made wood ceilings can add a fascinating design element.
If you’re fond of the tile look, there are ceiling tiles that adhere directly to the drywall in lots of colors and textures, including tin tiles for a vintage vibe. Tin tiles, and other tiles, can hide imperfections in the ceiling if there are areas that are not completely aligned. Very few homes, no matter how careful the contractors were, have completely straight ceilings. Newer, glossy ceiling tiles reflect light and can make the kitchen appear more spacious, even if you don’t have natural light coming in.
Sometimes, although a ceiling remodel seems like a great idea, the cost of moving wiring and ductwork may put a damper on that idea. You can always do a refresh by changing the tiles, and if it’s a painted ceiling, a new color will make everything look new. No matter the direction you choose to take your ceiling, be safe and smart and enjoy the facelift this new design decision brings about.