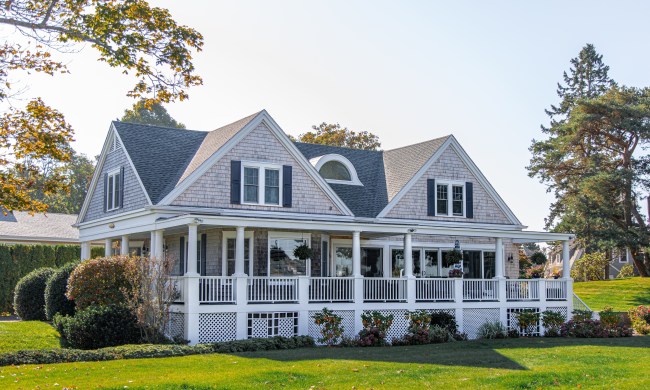
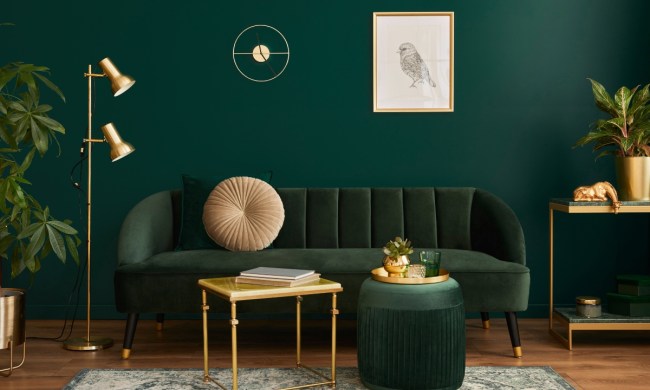
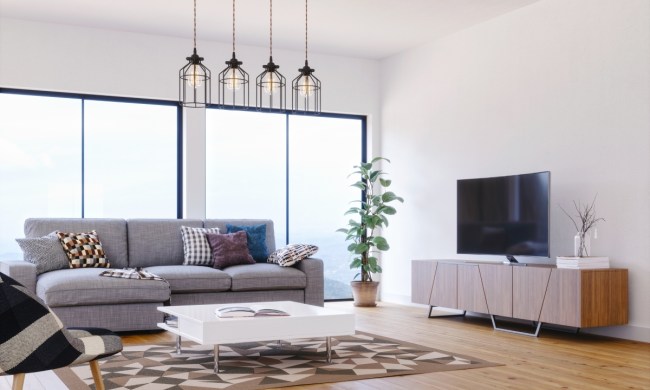
Adding originality to your home is a great way to bring character and charm to your design. Many homeowners can add a renewed sense of authenticity and personality to their space by painting their farmhouse floor tile. Painting your tile with a farmhouse aesthetic can give your home a lighter and more relaxed feel. Additionally, you have the opportunity to paint a unique pattern to create a custom tile design that suits your needs and your existing design.
Below is our step-by-step guide on painting your tile floors for a farmhouse aesthetic so you can refresh your space.
Prepare and clean your space
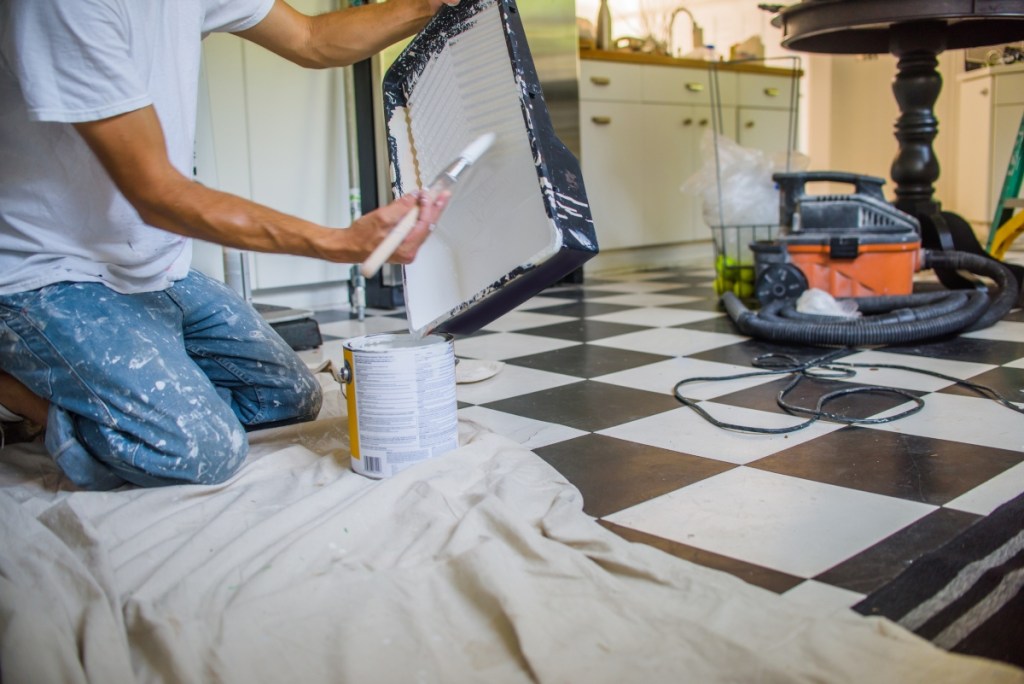
Before diving into this DIY project, be sure to prep and clean your space. Whether you're painting kitchen or bathroom tile, you'll need to remove everything on the floor so you can access your flooring. Also, be sure to keep pets and children away from the worksite, since you'll be using chemicals.
Step 1: Clean your tile floors as you normally would and allow them to dry before continuing preparations.
Step 2: Next, you'll want to place painter's tape around the space where the floor meets the wall to prevent any painting mistakes. Be sure to tape the grout lines if you plan to keep them a different color from the paint you intend to use.
Paint your base coat
Once your space has been prepped, follow the instructions on the can of your interior base coat and begin painting your tile.
Start from the furthest corner of the space and work your way through the room. For example, if you're in the bathroom, this would be the furthest point from the door. This will make it easier to leave the room without ruining the paint job.
If your base coat is a decent grout color, you can paint the entirety of your floor relatively fast. However, if you're planning on using a different grout color, take your time and try to follow the tape lines to ensure that there is minimal bleeding beneath the tape.
Use a second base coat if you add a pattern
Allow your base coat to fully dry before moving on. Some interior tile paints will recommend a second base coat. Otherwise, you can move on to stenciling if you have chosen to create a pattern, or you can move on to painting your topcoat.
Step 1: If you plan to use a stencil, wait for at least six hours or adhere to your paint's instructions before stenciling.
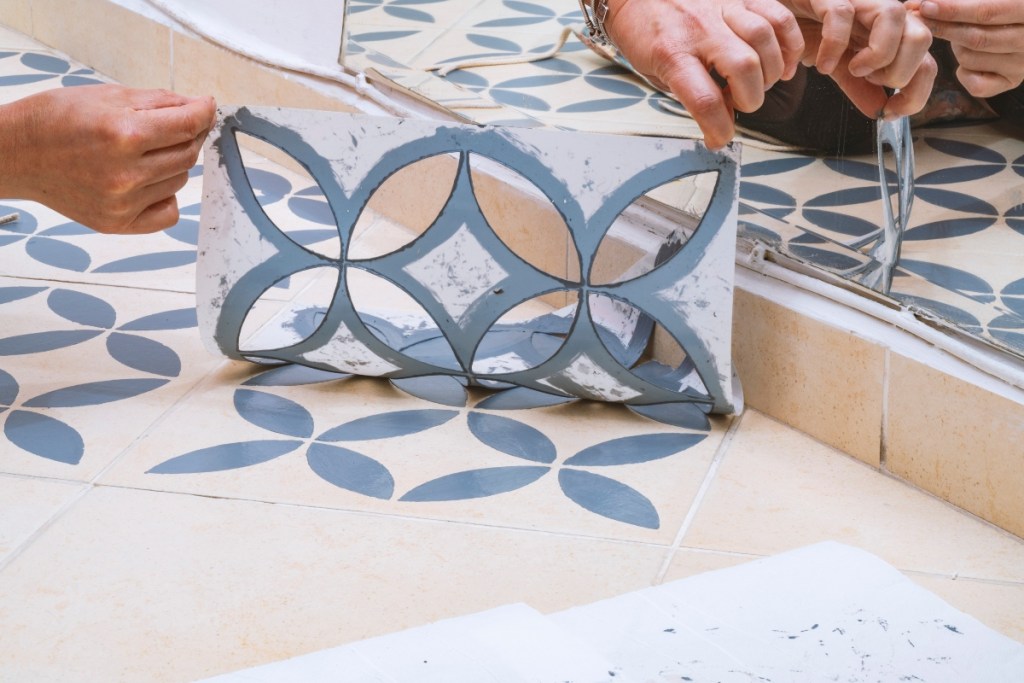
Step 2: Follow the directions on the stencil packaging to properly lay your stencil and prevent it from moving while you work.
Step 3: Paint over your stencil in your second base coat and give it a minute or two to dry before you move to the next tile. And just like we mentioned above, be sure to start in the furthest corner from the entryway to prevent any messes.
Once dry, paint your topcoat
Once your base coat has fully dried, you can move on to the topcoat. Most base coats dry within six hours. If you used a stencil, give your room another two to three hours of additional dry time. Before adding your topcoat, follow the instructions on the packaging to ensure that you don't make any errors. You can use a roller to roll on the topcoat.
If you taped your grout lines, remove the painter's tape before adding a topcoat. Once your topcoat has been painted, allow 24 hours for it to seal.
Touch up grout lines if necessary
Use a grout pen to touch up any grout lines to use a different color than your chosen base coat. Typically, you can touch up grout after adding a topcoat. However, your grout pen will have instructions further explaining this process.
Do not clean your floors until they've fully cured
Once your painting project is complete, do not walk on your floors for 24 to allow time for your topcoat to cure. Then, refrain from cleaning your floors for at least seven to 10 days. When it's time to clean, we recommend using mild soap and warm water. You can use stronger chemicals after 10 days.
Be sure to coordinate your design with your space
When painting tile flooring to accompany a farmhouse aesthetic, you want to make sure that the color and pattern you choose fit with your existing design style. Here's how you can best paint your tile floors to achieve a farmhouse aesthetic.
Consider color and pattern for a farmhouse kitchen tile floor
Color and pattern are essential for pulling off a successful farmhouse tile design in the kitchen. Use stencils to create eclectic patterns that give your kitchen floor tile a cozy, homely feeling. We recommend starting with a white or off-white tile base coat and then using a secondary base coat of black, gray, or dark blue for the perfect country aesthetic. Depending on the look of your space, you might also branch out into pastel blues or pale yellows for your tiles.
Keep it simple with a farmhouse bathroom tile floor
In the bathroom, it's best to keep things simple. Opt for a lovely white or light gray tone to be the perfect grounding neutral in your design. Don't worry about adding too much pattern to your bathroom tiles, as a simple look will offer a clean and sophisticated aesthetic. To spruce up the flooring, add an adorable farmhouse rug or runner to help add texture and detail to the design.
Painting your floor tiles for a farmhouse aesthetic can be a great way to brighten and refresh your space. Keep things simple with neutral tones, but don't shy away from patterned stencils of unique grout details. Painting your floors can help you create a seamless and gentle design that enables you to add some originality and character to your home.


