Green living and botanicals have been making a huge comeback. From the most popular houseplants to the tremendously unique ones, pops of lush greens have been spotted in regular homes, celebrity mansions, home magazines, trending social media posts – with increasing frequency. And for good reason. Because not only do they improve air quality, they also add beauty to any space. Hanging them frees up tabletops and counters. It also ensures plants are out of reach of pets and little ones. This easy DIY task can be completed in minutes and instantly gives a space a fresh, organic element. Here’s our step-by-step guide for how to do it right.
Select the perfect plant

The first step is selecting the right plants for the conditions in the room. There are infinite possibilities, but for hanging, a trailing variety is your best bet. Emerald greens spilling out the side of an interesting planter provides a striking visual component to any room. To ensure your selection will thrive, another key factor is noting the amount of sunlight that’s in the space. Here we’ve selected easy-to-care-for plants — aka these are hard to kill — that do well in different lighting:
Best in bright light
- Spider Plant (great for new gardeners; water well but don’t let them get soggy)
- English Ivy (will do best in a sunny spot; prefers to dry out between watering)
- String of Hearts (semi-succulent plant; tolerates dry soil, requires less watering)
Best in indirect light
- Boston Fern (do best in cool place; keep soil damp, spray with water if conditions are dry)
- Heartleaf Philodendron (extremely easy to grow; will trail quickly or leaves can be pinched off for bushier look)
- String of Pearls (easy-growing succulent; needs well-drained soil)
Best in low light
- Devil’s Ivy (very hardy; known as a plant that thrives on neglect)
- Peperomia (comes in many variations, making them ideal for groupings; water sparingly)
- Pothos (great for new gardeners; popular for tolerating almost any conditions)
Other Considerations
Often, plants come in cheap plastic containers, but if budget allows there are many affordable options to elevate your look. After all, the vessel itself is a design component in its own right and can complement whatever style you have in the room. Modern, rustic, industrial, traditional — the possibilities are endless. Fashioned of everything from metal to ceramic, your botanical can be replanted in the container, or if possible, the less attractive container can be placed inside, and no one will be the wiser.
When selecting a container, make sure to select one with a tray at the base or add a plant saucer inside to collect water. This way you can simply water the plant without having to take it down each time. Not only will this be a lot easier, but it will also prevent any leakage and mess below.
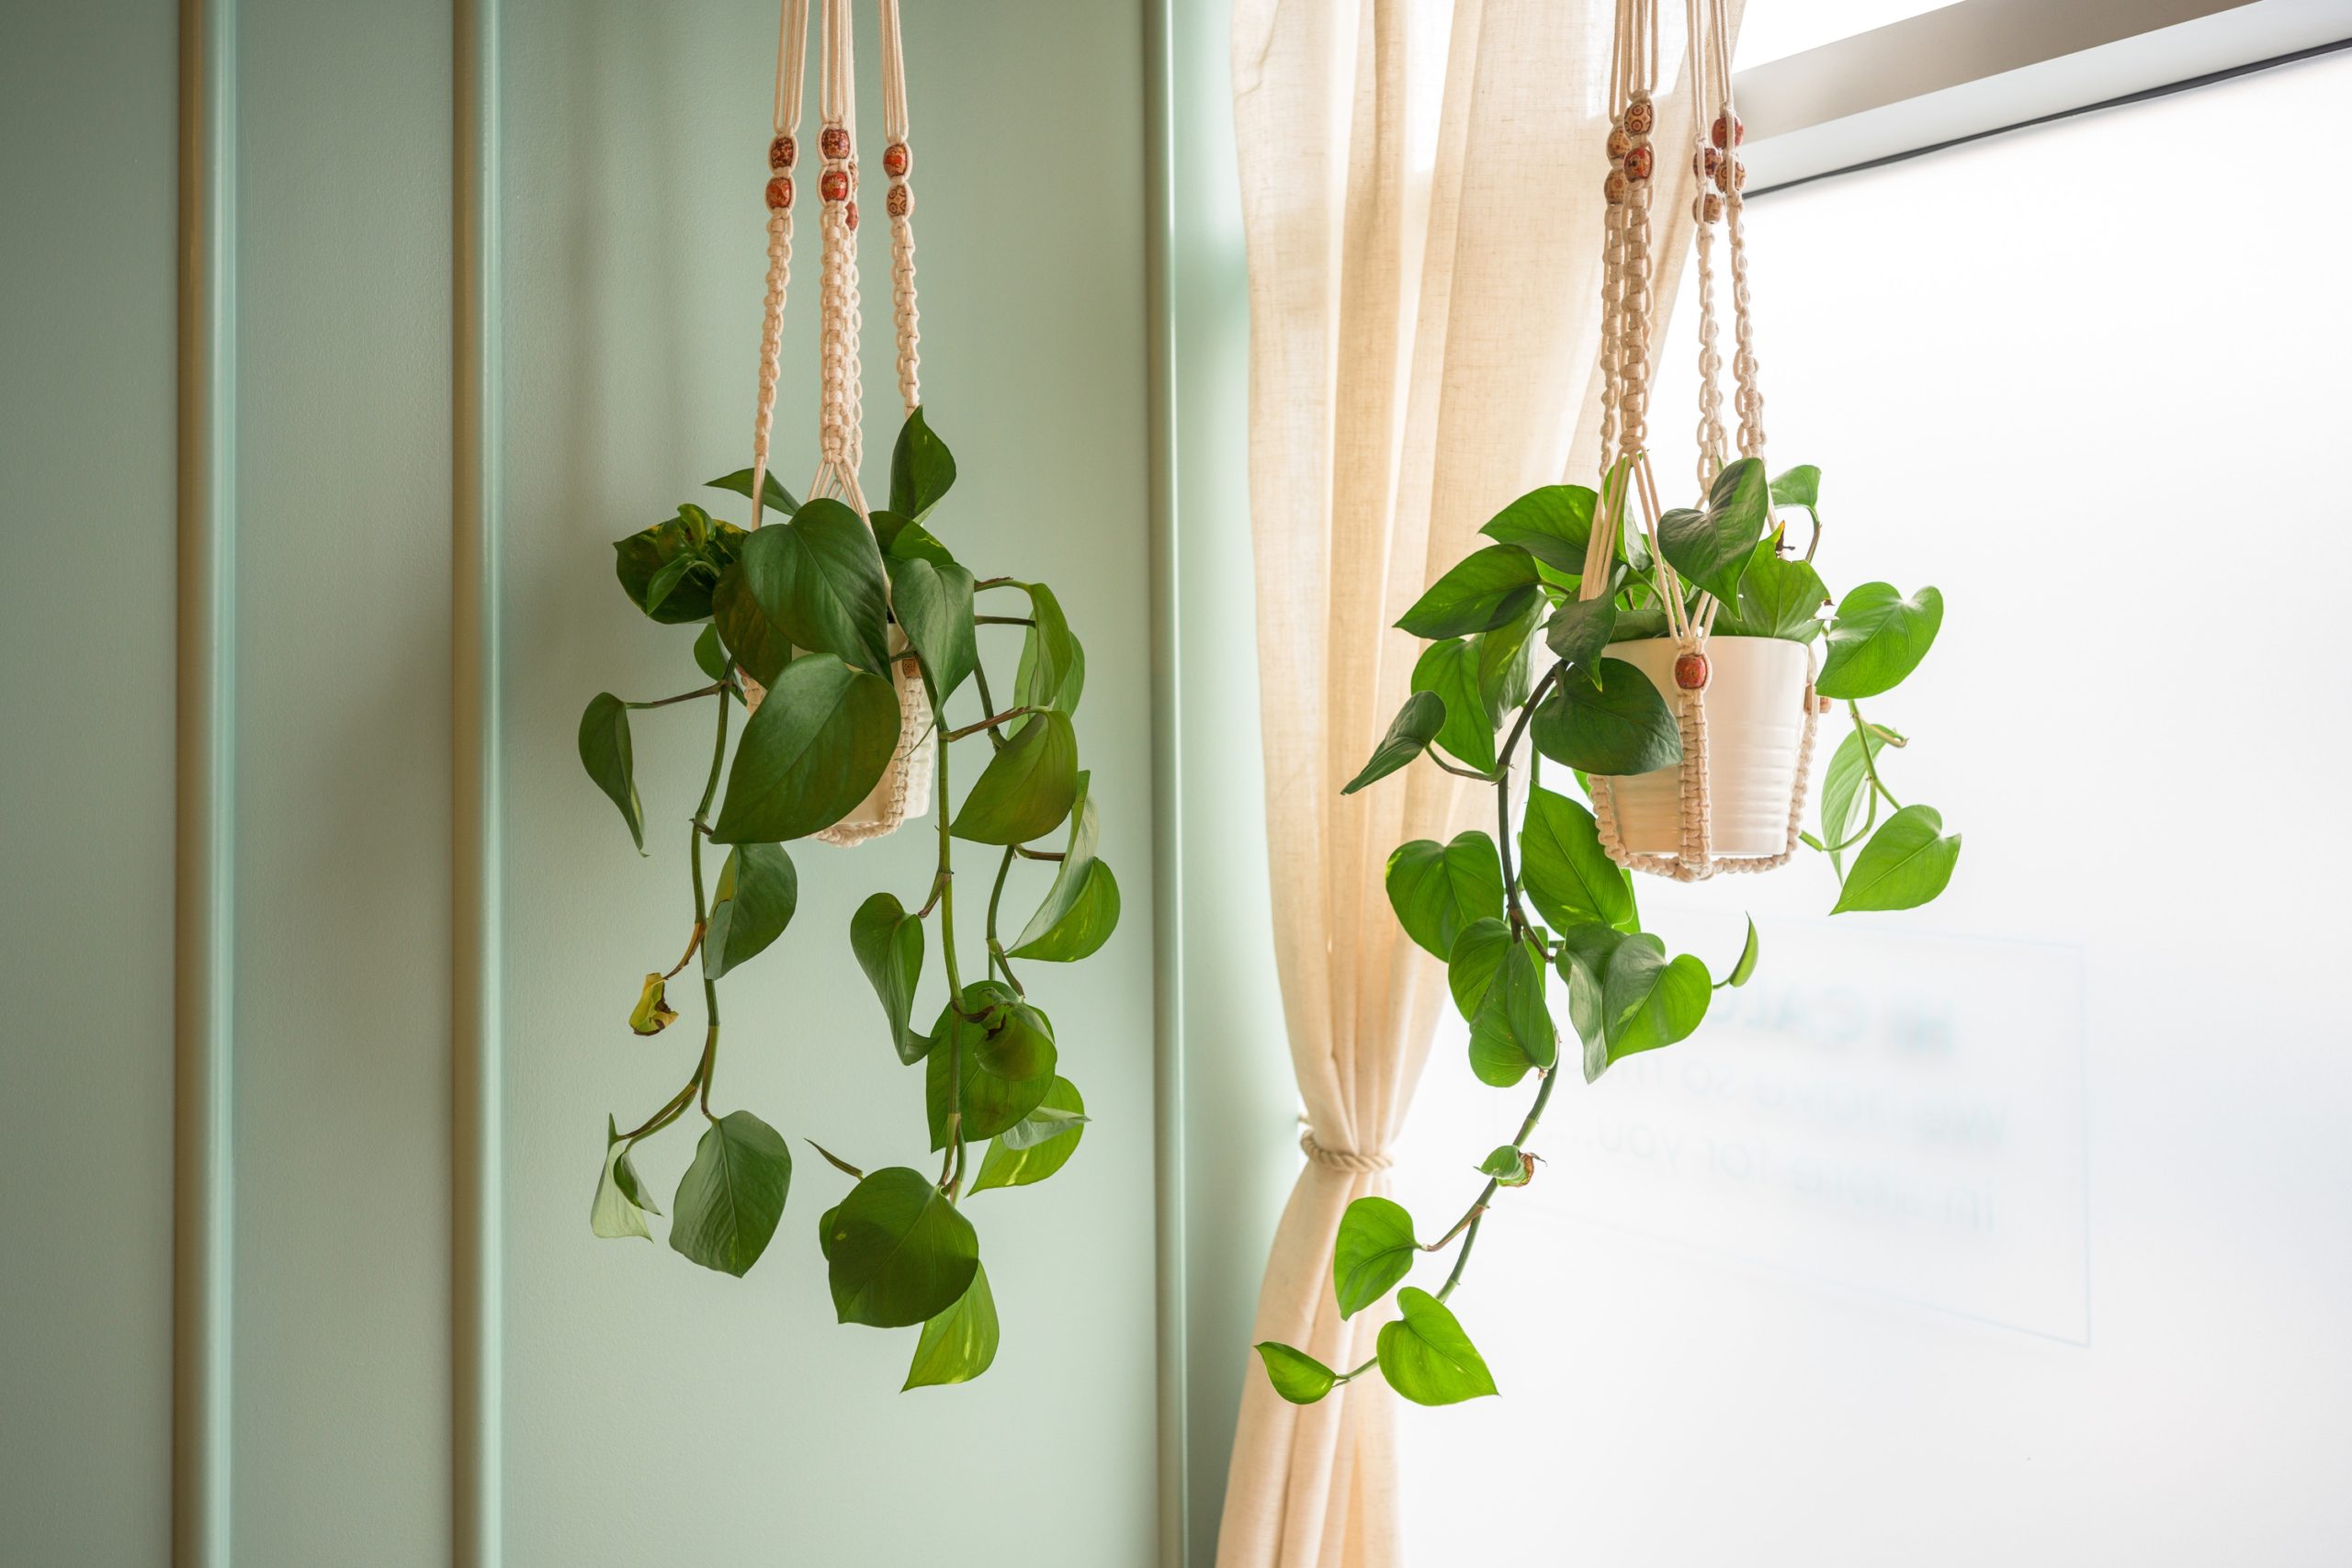
Some containers can be hung directly onto a hook, but any container can be made into a hanging one by using straps. These fit around the container and offer height adjustment, which is key if you will have a grouping of hanging plants. Just like the containers, these come in an array of styles. Macramé ones are popular and work well if you are looking for a boho-chic vibe. Leather and fabric varieties convey a more minimal approach and allow the plant to be the star. Natural jute offers a rustic feel.
Keep in mind that once the container is filled with a plant, soil, and water — it can be very heavy, so make sure to purchase a sturdy hook that will be able to handle the weight. For added interest, consider grouping various containers, hung at slightly different levels.
How do you hang something heavy from the ceiling?
Now that you have your plant ready to go, it’s time to hang it up. What you will need:
- Step ladder
- Stud finder
- Drill and drill bit
- Hook Kit
The first step is to mark the spot on the ceiling for the hook. Remember to test it out by holding the container up and making sure there is adequate room on the sides and sufficient light. You will also need to use the stud finder in order to locate the ceiling joist. If you don’t have a stud finder, you can try the old-school technique of knocking — the areas with no joist will sound hollow, but the spot with the joist will produce a firm, solid knock. Either way, hanging by a joist will ensure it can carry the weight.
Now that you have selected the perfect spot, drill a pilot hole with the drill bit. Make sure the hole is slightly smaller than the screw on the hook to ensure a tight fit. Get your hook and twist it into the pre-drilled hole. Once secure, hang your plant and enjoy.
How do you hang plants not from the ceiling?
If you live somewhere where it isn’t possible or simply don’t want to put in holes in the ceiling but love the look, don’t worry there are other options. Adhesive hooks are available, just be sure to check the weight limit and plan accordingly. Another clever idea is to hang plants from a tension rod inside a window frame or running from one wall to another.


