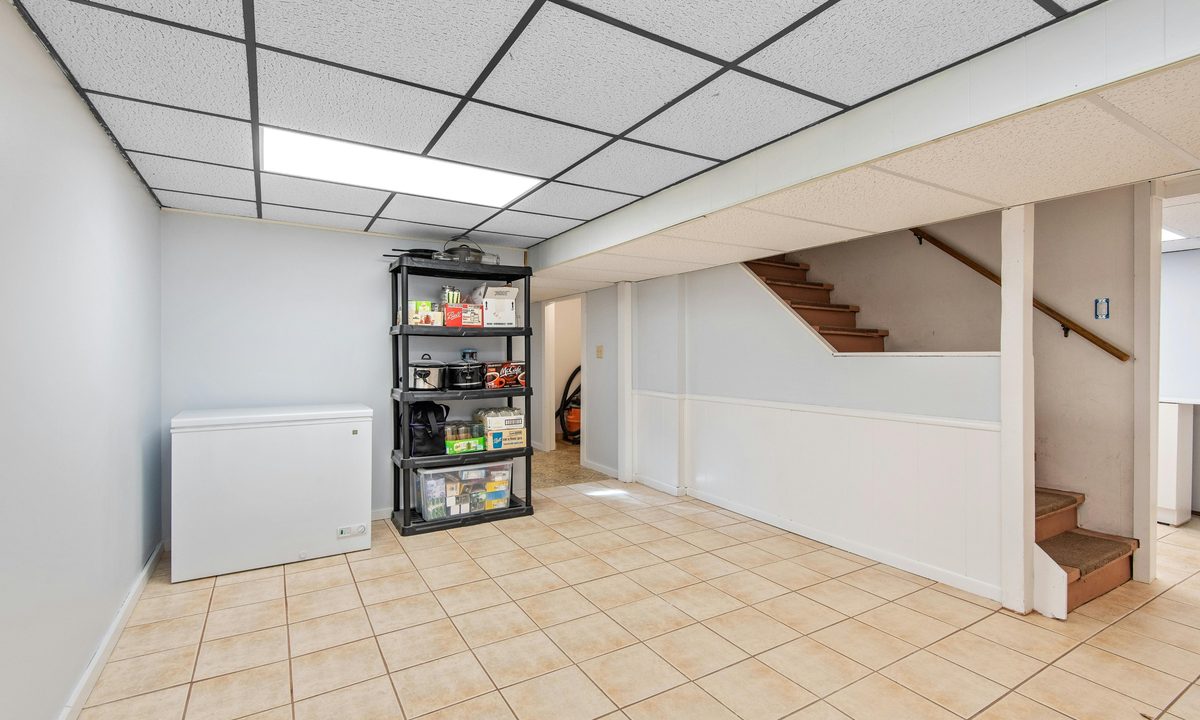
Is your basement dark and dreary? Basement walls aren’t always the most welcoming, and can easily contribute to an uninviting aesthetic (especially if the rest of your basement design is similarly lackluster). Depending on the existing conditions of your space, you could face a drab and boring background that interrupts the flow of your personal style. And when it comes to sprucing up this area of the home, many homeowners struggle to know how to paint a basement wall while also keeping the sub-level mold-free.
Perhaps you’ve considered basement paint ideas to spruce up your space. However, painting your basement walls is not the same as traditionally painting your interiors. With the potential for mold and mildew, there are more risks involved in painting walls in the basement when it comes to the health and well-being of your home. Additionally, the process can be much more arduous.
In this article, we’ll discuss how to paint a basement wall, breaking down the important factors to keep in mind and how to go about it in a safe way for you and your family.
Why painting a basement wall is trickier than you think
Knowing how to paint a basement wall rests in understanding the risks. Below are some of the unique challenges basements present that you need to be aware of before you begin painting.
The walls might not be drywall
Most basements are not made with drywall. However, if you happen to have a finished basement or a space with drywall present, then painting your basement will be much less complicated than those without.
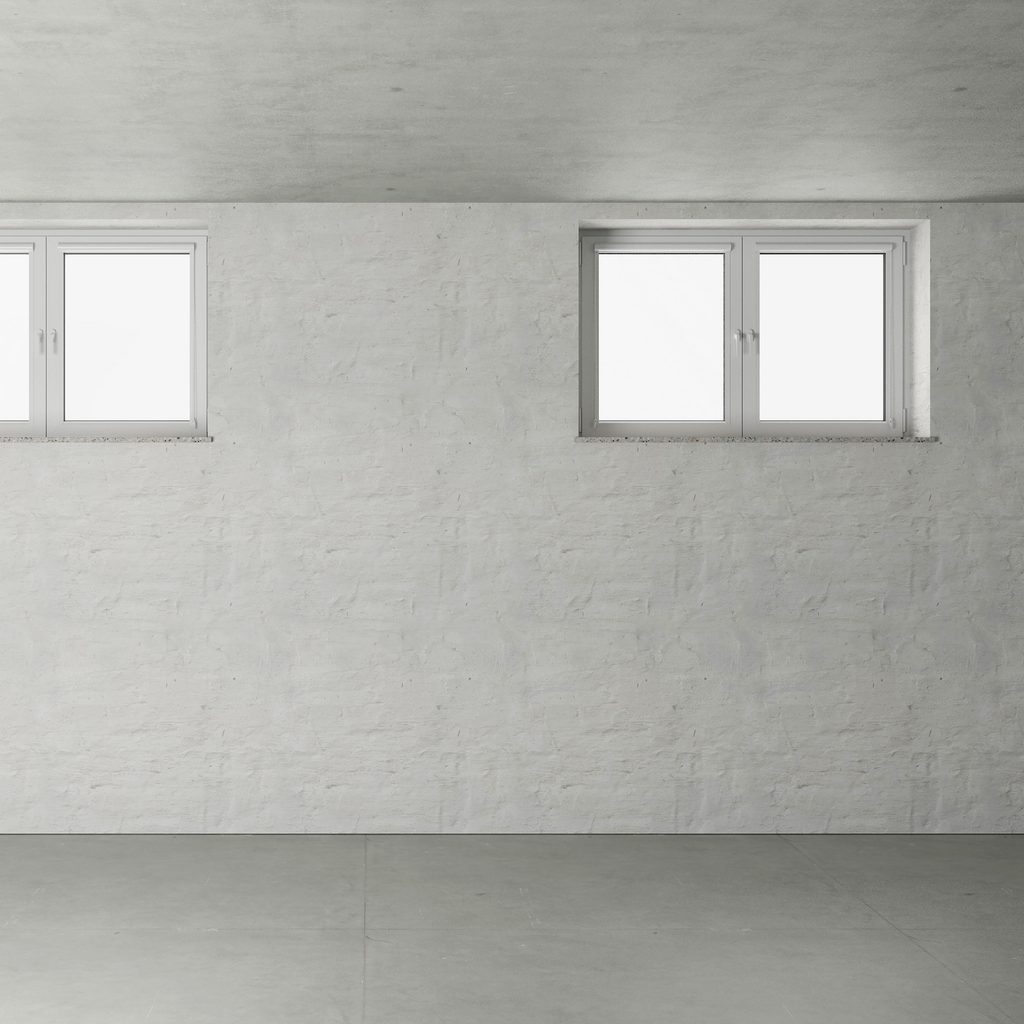
However, if your basement walls are made of paneling, concrete, or brick, painting your walls will be a more challenging process. For this article, we’ll be covering how to paint over brick and concrete as these materials tend to be the most popular in basements. However, before you begin painting, you need to keep in mind that each wall type requires special attention and may include more or fewer steps before you reach your finished product.
Potential for mold
One of the most significant risks when painting a basement wall is the potential for mold. Naturally, concrete tends to be averse to mold. However, in high-humidity areas or areas where flooding can occur, mold growth can undoubtedly become a problem.
Step 1: Before you paint your basement walls, you need to assess the amount of moisture present in the location. Don’t paint in areas where excess water is present, as paint can be perfect mold food.
Step 2: Instead of launching into a project where water damage could be a hindrance, contact a professional to help you best determine how to go about your DIY solution in a safe manner.
What to know before painting basement walls
Step 1: Before painting, be sure to check for any water damage, leakage, moisture, and mold.
Step 2: If mold is present, it’s best to contact a professional to help get rid of it and prevent mold and moisture problems in the future. Mold in the home can be very dangerous.
Step 3: Do your best not to come into contact with mold.
Step 4: Always seek professional advice if you see mold or water damage in your basement.
Is it OK to paint your basement concrete walls?
It is perfectly safe to paint your concrete basement walls! Just be sure to use the right paint to lock out moisture and prevent mold or mildew buildup in your home. Not all paints are created equal, so try to select something suited to damp basements and sublevels.
Additionally, when looking to take the best safety measures for painting a basement, choose a primer that will help you get the job done and will guard against future issues that could arise from water damage or high humidity.

Clean the walls
Once you’ve ensured your basement has been waterproofed and free of any harmful components like mold or water damage, you can begin preparing the walls for paint.
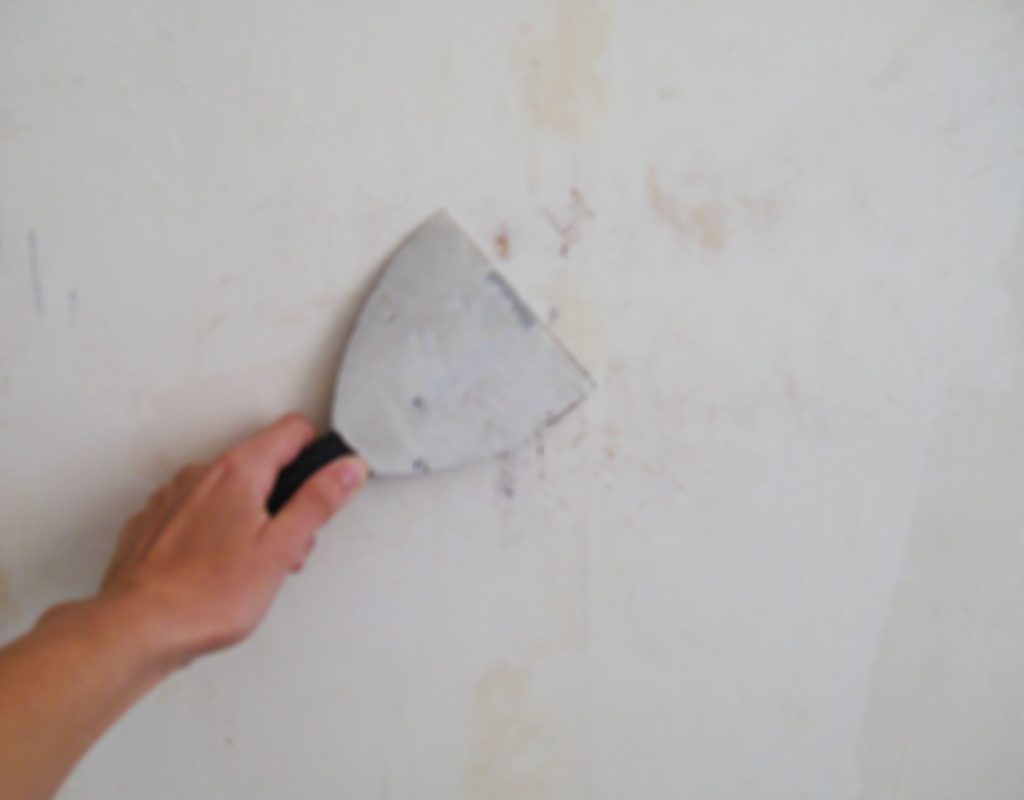
Step 1: First, clean your walls using a wire brush to remove any loose debris.
Step 2: Once you’ve gone over the entire surface, use a wet towel to wipe down and rinse your walls from any extra dust and dirt.
Step 3: Vacuum the floor of debris as needed.
Use muriatic acid and water
Following the directions on the bottle, mix muriatic acid with water to create a cleaning solution. This will help remove any efflorescence, a powdery coating of salt found in masonry, from your walls. For this step, be sure to wear protective gear as the chemical can be harsh on the skin. This step is important for creating a clean base and making a waterproof seal.
Chisel cracks and apply cement
If your basement has any cracks between the concrete or brickwork, you’ll want to close those up before painting. Paint can collect moisture and cause mold growth if it gets into these untreated cracks.
Step 1: Use a sledgehammer and chisel to “key” the cracks, ensuring that the inside of the crack is wider than the outside. This helps keep the patching cement in place.
Step 2: Once finished, vacuum any dust and wet down the area.
Step 3: Apply your cement with a trowel while the wall is damp.
Step 4: If there are gaps at the base of the wall, be sure to seal these as well.
Do you need to prime basement walls before painting?
Yes, it is typically recommended to prime the walls in your basement before painting them. Priming serves several important purposes in this context:
- Surface Preparation: Basement walls often have uneven textures, moisture issues, or patches of old paint that need to be addressed before painting. Primer helps create a smooth and uniform surface, allowing the paint to adhere better.
- Sealing: Basements can be prone to moisture, which can lead to mold, mildew, and paint peeling. Primer helps seal the walls, reducing the risk of moisture penetration and ensuring that the paint adheres effectively.
- Stain Blocking: Primers can also cover stains and discolorations that might bleed through the paint. This is crucial in basements where water damage or other stains are common.
- Enhanced Paint Adhesion: Primer provides a bonding surface for the paint, enhancing its adhesion and durability. This is especially important in basements where conditions can be more challenging.
While it's possible to skip priming, it's generally advisable to prime basement walls before painting to achieve a smoother, more durable, and moisture-resistant finish.

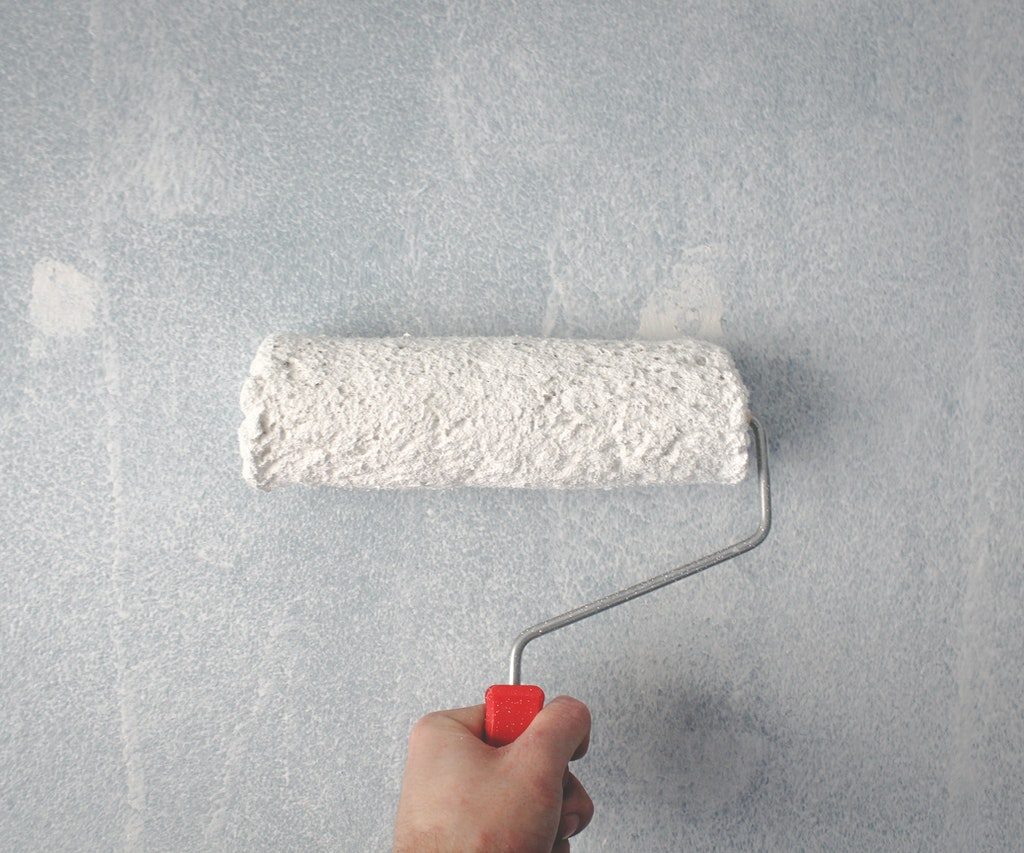
Apply waterproofing paint
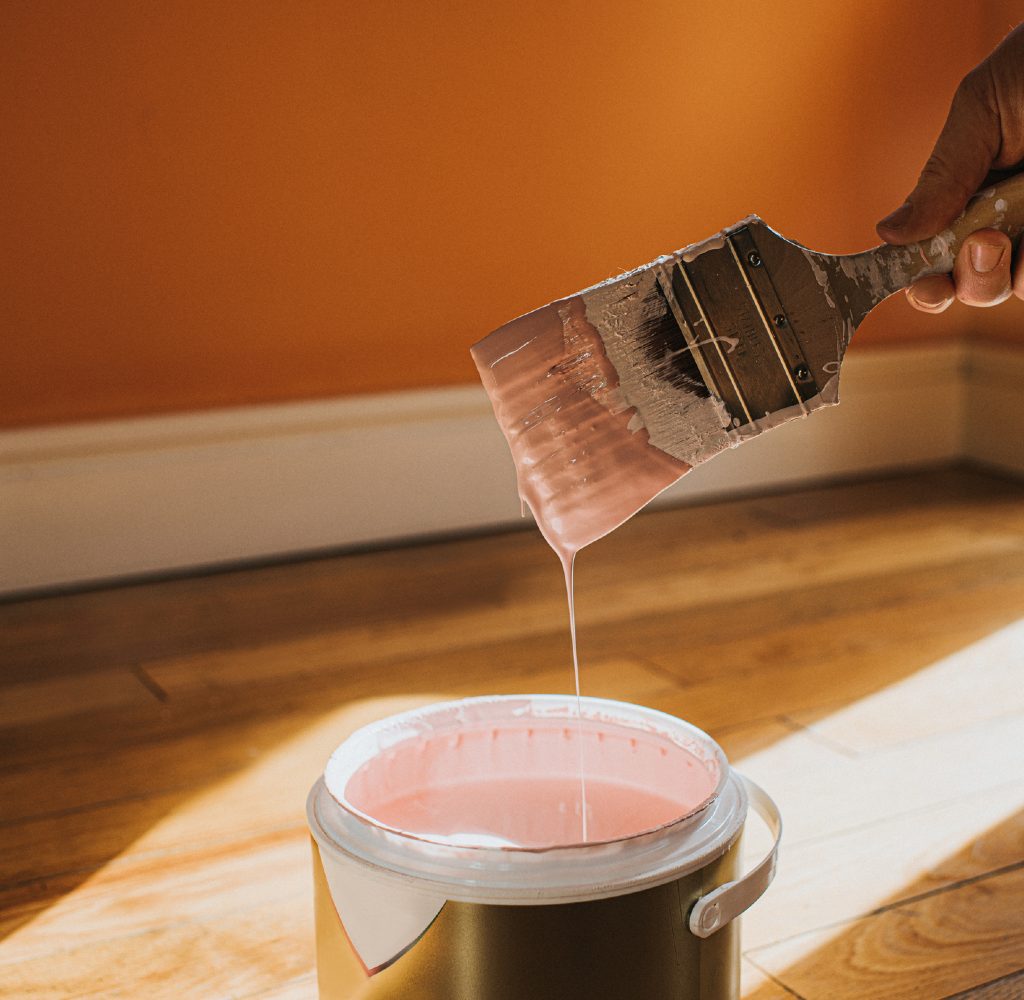
Depending on the condition of your basement walls and the paint you choose, you might have to use a waterproof primer before you paint. When looking at basement paint ideas, most homeowners opt for lighter colors like whites and creams to help brighten the look of the basement.
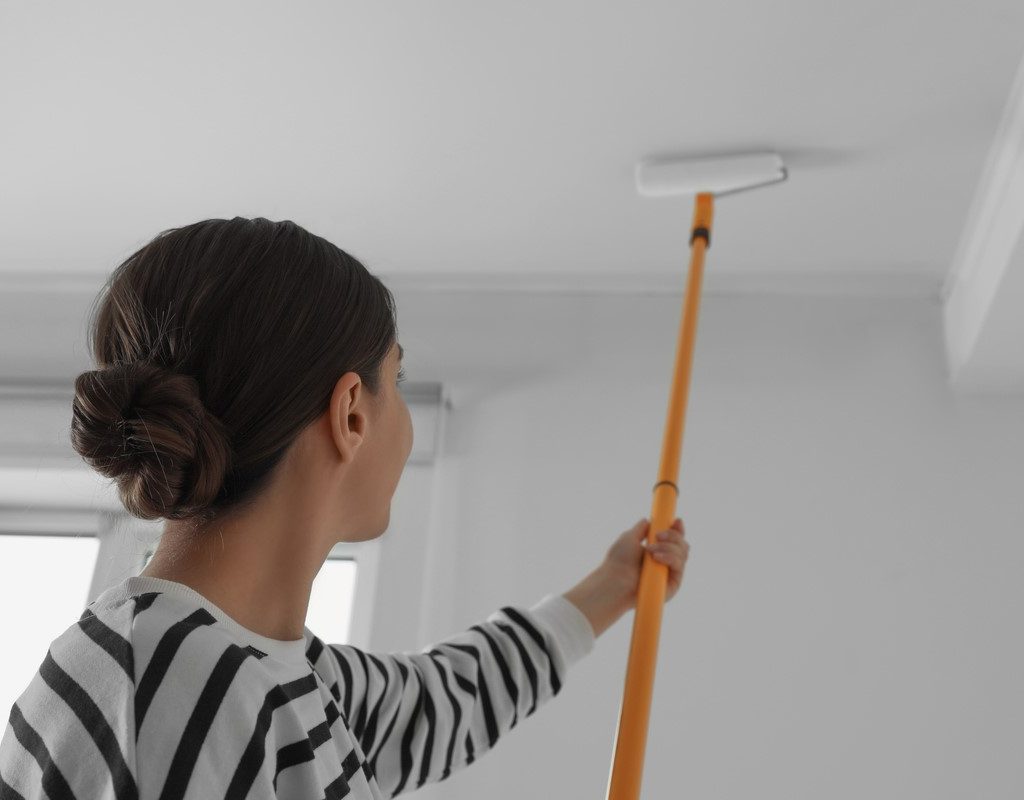
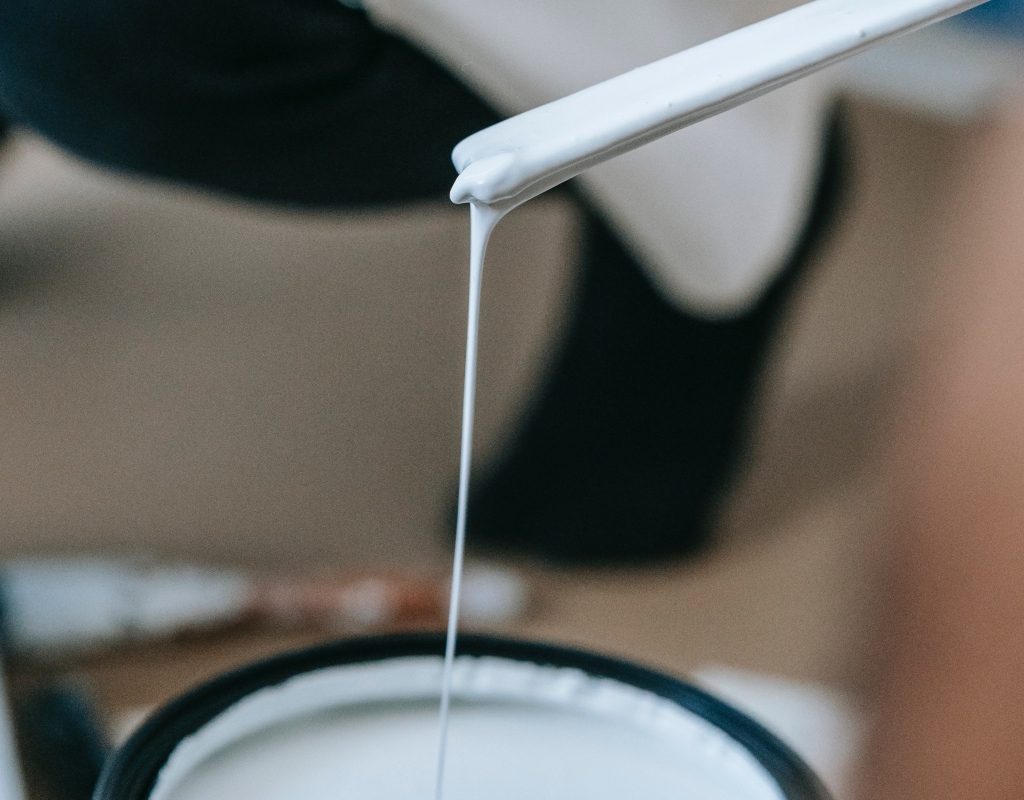
Step 1: To achieve that bright look without the original concrete showing through, you’ll want to apply a coat or two of primer.
Step 2: Once you’ve primed the surface of the walls, allow it to dry before adding your paint.
Step 3: Choose an oil-based or latex paint to prevent mold growth. However, always speak to a professional before doing so, as older homes and spaces with high humidity might need a more specialized option or additional waterproofing before you can begin painting.

When shouldn’t you paint a basement wall?
There are some instances where you shouldn’t paint a basement wall. Below, we’ve listed times when you should avoid painting a basement wall to steer clear of mold.
When there is excess moisture
If your basement experiences frequent flooding, excess moisture, or high humidity, it’s recommended that you avoid painting the walls. Leaks and water stains may be a clear sign of an improper seal, which could contribute to mold growth sooner or later. It’s best to speak with a professional to tackle any moisture in your basement before you consider painting the walls.
When you haven’t waterproofed the surface
If you plan to forgo a primer or waterproofing solution, you may want to avoid painting your walls. In most situations, a primer is necessary for painting basement walls. Additionally, you’ll need to ensure your space is fully waterproofed before painting.
When you have concrete walls
If you have concrete walls or an unfinished basement, you should speak to a contractor before painting. Concrete is porous and can invite moisture from the outside, which can get trapped behind your paint. Speak to a professional about finishing your basement or properly sealing and waterproofing the space before painting.
Painting your basement walls can help brighten and enliven the space. It allows you to create a space that suits your style and avoids the typical dark, damp basement appearance that many homeowners struggle with. Be sure to take your waterproofing and mold assessments seriously, as this can greatly impact the success of your project. Safety should always be your top priority. If done correctly, you’ll be glad you took the extra steps to create a stunning, painted basement wall.


