If its name has any relevance, a mudroom is supposed to be a place where having a little dirt and mud is OK. But, if your mudroom is getting a bit out of hand, there’s no reason to worry. Cleaning it up and applying efficient organizing solutions is not as daunting as you might think. All you need to do is follow our simple steps and you’ll be able to restore sanity to your small space and create a mudroom that is neat, organized, and even a decorative asset to your home.
Mudroom organization in 5 easy steps
Step 1: Clean and clear!
It’s always best to start any home project with a clean slate, so you’ll want to clear out absolutely everything from your mudroom before doing anything else. Find a “dumping spot” in your home — the garage, basement, or even outside if the weather is cooperating — and put all of the contents of your mudroom in one spot (sorting will come later).
Next, clean the room from top to bottom. Walls, floors, and windows should be vacuumed, swept, and washed until they are sparkling clean. While everything is out of the room, it’s time for a fresh coat of paint. Let the room itself help decide on the color. If the room is well lit with lots of windows for sunlight, you can go with a more dramatic color; but if the room tends to be dark, keep the paint color light. It’s looking so much better already, isn’t it?
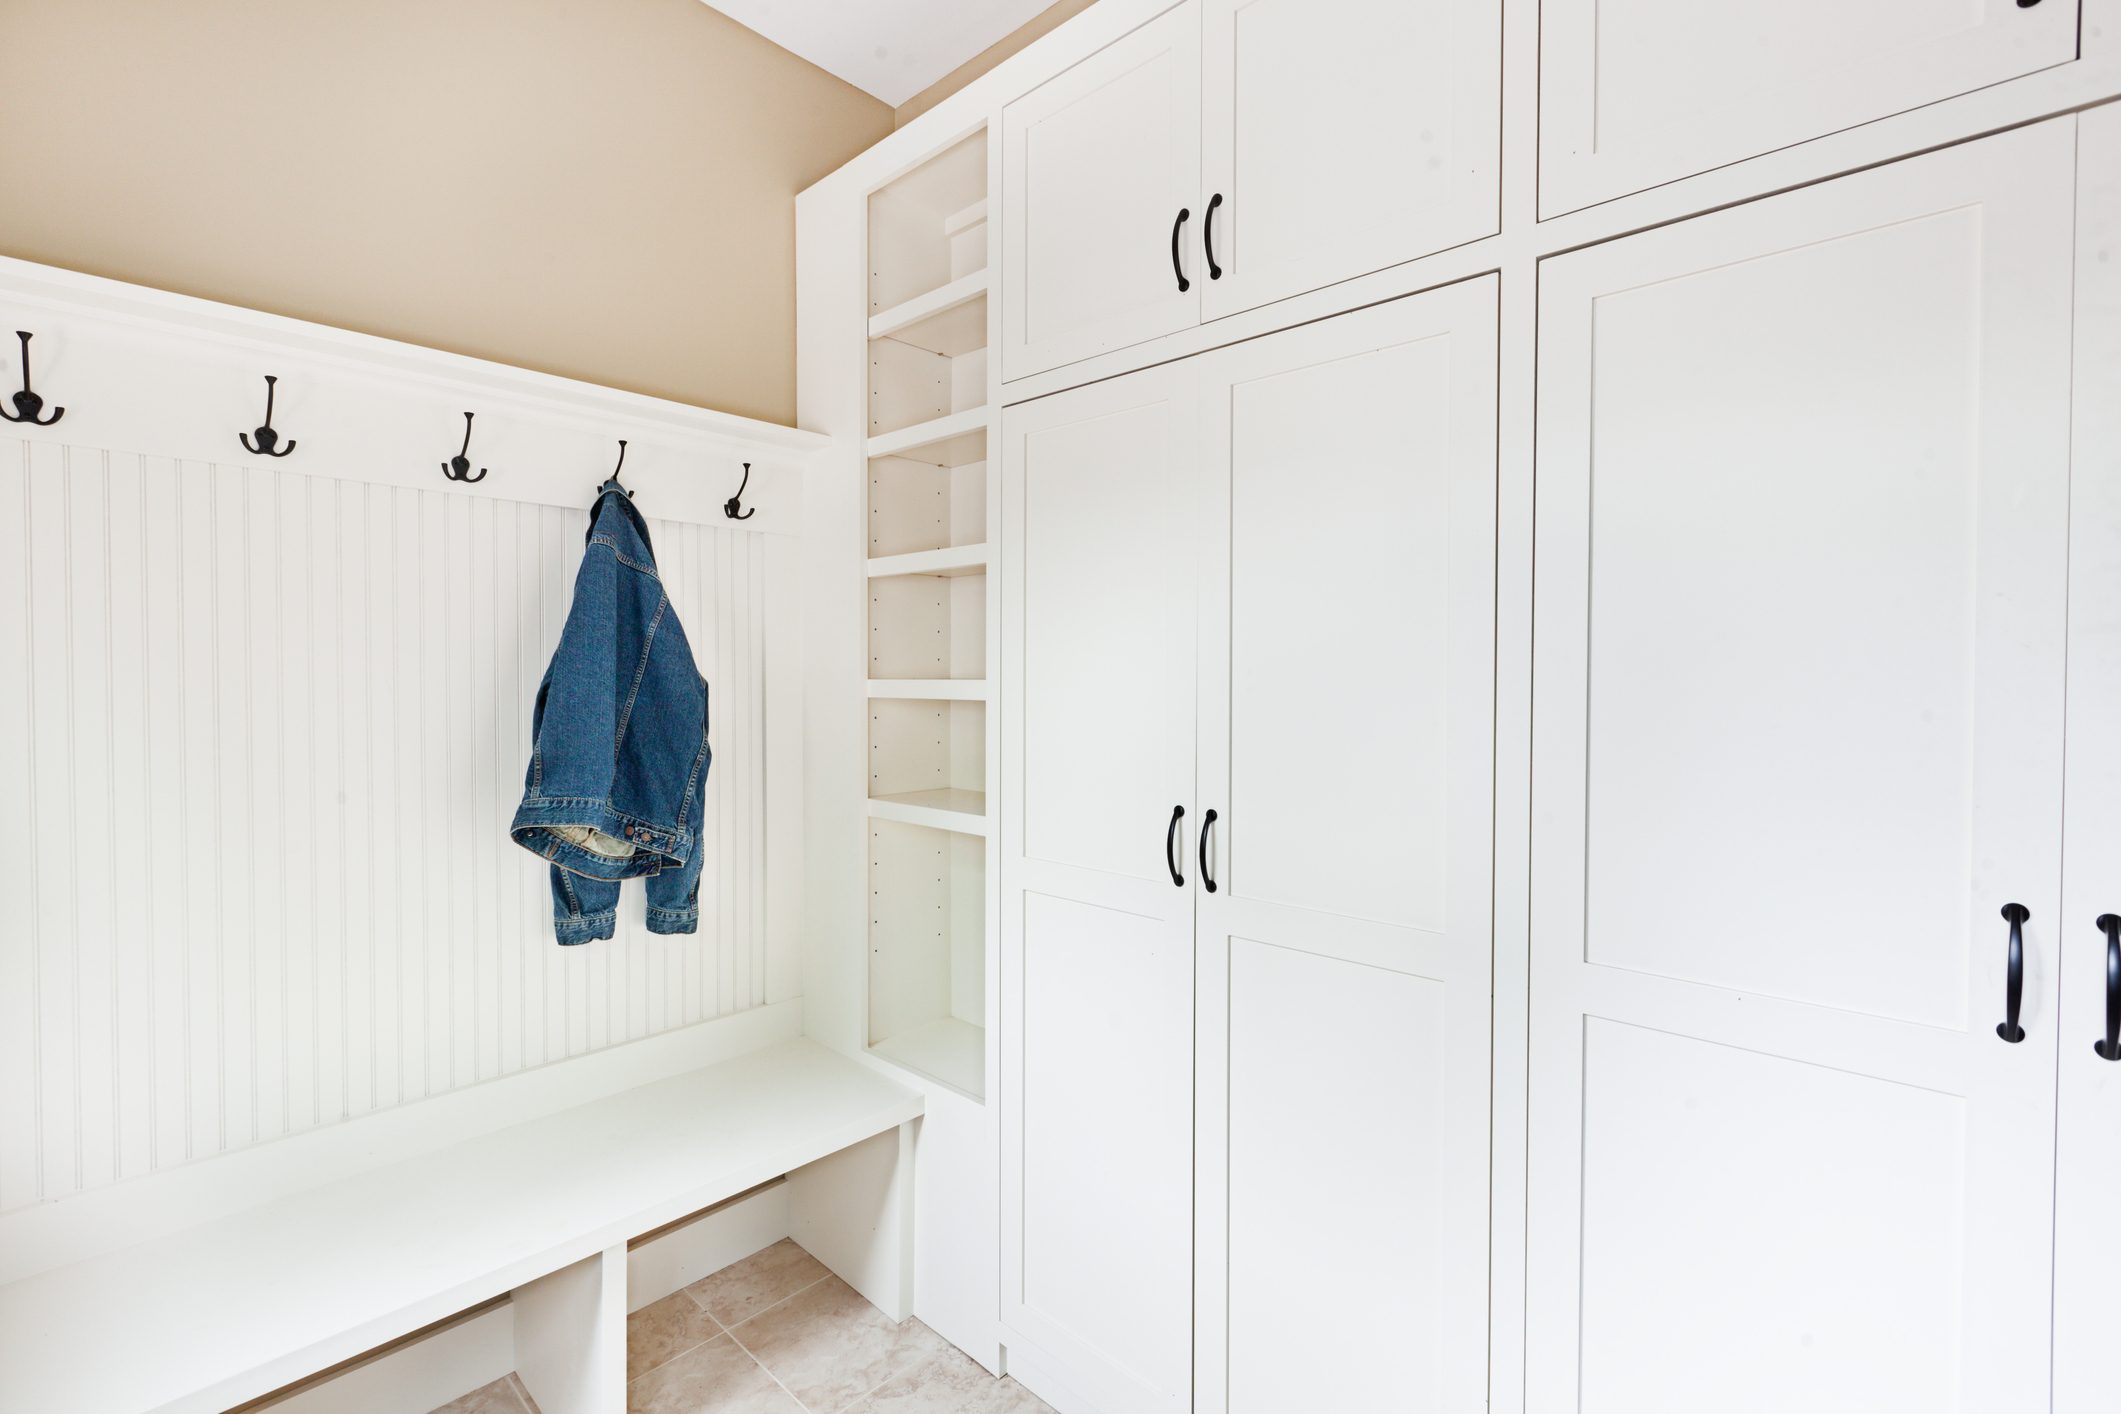
Step 2: Furniture and shelving
If your mudroom has built-in shelving or benches you’re already ahead of the game. Spruce them up with a coat of paint and update benches with new cushion covers that coordinate with your freshly colored walls.
If you don’t have shelves or benches in your mudroom, it’s time to make them part of your new mudroom design. After all, keeping things off the floors is how to keep your mudroom neat and tidy for years to come. There are many ready-made mudroom storage solution benches that you can buy that will suit your room perfectly. Look for one that works with the dimensions of your space as well as the needs of your family.
If you’re in a DIY mood, you can build your own mudroom organization system. It can be an elaborate feat designed to showcase your carpentry skills or as simple as stacked wooden cubes turned into customized furnishings. But the one thing that every mudroom organization system should include is a place for shoes. Designate a cube or storage container for each member of the family to help save time searching for lost shoes during the morning scramble.

Step 3: Accessorize
Add a stand for holding umbrellas, a designated bin for sports equipment and balls, baskets for mittens, hats, and scarves, and other containers for the items that you and your family need on a regular basis. Install hooks on walls for baseball caps, backpacks, and jackets, and smaller hooks for holding keys. The trick is to keep as much as possible off floors and have a designated spot for absolutely everything.
Step 4: Time to sort
Now it’s time to tackle that pile of stuff you pulled from your formerly messy mudroom. Pair up mittens and snow boots, toss anything that doesn’t have a match or has been outgrown by everyone in the family. Take inventory of your sports equipment and donate anything that is no longer being used.Thoroughly clean everything else before bringing it back into the house.
If your former mudroom was not just messy, but also overcrowded, you may want to institute a maximum item count rule for each member of your household. For example, every person is allotted space for two or three pairs of shoes, one backpack or purse, and one coat. The rest of that person’s overflow items will need to be stored in other closets or storage spaces in the house.
Step 5: Everything in its place and keep it minimal
Start by separating seasonal items. Place out-of-season items in storage bins or shelving that’s higher up and leave the current seasonal items within easy reach. Just because something was in your former mudroom, that doesn’t mean it needs to be in your new-and-improved mudroom. Keep the mantra of “less is more” to continue having a mudroom that’s always neat and organized.
Utilize the bins, baskets, and containers you made or purchased during your remake, and keep floors completely free of clutter. Coats and jackets go on hooks, mittens and gloves stay as pairs with clothespins (or even by folding the wristbands inside out together). Everything should be done to maximize organization and save time.
It’s easy for your mudroom to descend into chaos, but we’ve shown you how easy it can be to restore organization and sanity to even the smallest mudroom space.


