Getting organized. It’s a common goal among homeowners and renters alike, and it’s no wonder. A disorganized home will cost you time spent looking for items when you need them, and it will cost more time trying to find places to put them when you’re cleaning.
But while getting and staying organized may seem like a monumental task, it doesn’t have to be. There are simple steps and easy-to-follow tips that will completely change the way your home looks and how it makes you feel, giving you more uncluttered space, more free time, and hopefully even a little more money to do the things that make you happy.
Organize and clean your space like a pro with these amazing tips straight from the professionals who do it best.

Organizing systems: What sets apart the amateurs from the pros
What’s the single biggest organizing system trick of professionals? Working on a single room or organization project at a time. Trying to do the entire house in one weekend will likely leave you exhausted and frustrated. Instead, tackle your home room by room. Start by organizing your busy home office, for example, then move on to the kitchen when you’re done. Taking smaller bites of a bigger project will make you more likely to succeed and want to continue until every room is a showpiece of organization.
The organizing process: 5 steps to a clutter-free home!
When beginning any home-organization project, you may initially feel overwhelmed, but follow these five simple steps and you can organize your entire home like a pro!
Step 1: Sorting
Create piles by categories. Let’s say that you’re beginning your home-organization project in your master bathroom — make piles of cleaning supplies, makeup and toiletries, towels and washcloths, etc. Some professional organizers actually lay out a king-size sheet on the floor to house the piles of items and make the sorting stage a little easier to manage. 
Step 2: Toss, keep, donate, or sell
Every item falls into one of four categories:
Toss: Broken, badly stained, torn, or expired items should be tossed into the trash. You don’t need these things, and they won’t hold any value or use to anyone else, either.
Keep: These are the items that you will continue using, and some may have even been forgotten or lost in the back of a closet or cabinet, so hooray for you for finding them again!
Donate: Items that are still in good condition but no longer hold any use for you can be donated to one of many local or national charities. Note: Animal rescue groups or shelters will often take towels, blankets, and sheet donations regardless of their condition.
Sell: While sorting, you may come across items that have never been used, look as good as new, or even items that have value to collectors or antique dealers. There are many avenues available to you to resell your items, from local consignment shops to online sites such as eBay, Facebook Marketplace, Poshmark, and others. As the saying goes, “one man’s trash is another man’s treasure,” so your unwanted items could end up netting you some cash!
Step 3: Placement and putting away
Evaluate the items you are keeping and assign each of them a home. Once everything is sorted and you’ve eliminated some items, you’ll be better able to gauge how much space will be needed for each grouping of items.
Now that you’ve designated the items you’re planning to keep, it’s time to put them back into cabinets, drawers, shelves, and closets. Put the things you use most often within easy reach, while things that don’t get used on a regular basis can be slightly less accessible.
Step 4: Shop, yes we said shop
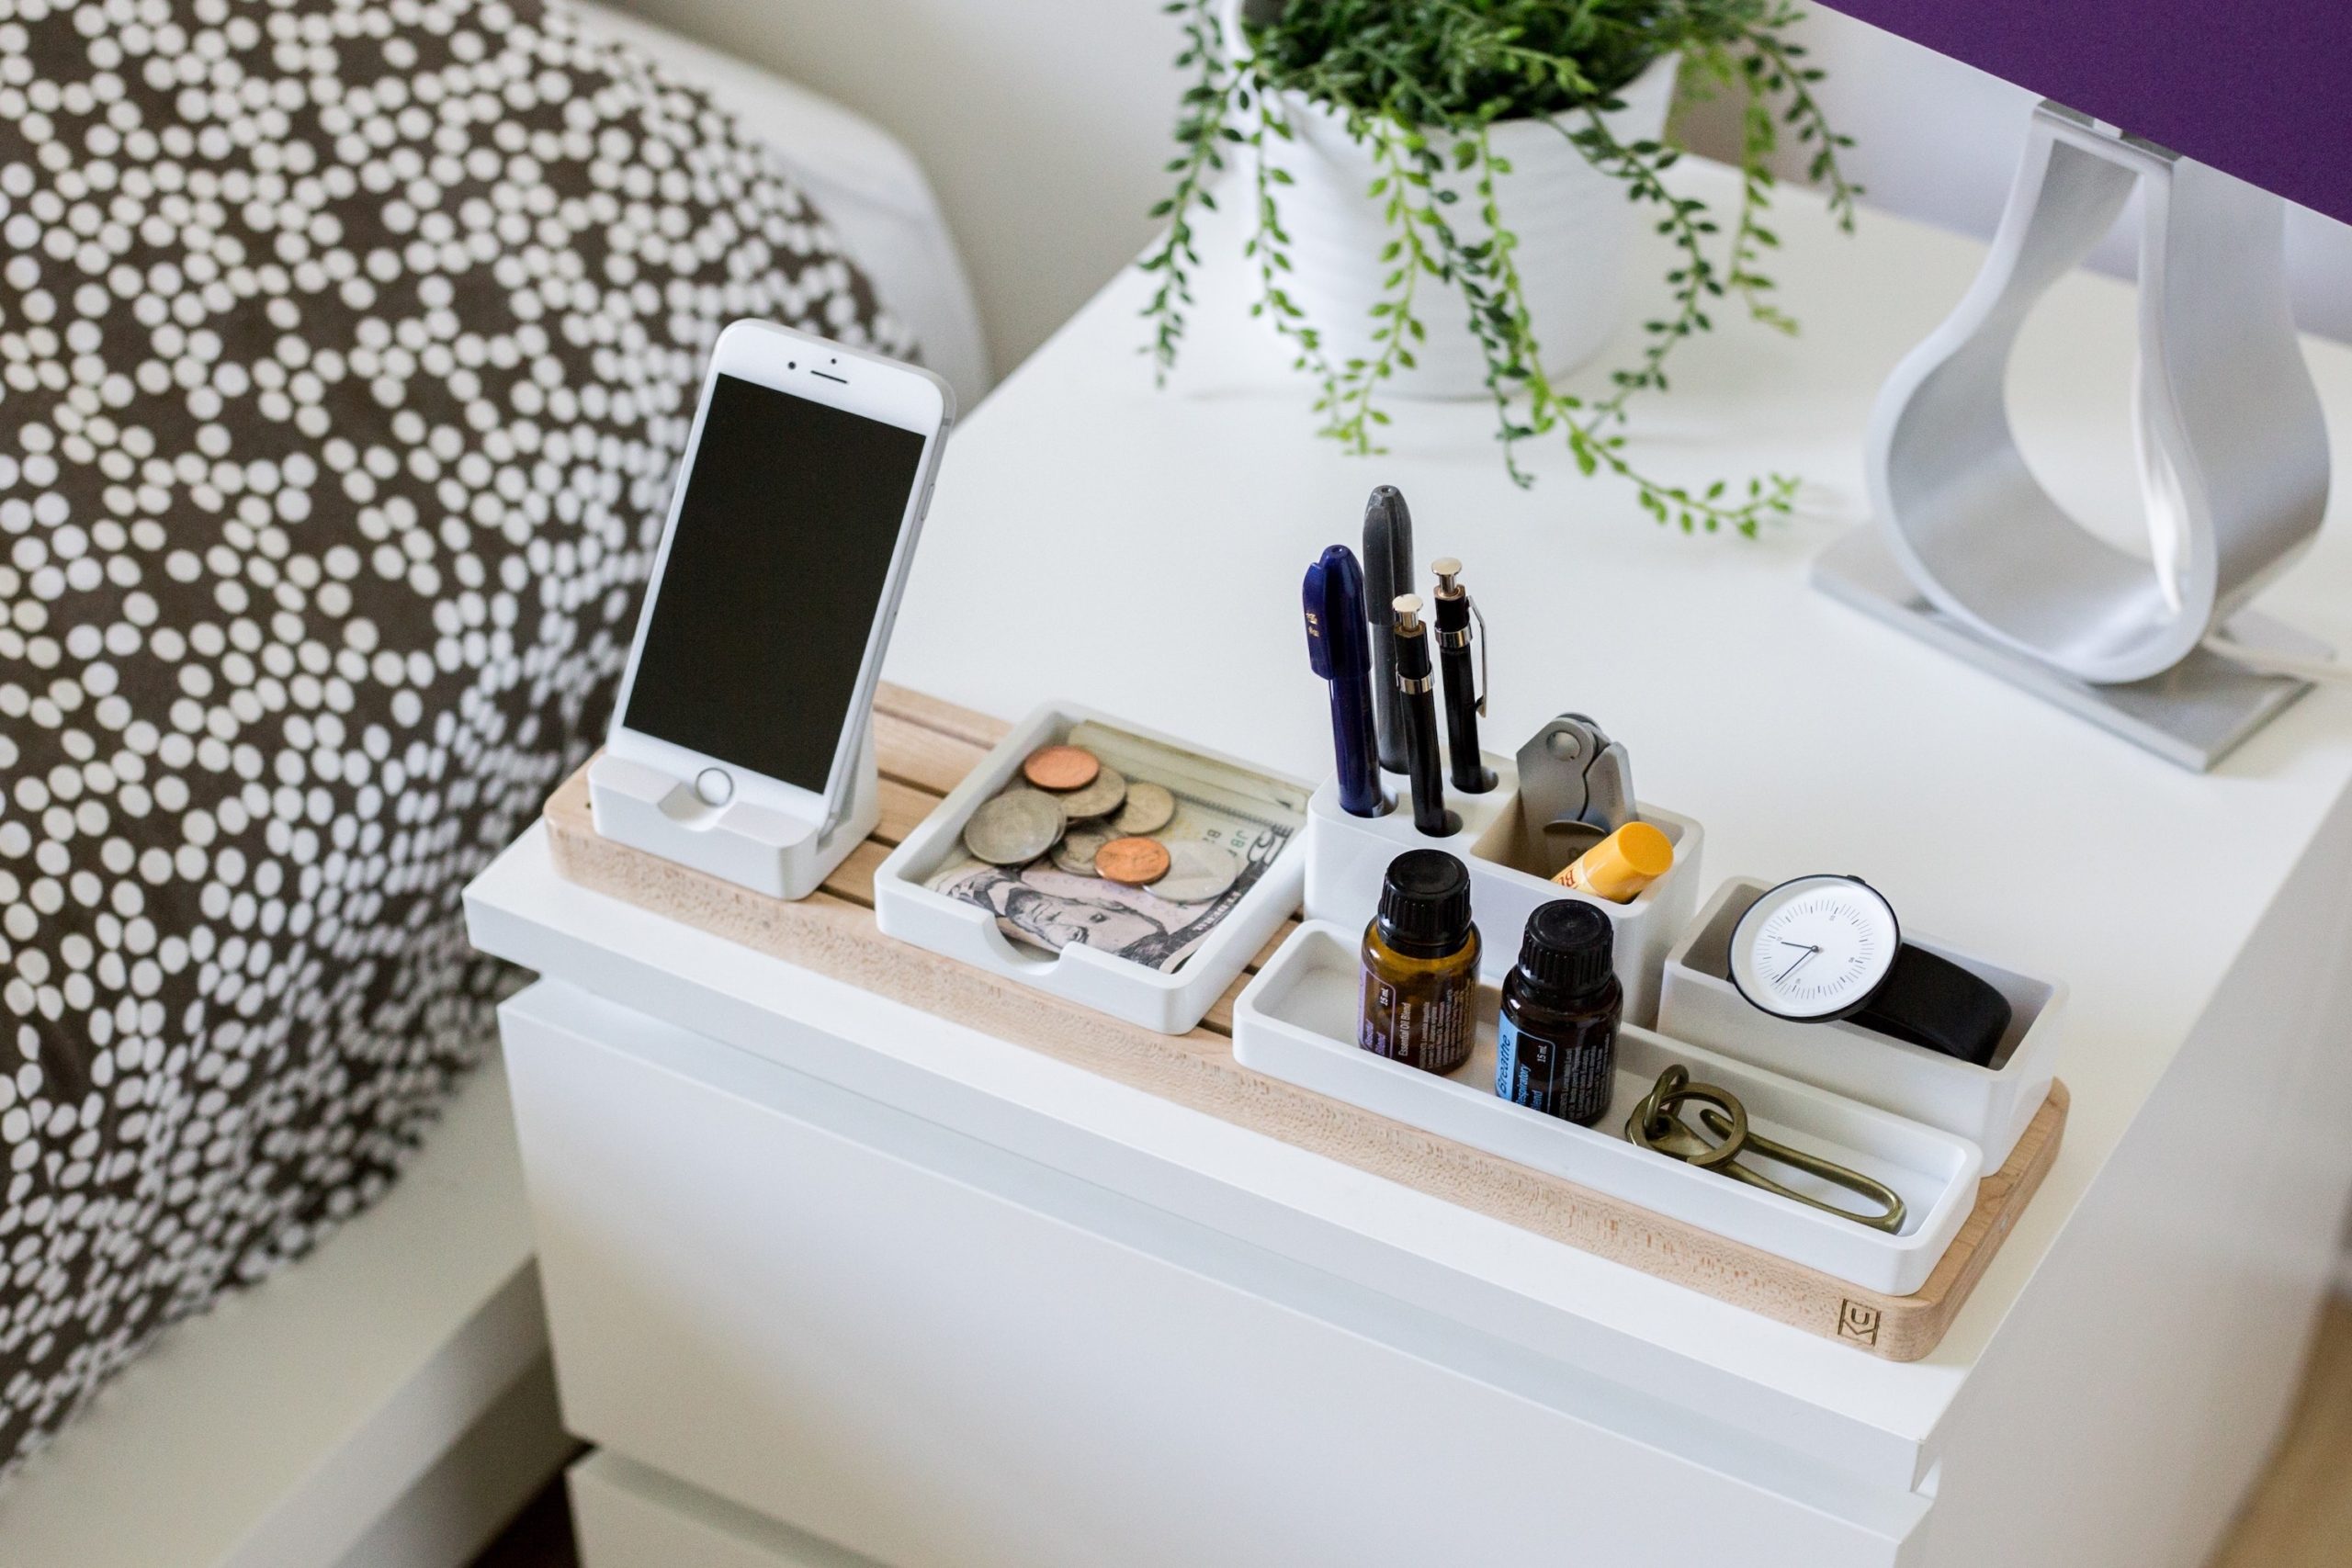
For some items, you may need to purchase a few well-chosen organizers to help keep things neat and tidy. You can find lots of bins, baskets, trays, and containers at your local dollar store, all of which can help you keep up your newly organized lifestyle.
 Step 5: Maintain
 Step 5: Maintain
The trick to staying organized is getting in the habit of putting items back into their newly designated “homes” after each use. By using the mantra “A place for everything, and everything in its place,” it shouldn’t take you more than a few minutes to get every room put together and tidy each and every day.
That’s it …. five steps to organize any room, anywhere — straight from the pros who do it best. Now get ready to get organized!


