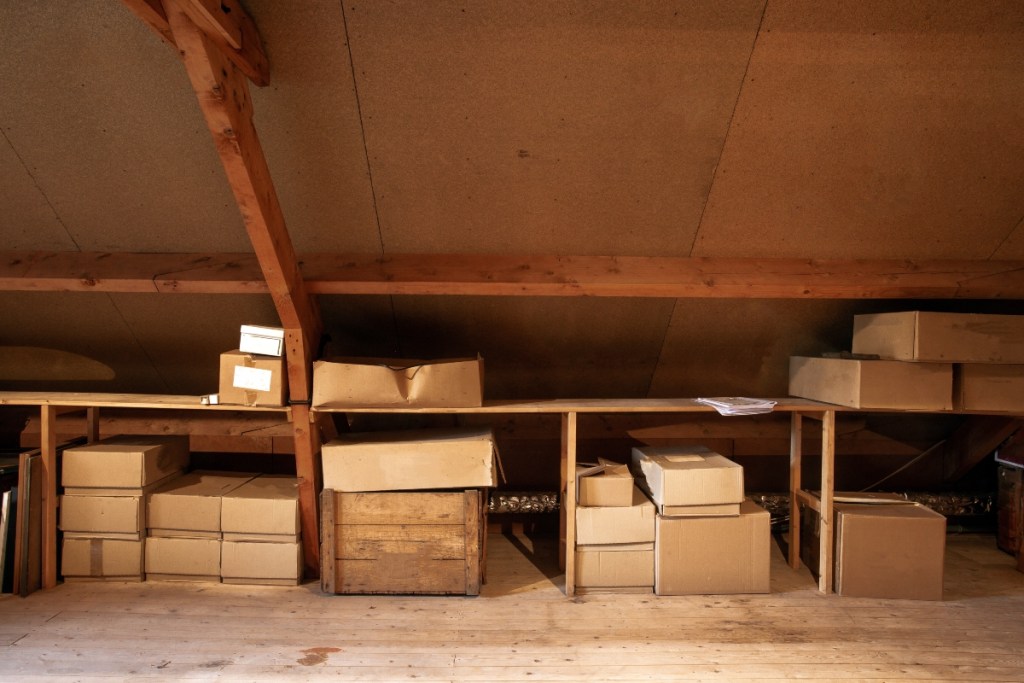
Attics are a catch-all storage space in many homes, housing seasonal items, extra furniture, memorabilia, and other random items. Because it’s not often a living or lounging area, it doesn’t often get the attention it needs and can quickly become cluttered and out-of-hand. Long story short, it’s out of sight and out of mind. Though you may not spend much time in there, it’s important to ensure that your attic remains organized to make finding what you need quick and easy.
Gather your organization supplies
Before you begin tackling the hoard, gather a few helpful items to assist you in your journey toward a more organized home.
Here’s what you’ll need:
- Totes and bins
- Organizational units with drawers
- Rods and small racks for hanging items
- A permanent marker and tape or a label maker
- Packing paper or foam
- Cleaning supplies

Clear out the attic
The first step is usually the hardest: removing everything. With all the clutter, it’s difficult to see the space you’re working with and you’ll have trouble effectively move around the room. Feel free to keep large objects like furniture in place, but try to move them against the walls to give yourself as much floor space as possible.
Clean everything
Attics collect a lot of dust and cobwebs, so while you’re reorganizing, take this opportunity to clean up, too. Use a simple cleaning solution and duster to wipe away any dust, grime, webs, and trash. Take this time to wipe down any dirty totes and clean any uncovered furniture, as well. Now, when you bring your items back up to the attic for storage, they’ll stay clean and you won’t be battling dust and dirt every time you go up to grab something.
Begin decluttering
Decluttering begins with downsizing. Your attic is likely full of items that are no longer valuable or necessary to you. Make the organization process easier on yourself by paring down on the number of items you need to store. Sort your items into three sections: keep, toss, and donate. Keep anything you use regularly or items that hold sentimental value. Throw out any broken items or otherwise unusable things, and donate unneeded pieces that are in good condition.
It may be difficult to part with certain items, but keep in mind that it’s a necessary part of the growing process. As Marie Kondo recommends, thank the items for serving you well over the years, and part with them to make room for new things and experiences.
Create zones for your items
Once you’ve cleaned and decluttered, it’s time to put everything back together. We recommend organizing by zones, as keeping similar items together makes the whole space easier to navigate. The categories you choose depend entirely on your personal preference and what makes the most sense for the items in your space.
Here are a few categories that may work for your home:
- Holiday/seasonal items
- Family heirlooms and memorabilia
- Clothing and blankets
- Stored furniture
- Glass and breakables
- Spare tools and DIY equipment
- Kids toys and items

Ensure everything is safe and secure
After you’ve decided on your zones, start putting everything away. Begin with the large pieces like furniture and exercise equipment, then move onto the large plastic bins, and finish with any small tote bags. Attics can become damp, and small pests may start to run around, so put any paper items in water-proof totes to guard against damages. Wrap all breakables in packing paper or foam to keep them safe too. Do your best to make sure there aren’t any loose items — everything should have a place.
As you place items in bins, boxes, and bags, use a label maker (or a piece of tape and a permanent marker) to describe exactly what’s inside. This way, you don’t have to rifle through countless boxes and bins every time you’re looking for Christmas lights. After everything is packed and labeled, return them to the attic and place them according to the zones you set earlier.
Knowing how to organize an attic can be a daunting process, but creating a more accessible and manageable space for your belongings is well worth it. Storage spaces should be functional and easy to navigate, so you shouldn’t feel like every trip to the attic is a treasure hunt. Protect your belongings and make sure they’re easy to find with this simple guide to taking control of your clutter.


