
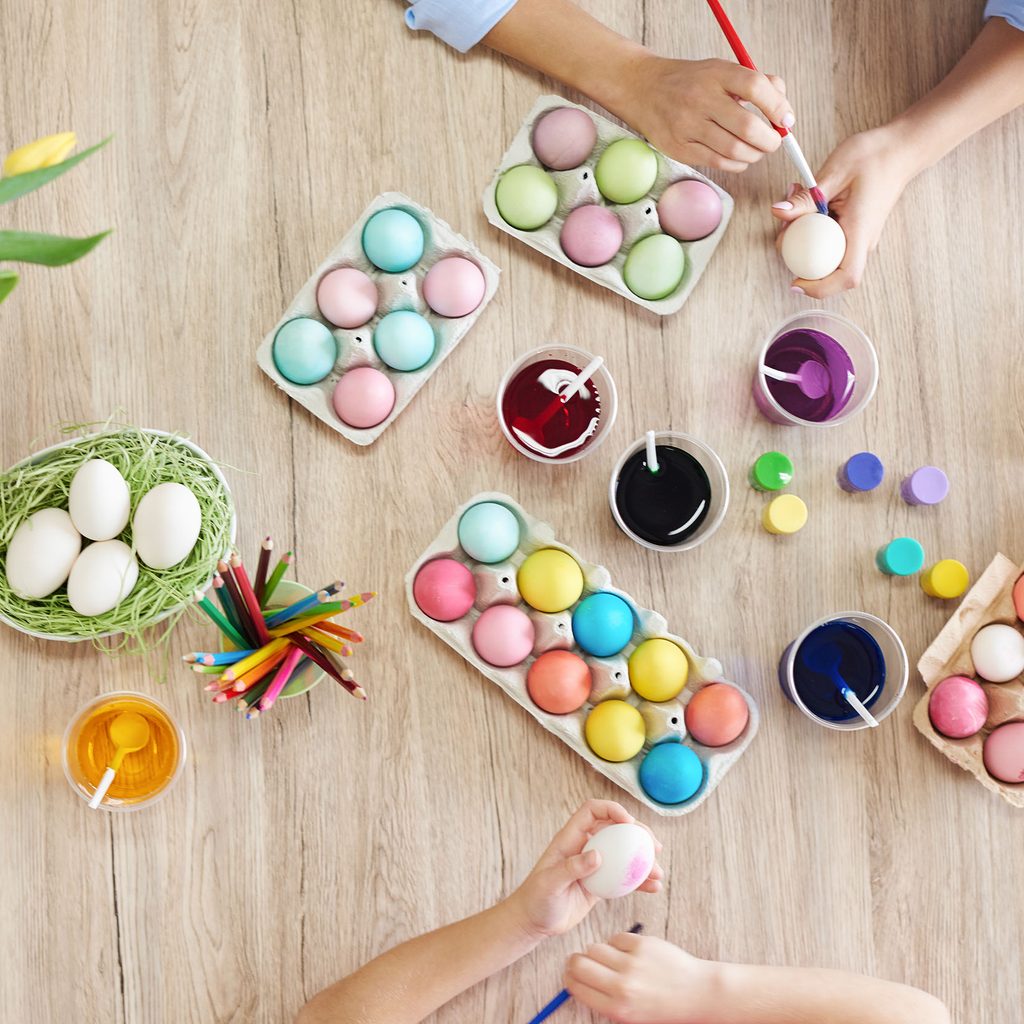
With Easter celebrations right around the corner, it’s time to start looking for inspiration for your Easter egg designs. Decorating eggs is a fun tradition that the whole family can enjoy, but after a while, making solid-colored food-dyed eggs for your Easter egg hunt can become a little boring.
These seven creative design ideas go beyond the standard pastel-colored dyes to create projects that are enjoyable for the whole family. Plus, the end result is so stunning, the entire neighborhood will be jealous! So say goodbye to store-bought dye kits forever and make gorgeous Easter eggs with one of these unique decorating ideas.
Easter egg FAQs
Learn everything you need to know about decorating Easter eggs with these commonly asked questions.
How do you prepare eggs for decorating?
Hard boiling is the easiest way to prep eggs for decoration.
- Place the eggs in one layer at the bottom of a large pot.
- Fill the pot with water until it’s an inch or two above the eggs.
- Bring the water to a rolling boil over high heat.
- Then, turn off the burner, cover the pot, and let the eggs sit for ten to 12 minutes.
- Transfer the eggs to a bowl of ice water using a slotted spoon.
- Once they’re cool, you can decorate the eggs or store them in the fridge for up to seven days.
How do you decorate a hard-boiled egg for Easter?
The most common way to dye an egg is using food coloring or egg dye and vinegar. You can also use acrylic or watercolor paint, as well as more unconventional methods like nail polish, tissue paper, and more.
How do you make Easter egg patterns?
If you already have a pattern in mind, try painting the eggs by hand or create the design using decoupage. You can also make a design by wrapping the egg in washi tape or fabric before dying. For a free-form marbled look, there are many techniques to try that we’ve outlined below.

Sophisticated egg decorating ideas
Take your Easter eggs to the next level with these fancy decorating methods.
Marbling
Creating a marbled pattern on your Easter eggs is a fun project that’s simple enough for the kids to do. There are a few simple techniques to create these funky, colorful eggs. Make a fun tie-dyed design with food coloring and paper towels, use oil and vinegar to achieve a speckled, galactic look, or marble the eggs using shaving cream or cool whip.

Decoupage
Decoupage is simply decorating an object by gluing paper cut-outs to it, a method you can use to create unique and sophisticated Easter eggs. While you can achieve with look with any kind of paper, we find that tissue paper works exceptionally well because it’s so delicate. Use Mod Podge to attach the paper pieces to the shell in any design you want, experimenting with different shapes, colors, and textures.
Fabric-dyed
Create funky patterns on the eggs by using textured fabrics like cheesecloth, lace, and netting for subtle adornment. Wrap the egg tightly in the cloth of your choice and secure it with a rubber band. Dunk the egg in food-safe dye to create a delicate pattern.

Gold leaf
Adorning your eggs with gold leaf is a simple way to create a look that’s upscale farmhouse chic. Add a bit of glitz and glam to your holiday and cover the entire egg with gold leaf, or, for a more rustic look, coat the egg with teal acyclic paint and add pieces of gold leaf to replicate the look of natural patina.
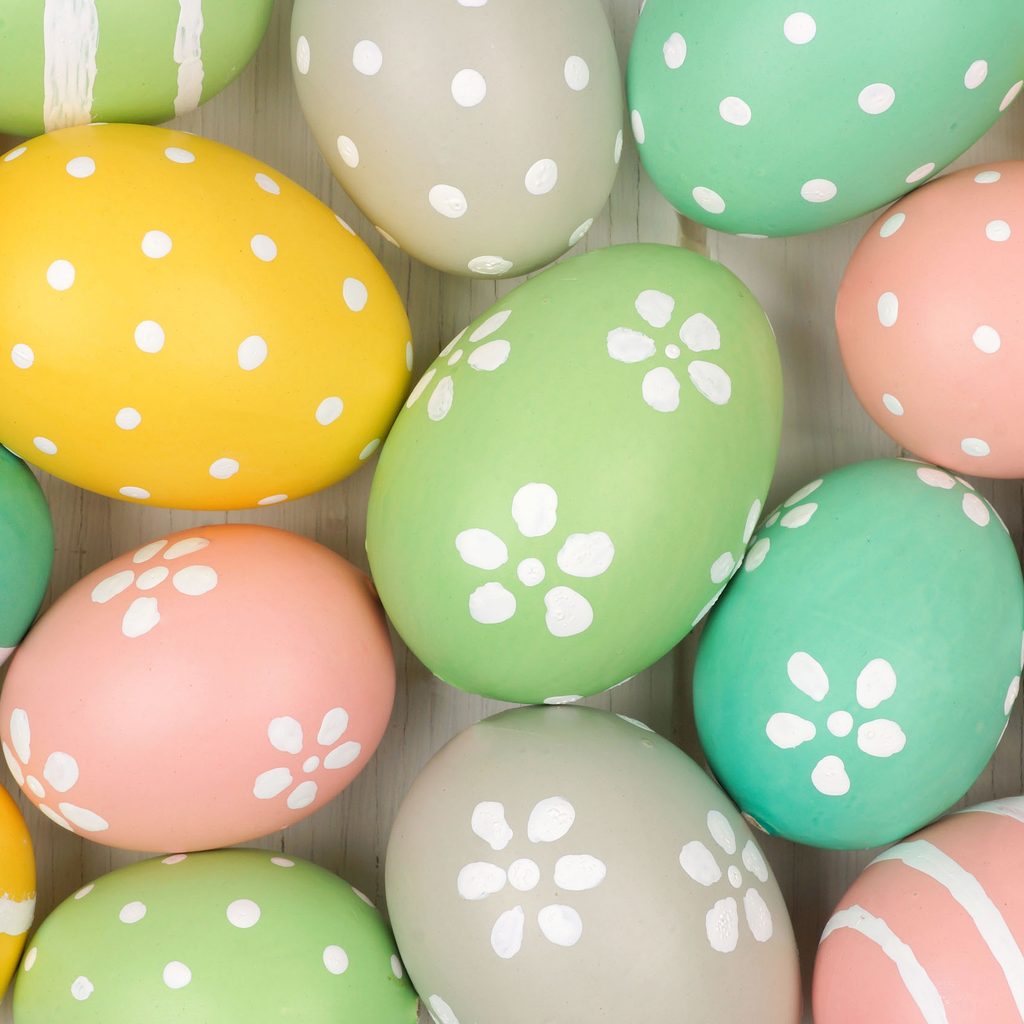
Paint
Classic design methods are popular for a reason: They look great. When using acrylic or watercolor paints, your only limits are your imagination. Channel your inner Jackson Pollock and create modern splatter-painted eggs. If you’re more detail-oriented, use paint to add the finishing touches on your traditionally dyed Easter eggs.
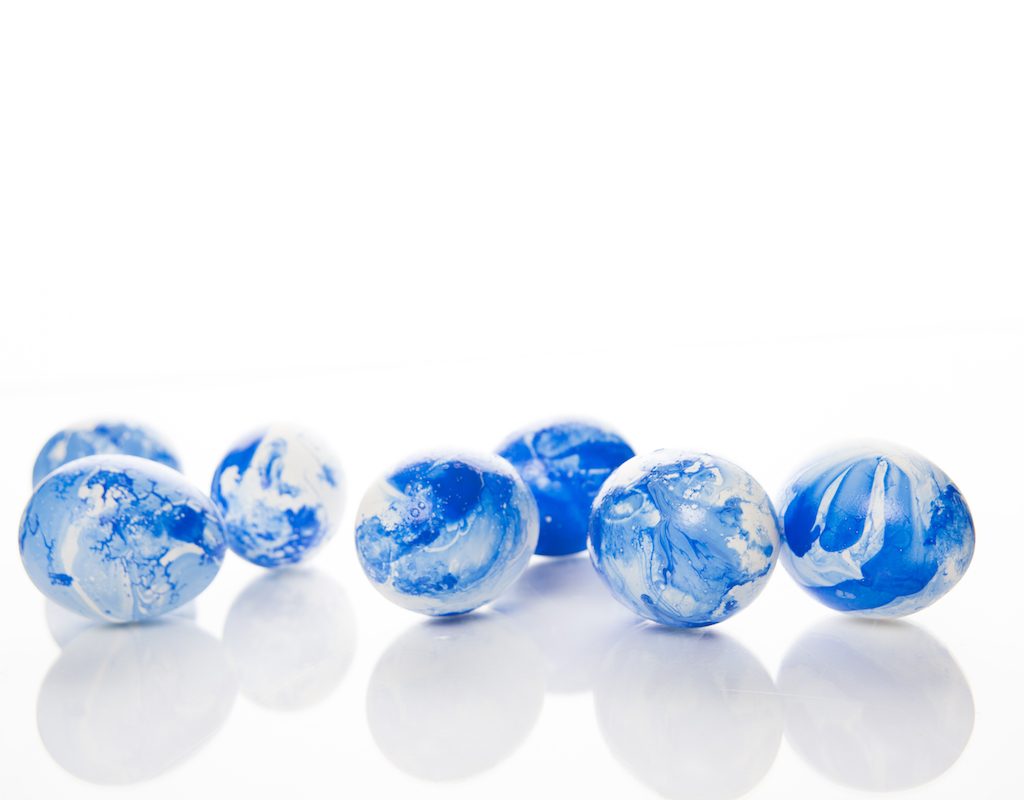
Nail polish
Looking for a show-stopping design? Use dark indigo nail polish to create stunning Shibori-inspired Easter eggs. Fill a plastic container with water, add a few drops of nail polish, and stir to create a marbled look. Then, wearing gloves, drop the egg in the water and swirl it around to achieve the trippy design.
Washi tape
Consider using washi tape to decorate your eggs or create interesting patterns with egg dye. For example, try to craft a dual-tone basketweave look by applying thin washi tape in a grid design. Let the egg soak in the dye for five minutes, remove the tape, then repeat with a lighter shade of the same dye.
Decorating Easter eggs should be fun, so don’t stress about creating the perfect design. Instead, experiment with your family and find methods or patterns that fit your holiday celebration, whether it’s laidback, sophisticated, or somewhere in between. Happy Easter!


