Easter is right around the corner, and it’s the perfect time to start thinking about fun projects you can do with the family. One of the best things to do is Easter egg crafts. There is no shortage of ways to decorate Easter eggs—there are traditional box dyes, stickers, wax crayons, and a really unique way of using nail polish.
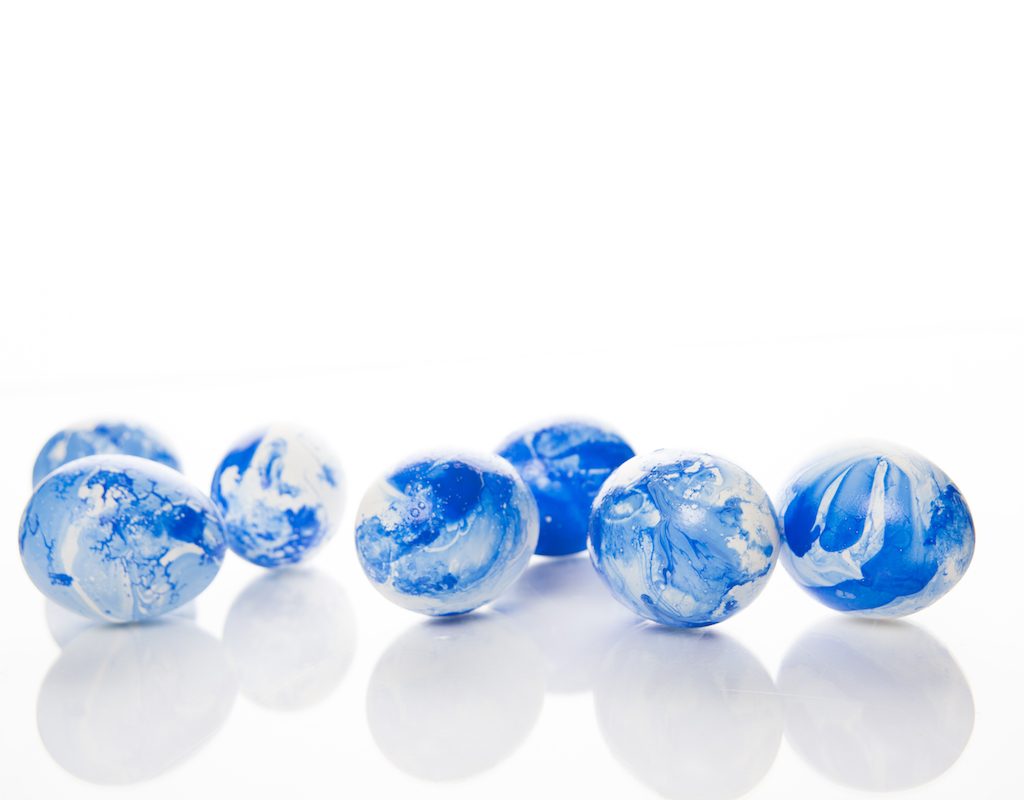
Easter egg nail polish dye is actually not a dye at all but rather a marbling method that is fun and simple without the mess of a dye (which is a bonus when there are kids are involved). All you need is a few ingredients, and you’ll be on your way to gorgeous, ribboned Easter eggs!

Gather supplies
The best part about this method of coloring eggs is you only need a few ingredients to make stand-out Easter eggs in tons of bright, vibrant colors. And, as a bonus, you can use up all your old nail polish that’s been lying around since last summer.
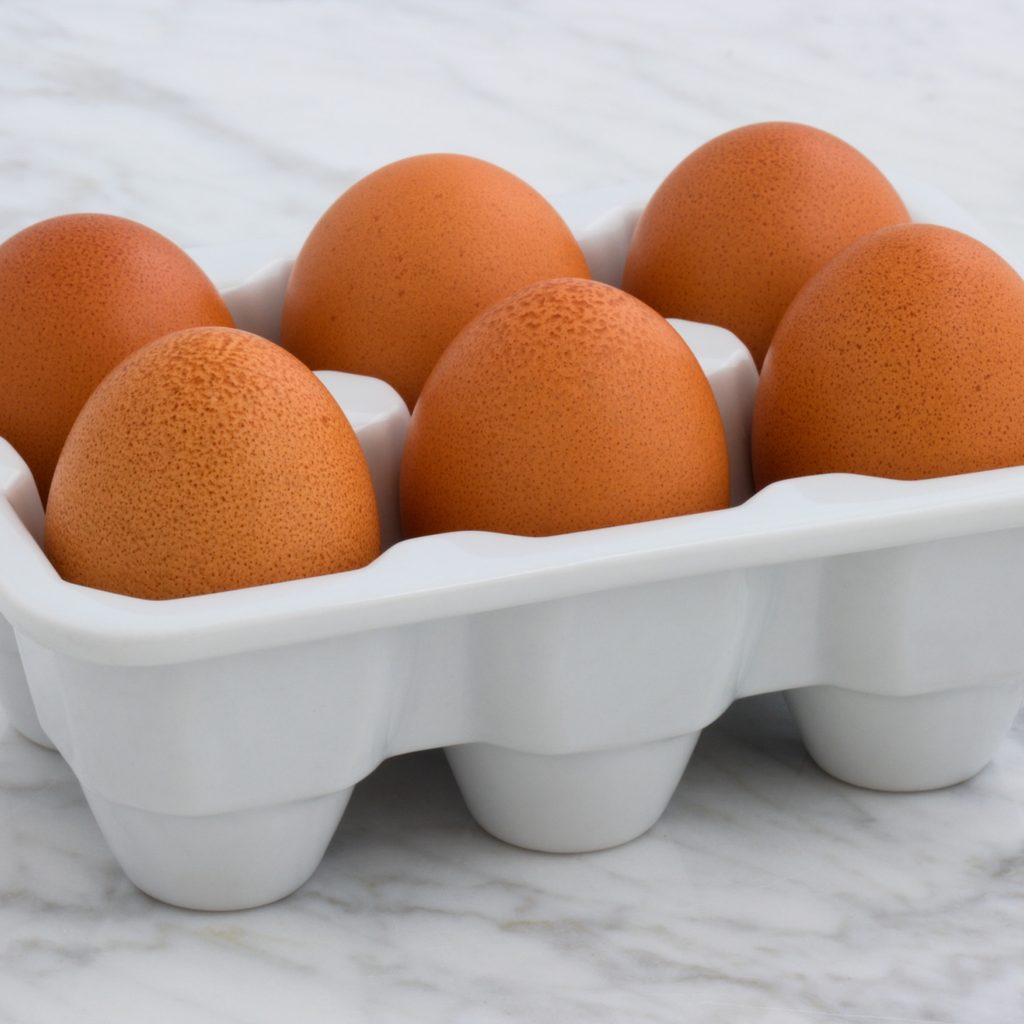
In addition to the nail polish, grab a few medium-sized plastic containers, a slotted spoon, wooden skewers or popsicle sticks, latex gloves, and hard-boiled eggs. Keep in mind that you should have one plastic container for each color of nail polish you plan on using, and enough eggs for trial and error, especially if this is your first time dyeing eggs using this method.
Set up the water
Place room temperature water into the plastic container and pour a few drops of each nail polish color onto the water’s surface. The nail polish should spread out over the top of the water when you stir gently with a stick or skewer, so if the polish sinks, the water is either too hot or too cold. Unfortunately, there’s no hard science behind choosing the correct water temperature, since every brand of nail polish will react differently to water, so just do your best! And be sure to do this in a well-ventilated space to avoid an excess of nail polish fumes.
If you want a multi-colored marbled egg, you can also add more than one color of nail polish to a single container. To achieve this look, add several drops of each polish color to the water, then use a popsicle stick or skewer to swirl the colors together. Take some time to practice because how you order the colors you put into the water will change the egg’s appearance. There are no wrong options here, but if you’re going for specific colors or designs to match other Easter decor, practice makes perfect.
Dip and dye
To get the perfect marbled look, you can dip the eggs in one of three ways: by hand, with tongs or with a slotted spoon.
Dipping eggs by hand is a great way to maintain control of your marbled design, but be sure to use latex gloves if you are dipping by hand because the nail polish will stick to your fingers. It can easily be taken care of in the end with nail polish remover, but if you want to keep things mess-free, gloves are the way to go.
You can also grab a pair of tongs and dip your eggs into the water mixture that way. It’s a simple hands-free option that is ideal for older kids who want to do the dyeing themselves but could still cause a mess. Make sure you rinse off the tongs right away to avoid permanent nail polish staining, and give the tongs a good wash after the fun is over.
Finally, a slotted spoon is widely considered the most popular egg-dipping method. This is great for little kids who just want the experience of dunking an egg in dye and watching it come out with color. The slotted spoon method will displace the nail polish dye resting atop the water, so if you’re going for a more complex marbled design, this might not be the method for you.
Dry and enjoy
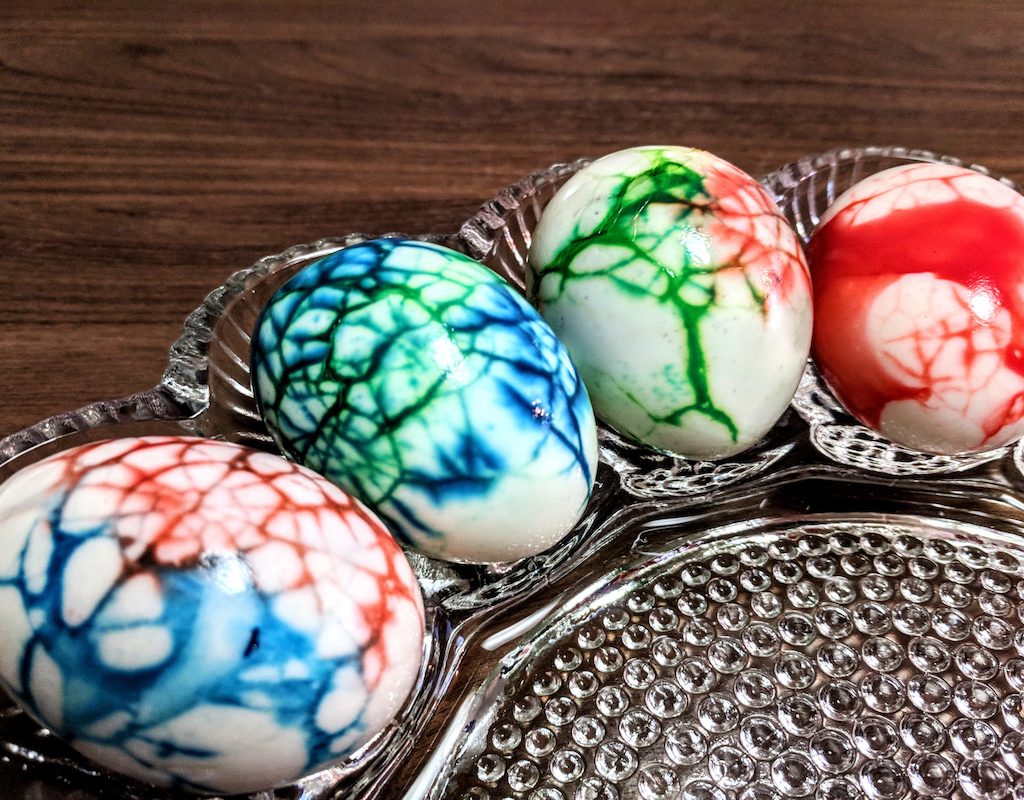
After the eggs are dyed to satisfaction, place them on a plate covered in paper towels or on egg stands and wait for them to dry. As the water-nail polish combo dries, you’ll see the marbled pattern emerge further as water runs off the egg in some sections and remains in others. Unlike watching paint dry, your kids might love watching the marbled pattern take shape with every passing moment.
And then it’s time to enjoy! Make sure you toss them or eat the eggs within a week of cooking them to avoid any food-borne illnesses. If you hide them around your home for the kids to find, we recommend counting the eggs before you find them; otherwise, the smell will find you later on if one gets left behind.
Marbling Easter eggs is the perfect afternoon project for families to get into the Easter spirit. It doesn’t take long to do, but once you get into it and see the results, you’ll definitely add it to your yearly Easter prep. Collect your favorite polish colors, gather the family, and get crafting!


