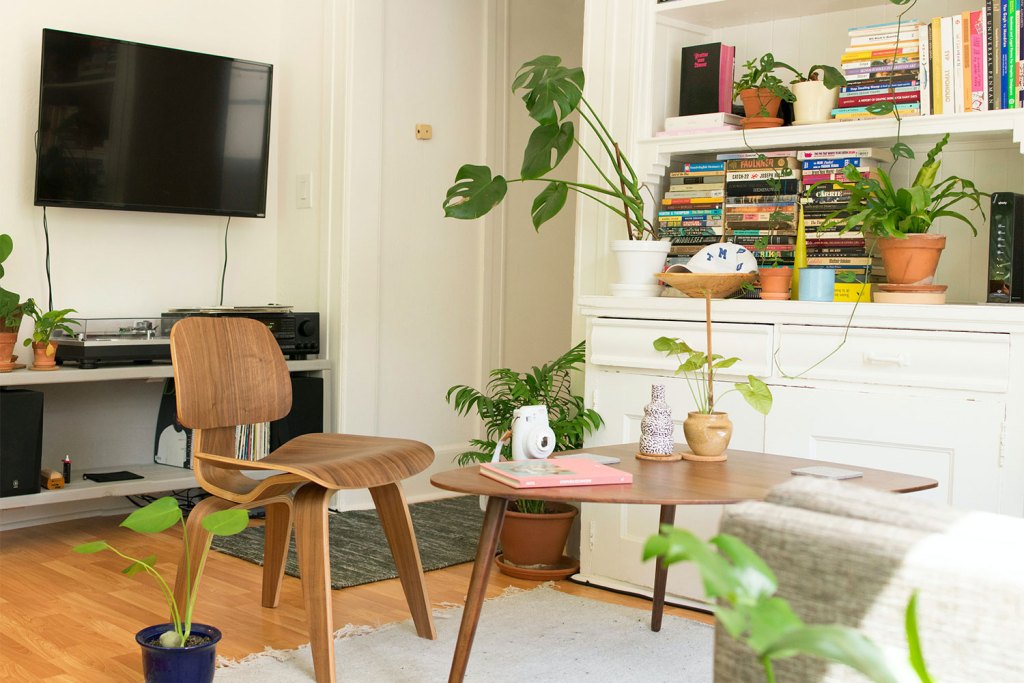
Mounting a TV on the wall makes a lot of sense with today’s big screens being slimmer and lighter. You can save space, keep it safe from pets and children that might pull it down, and improve your view.
But getting your TV on the wall is harder than it sounds.
If you want the ultimate viewing experience, you can’t simply shop for a mount, screw it in, and pop the TV on the wall. There are quite a few things to consider and some tools that you’ll need to have on hand.
Let us walk you through everything you need to know to mount your TV securely and beautifully on the wall.

Calculate the distance away from seating
To calculate the ideal viewing distance, you will want to divide the size of your TV by 0.55. For example, if you have a 60-inch TV, you will want to be sitting 109 inches away from it.
Consider your seating and where you want to place your TV and adjust accordingly.
Calculate the distance from the floor
You start by sitting in your favorite spot. Then you measure the distance from the ground to your eye level. The center of the TV should be mounted at your eye level.
If you have multiple seating areas, then you can always mount your TV 42 inches up from the floor to the center of the TV. This height would be accurate for someone of average height sitting on a standard sofa.
You’ll also want to consider any furniture that you intend to place under the TV and make sure your wall mount is high enough. The TV should be mounted at least 4 to 6 inches above the furniture.
Avoid bad locations
There are some places that you simply shouldn’t mount a TV. These include:
- Above fireplaces: The air above a fireplace gets hot, and most TVs aren’t going to do well in a hot environment. Also, if you have a wood-burning fireplace, the soot and debris that gets into the air could easily clog the TV’s vents and cause it to overheat. Ultimately, Kim Komando says, “You do you.”
- In bathrooms: Most TVs are not going to do well in rooms that get hot and humid. The water vapor in the air can cause the electronics to stop working.

Choose a sturdy wall
Even though newer TVs are relatively lightweight compared to their older counterparts, that doesn’t mean that they can easily hang anywhere on any wall.
You need to ensure that your wall can support the weight of the TV and utilize the proper equipment. A stud finder can be used to help you locate the wooden supports in your wall, called studs. If possible, you should mount the TV to the studs.
If you can’t mount on studs, then you should consider either using appropriately rated drywall anchors called toggle bolts or make a wood backing that can be screwed into the studs correctly.
Consider the cords
If you are simply going to be connecting to Wi-Fi and streaming content, then you may only have a single power cord to worry about. Otherwise, if you are connecting game systems, DVRs, or satellite boxes, then you may have several cords to deal with.
You have several options for concealing cords:
- Use a paintable cord cover. These covers give you a single channel to run cords through from the TV to the wall. It’s not invisible, but it is a lot neater.
- Run wires through the wall. If your power outlet is located below your TV, you can put the cables inside your wall and run them down using wall power kits, suggests Popular Mechanics.
- See if your TV supports One Connect. Some TVs, like Samsung, offer a nearly invisible single connection that streamlines your cords. It provides a single cord coming from the TV to a controller box. This allows you to plug all your devices into the controller box without needing to run each one to your TV.

Choose the right mount
You will want to make sure that you have the right mount for your TV and viewing preferences.
There are three main types of wall mounts to choose from — Fixed, Tilt, and Full Motion.
- Fixed Mounts are great when you know exactly where you’re going to mount the TV and are mounting it at eye level. They are inexpensive and sit close to the wall for a sleek and clean profile.
- Tilt Mounts are used when you’re mounting your TV higher than eye level. They can help reduce glare and maintain an optimal viewing angle.
- Full-Motion Mounts are best when you want the most flexibility out of your mount. These are perfect if you want multiple viewing angles, are mounting in a corner or recess, want easy access to cables, or need to reduce glare when viewing. They tilt, swivel, rotate, and extend to varying degrees.
You’ll also want to make sure you know your TV’s screen size, weight, and mounting pattern to help you select the appropriate mount. All of this information should be located in your TV’s manual. Digital Trends gives the scoop on choosing the right mount.
Have the right tools
Now that you know where to mount your TV and have selected the appropriate mount, it’s time to get your tools gathered and begin.
You will want to make sure that you have the following items on hand:
- A stud finder to help you identify the stud placement in your walls.
- Your chosen wall mount as well as its instructions and hardware like screws.
- A carpenter’s level so you can make sure you hang your mount level.
- The appropriate bolts for your wall type and TV weight.
- A power drill and bits that fit your screws for the wall and mount.
- A pencil so that you can mark hole placements on the wall.
- Your cable-management hardware and all appropriate cables that you need.
- A tape measure so you can find the right height and distance on the wall to mount your TV.
You can also consider using a paper or cardboard cutout and painter’s tape to help you choose the appropriate location and viewing height for your TV.


