For most people, a disorganized desk makes for a less productive workday. Spending your day searching for the documents you need amid of pile of paper and clutter is not the best use of your time. And working at a desk that’s cluttered and overloaded is not the way to inspire you to maximize your work productivity.
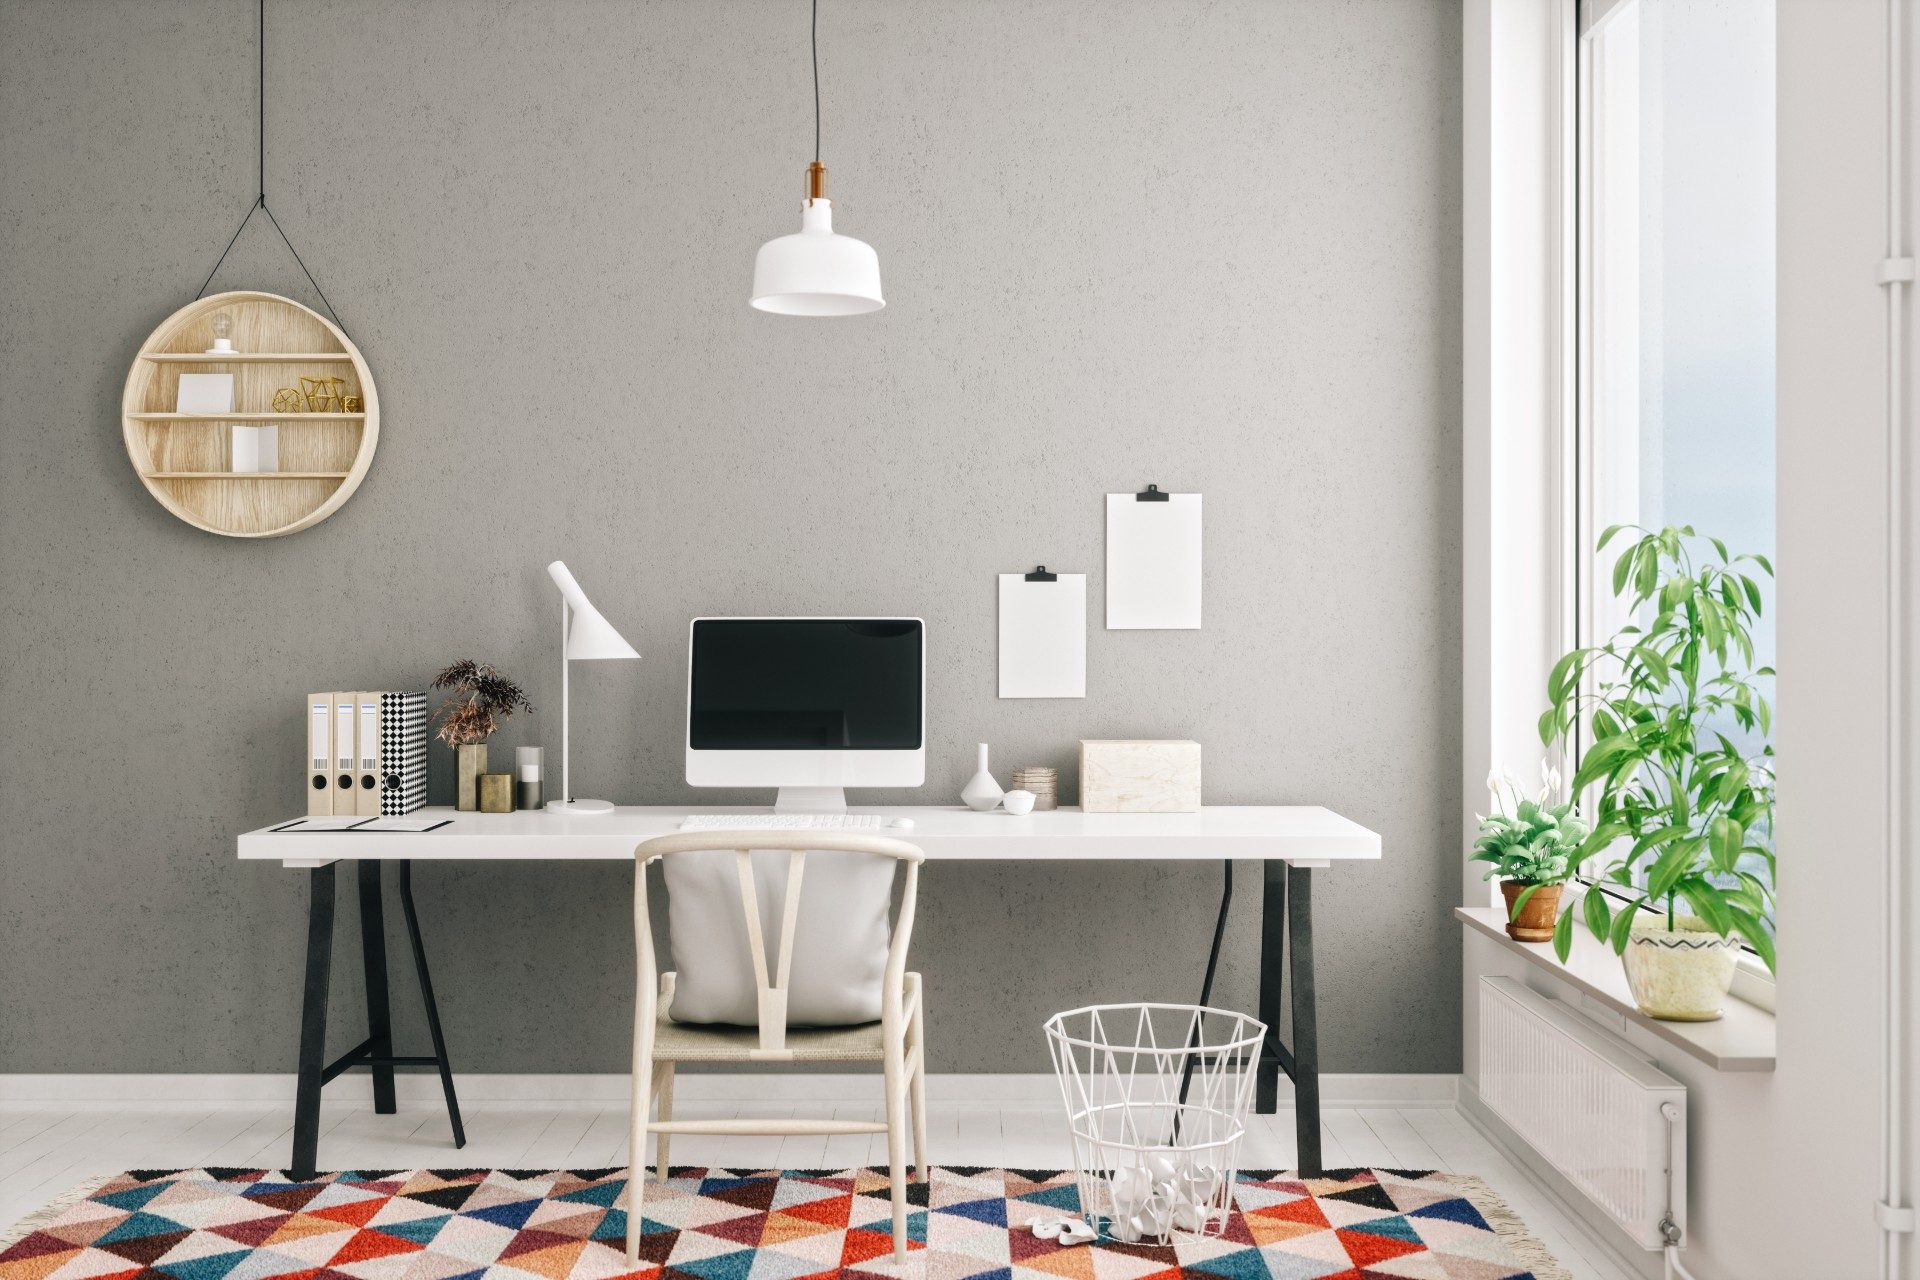
Your work-from-home desk is often your second office, and making it as organized as possible will make you more productive, improve the aesthetics of your space, and let you focus on taking care of business. We’ll help you keep your desk uncluttered with this great organizational guide.
Basic rules of at-home desk organization
- Designate: Designate a place for everything and keep the most often-used items—pens, notepads, appointment calendars, etc. within easy reach. You’ll spend less time searching for necessities and more time being your most productive self.
- Downsize: Limiting the number of items you keep on your desk is the number one way to help prevent clutter. Have a “no paper scrap” policy for your desk and enter notes and deadlines directly into your planner or phone every day.
- Sort: Categorize files into “active” or “inactive” status. Active files should be readily available on your desk, shelf space, or adjacent rolling cart. Inactive files should be placed in filing cabinets or labeled storage boxes.
- Utilize: There’s workspace available beyond the desk, and you should be taking advantage of all of it. Add organizing products to the back of the office door or wall space above your desk to increase storage and free up space on your desk.
Our top 10 work-from-home desk organizing ideas
Now that you have the rules to getting organized, we’re giving you the tools to get it done with our very best desk organization ideas!
- Hang a shelf
Expanding your workspace is as easy as 1-2-3. Just place a shelf above your desk, and you’ve created a special place for holding everyday files, showcasing a work award or two, or displaying a treasured family photo while leaving your desk space free of added clutter. Create storage levels with multiple shelves or wall mounted storage cubes, keeping frequently used items on lower, easier-access shelves.
- Install desk drawer dividers
Conquer drawer clutter with an assortment of acrylic or wire mesh organizers. They are the perfect place for keeping sticky notes, highlighters, flash drives, and stacks of business cards in their own designated compartments.
- Put up a corkboard
Bulletin boards aren’t just for students; they can actually be a great organizing resource for your home office, too. Pin important projects, phone numbers, and deadline reminders within easy view. Tacks allow for easy swapping out of pinned items as needed.
- Expand your workspace
Place a rolling cart next to your desk for added storage and surface area. For a seamless flow between desk and cart, select a rolling cart of similar height, and use the cart top for holding extra office supplies while keeping your desktop cleaner.
- Maximize the space under your desk
If the space under your desk can accommodate it, add a small chest of drawers or filing cabinets beneath. You’ll add extra (and almost invisible) storage without taking up additional floor space.
- Add a cable box to keep cords organized
Unsightly wires from your computer, printer, and cell phone? A cable box will corral all your office wires together without killing the minimalist vibe of your newly-organized desk space.
- Rethink your lighting
Desk lamps, and even floor lamps, take up valuable home office space. Try adding a clip-on lamp at the side or above your desk — it provides directional lighting while keeping your desk free.
- Add a multi-level document holder
Keep paper files within easy reach while maintaining order by placing paper documents into designated trays or shelving units placed on the corner of your desk or mounted to the wall above your desk.
- Solve the printer dilemma
Hide your printer in a drawer or cabinet with a rollout option and an electric panel-friendly back. It will free up desk space while keeping your home office looking less cluttered.
- Create a temporary home for important paperwork
Add labeled wall files to sort paperwork until ready to file. Not only will you keep your desk free of stacked papers, but you’ll know where every invoice, receipt, and correspondence is before it’s been dealt with and filed away.
Recycle, reuse, reorganize!
One last thing—you don’t always need to purchase home office organizing items. There are plenty of items around the house that can be repurposed for desk organizing.
- Coffee mugs make perfect pen, pencil, and highlighter containers
- Mason jars can hold rubber bands, staples, or rulers
- Utensil drawer organizers can move from kitchen to home office to keep desk drawers tidy, too
- Ice cube trays placed inside a desk drawer can hold paper clips, binder clips, thumbtacks, and other small items
With a little effort—and a few creative touches—you’ll be able to get your office space neat, organized, and ready to kick your workday into overdrive. Say goodbye to career-stifling disorganization and hello to a clutter-free, stress-free work environment that will help you improve productivity and open up your road to success!


