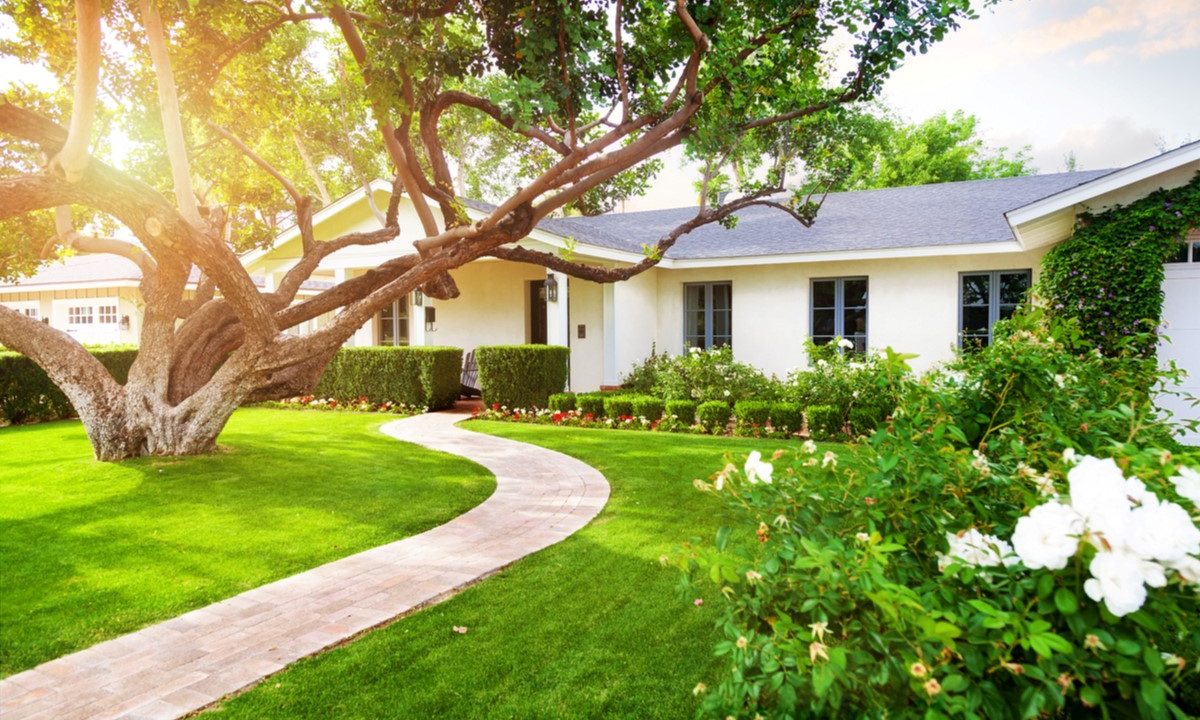
Is your once-lovely outdoor space starting to become an eyesore? If your yard has been neglected, it’s probably time for some heavy yardwork and landscaping to restore to its former glory. But trying to get your yard, trees, bushes, and beautiful garden space back into shape after a long bout of neglect may seem overwhelming. That’s why we’ve broken down the task into 10 simple yard cleanup tips that will get your lawn and your outdoor space looking pristine once again.
What does a yard cleanup consist of?
Not sure where to start with your yard cleanup? There may be a ton of debris from storms, and there are probably a lot of mangled trees, weeds, and dying spots of grass that need some TLC. But the whole process is pretty straightforward and generally consists of three overall phases:
- Removing debris
- Trimming, pruning, and edging
- Preparing for new growth
Tools you’ll need for your yard cleanup project
Before you get started, make sure you have all the landscaping tools and materials you’ll need to get your yard in tiptop shape. Here’s a list of possible things you’ll need:
- Containers for debris and yard waste
- Rake
- Pressure washer
- Trimmer/edger
- Pruning sheers
- Grass seed
- Fertilizer
- Mulch
10 tips for yard cleanup to give your space a glow
You want your yard to be a gorgeous oasis, but you’ll have to put in a bit of work to get it there. With the three phases of yard cleanup in mind, let’s dig into 10 tips for making your yard pristine so you can enjoy your space properly.
Removing debris
Tip #1: Purge your yard of branches and trash
It’s always surprising to see how much debris and garbage accumulate after some neglect. The first step on the list is to get all the debris out of the yard and into the trash bin. Collect any sticks and branches that have fallen, and pick up any trash, pet messes, or other rubbish while you’re at it. This is also a good time to assess lawn ornaments and decor to determine if you want to keep them or haul them away.
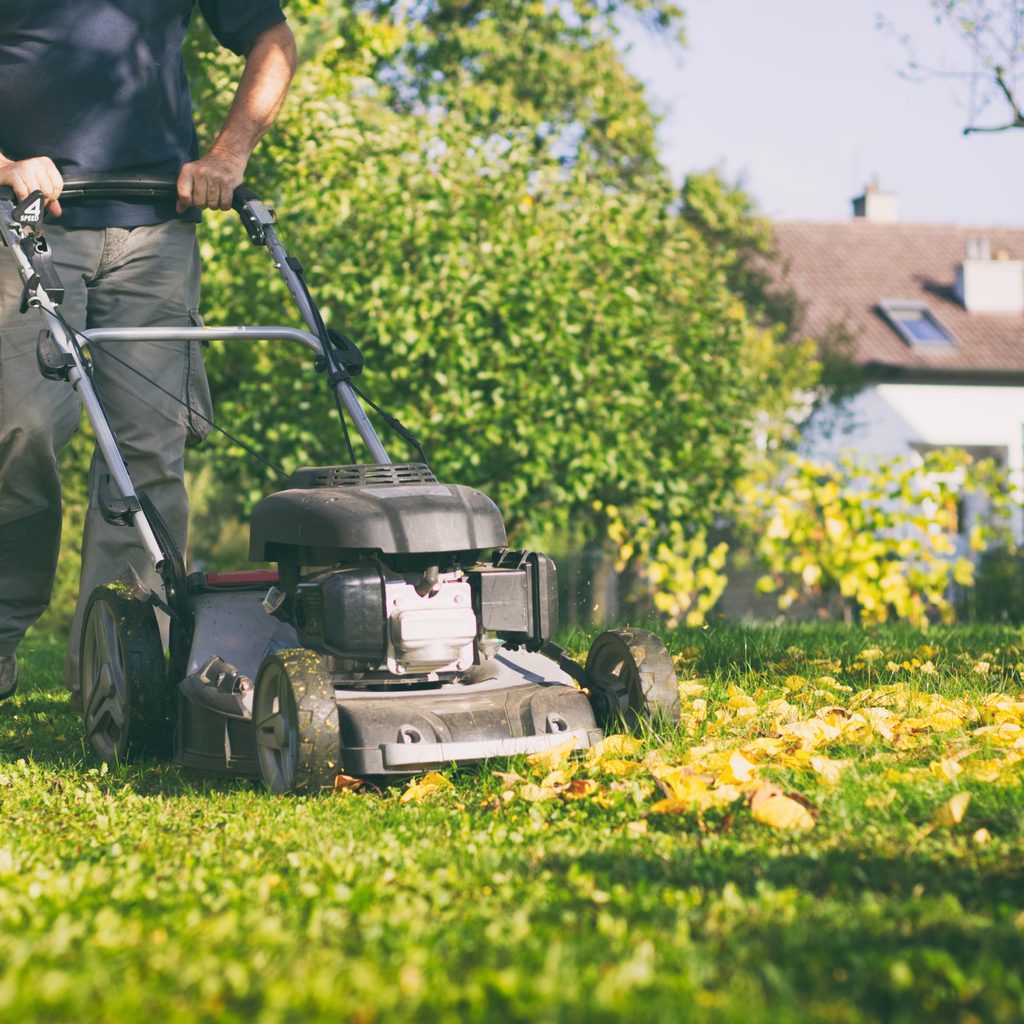
Tip #2: Rake up leaves and debris
Grab your rake and start pulling leaves out of your gardens, off of your walkways, and away from the sides of your house or garage. You may find dead weeds and other yard waste while you’re raking. Pull them up and package all the debris in containers or bags to bring to the dump.
Tip #3: Hose off patios and walkways
Those hardscapes can get pretty nasty after a while. Especially after rain and storms, muddy water and debris pour onto walkways and patios, creating a filthy appearance. Grab your pressure washer and go to town on the hard surfaces. Sparkling clean walkways make your yard look instantly better.
Trimming, pruning, and edging
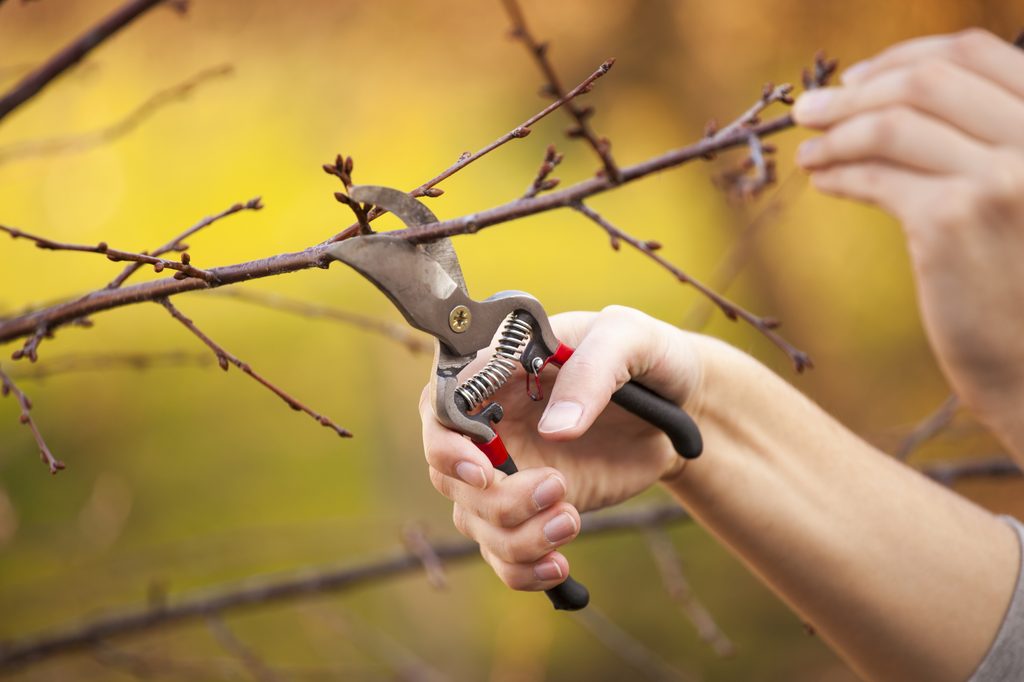
Tip #4: Trim trees and bushes
Trees and bushes add a lot of aesthetics to your yard, but they can easily become overgrown eyesores. It’s time to trim back those beasts! Snip off any branches that appear dead, are hovering over walkways, or are encroaching on the space and sunlight of other plants.
Tip #5: Prune perennials
If you have perennials in your garden, it may be time to prune them. Cutting back dead stems and leaves and shortening the height of the stalks is actually beneficial for the plant and will help it grow fuller while maintaining its health. Grab your pruning shears and get to work cutting back these garden favorites.
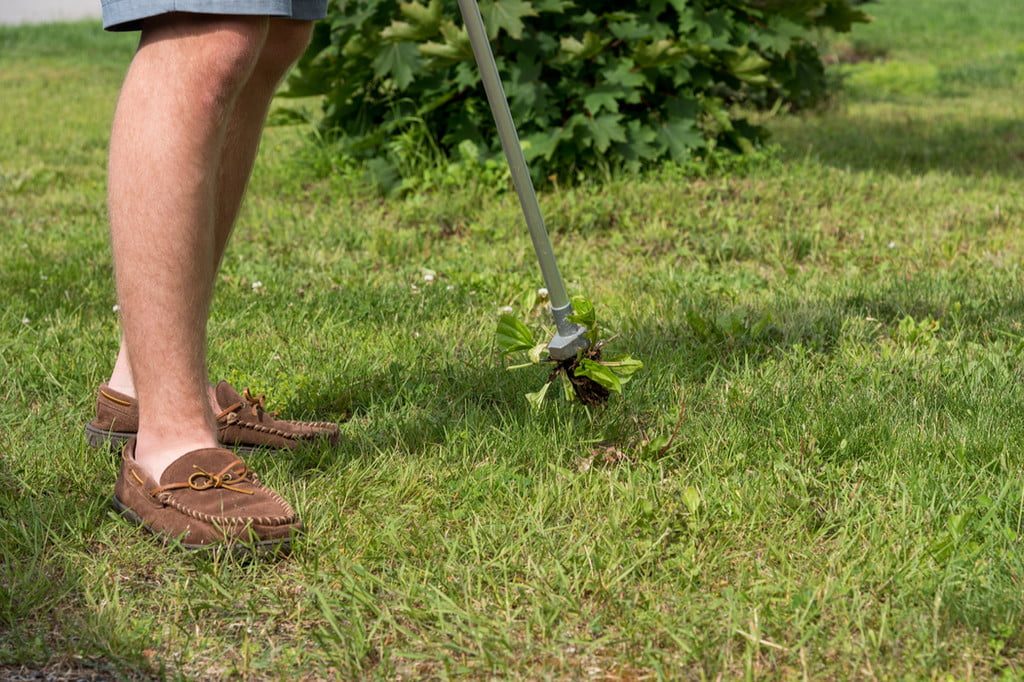
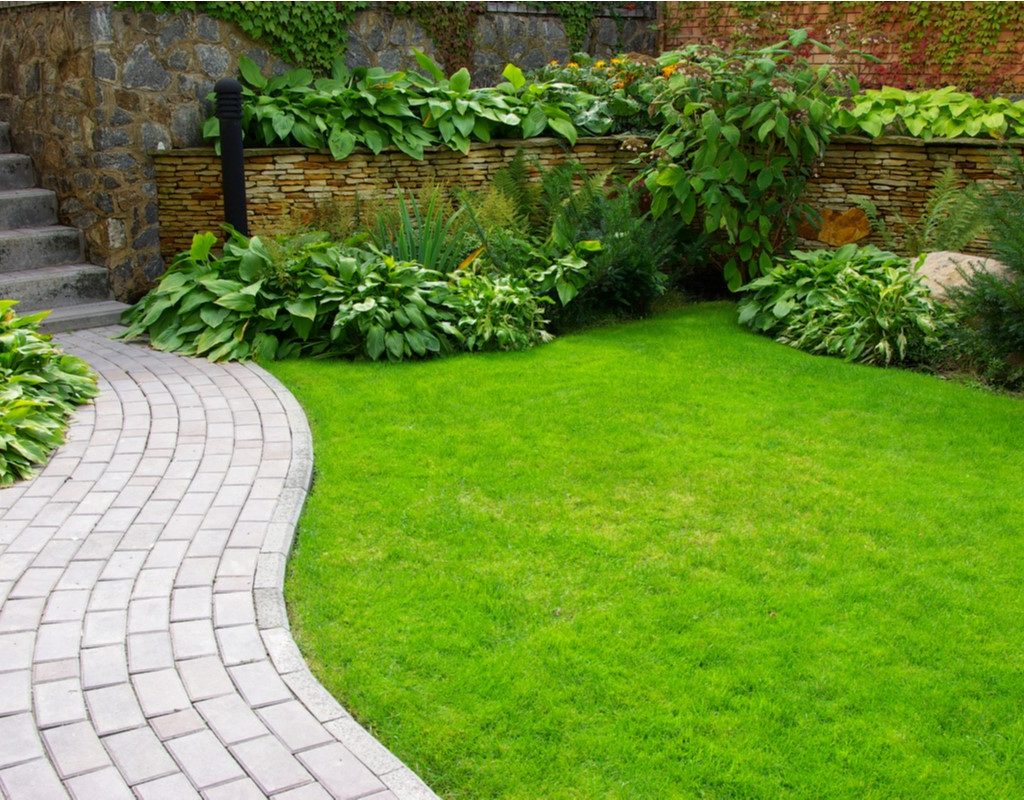
Tip #6: Use an edger to clean up walkways and gardens
You’re probably seeing a lot of messy and overgrown lines on your gardens and walkways. To correct the mess and give your yard a clean, pristine appearance, grab your edger. Edge along the sides of all sidewalks and garden beds for clean lines. Clean up any debris created with a broom or hose.
Preparing for new growth
Tip #7: Examine your lawn
Grass often becomes patchy and bare, whether due to lack of sunlight, repeated traffic, or soil issues. Now that all the leaves and other debris are cleared off the lawn, take some time to walk around. Note the areas that seem to be struggling to sprout new blades of grass or have a lot of dead, discolored spots. Those are the areas you’ll need to seed and fertilize.
Tip #8: Seed and fertilize your lawn
Grab a rake, fertilizer, and grass seed, and get to work on your lawn. Spread grass seed first over the lawn, paying special attention to the areas you noted when you were examining it. Rake the lawn to get the seeds down into the soil. Then, apply fertilizer according to the product instructions. Make sure you water generously and keep the soil moist so the new grass can take root.
Tip #9: Remove the old mulch
Mulch is a great way to give a garden bed a facelift. It not only makes the garden look clean and tidy, but it also preserves soil moisture and keeps weeds at bay. Your old mulch has to be removed first, though, before laying the new stuff. If you layer the new mulch over the old, you’ll be risking the health of your plants. Rot can occur under all those layers, and the soil could get starved for nutrients. Grab a shovel and a rake, and haul out the old mulch first.
Tip #10: Add new mulch
Once the old mulch is out, you can pile in the new mulch. First, be sure to remove any weeds that survived under the previous layer so that they don’t pop up come summer. It’s also a good idea to put down a layer of newspaper or other organic substance before mulching so that weed growth is discouraged.
When to call in a pro for yard cleanup
When the task of yard cleanup feels too daunting or certain issues are beyond your expertise, it’s time to call in a landscaping professional. Some of the more extensive yard cleanup entails more than just basic maintenance. It requires expertise in areas like:
- Handling extremely overgrown foliage
- Repairing or removing dead, diseased, or damaged trees
- Reviving neglected landscapes
- Fixing severely compacted soil or slope issues
If the debris is overwhelming, if trees need significant attention, or if there are signs of damage requiring specialized attention, it’s best to enlist the help of professionals. Their knowledge and equipment can efficiently tackle the job, ensuring thorough cleanup and proper preparation for rejuvenating your outdoor space. With their assistance, you can achieve the desired results without the stress and hassle of tackling it alone.
How much should a yard cleanup cost?

The cost of a yard cleanup can vary depending on several factors, but on average, homeowners can expect to pay between $100 and $500 for a standard yard cleanup service. Light cleanups — like raking leaves, trimming small shrubs, and basic debris removal — may fall on the lower end of the scale. More intensive jobs that involve large branches, overgrown landscaping, excessive weed removal, or hauling away lots of debris can push the cost higher.
The size of your yard, regional labor rates, and whether the cleanup is seasonal (like spring or fall) can also affect the final price. It’s best to request a few quotes from local landscaping companies to get an accurate estimate based on your specific needs.
Reviving an overgrown outdoor space requires dedicated yardwork and landscaping efforts. By following the 10 simple yard cleanup tips provided, you can transform your neglected yard into a pristine and beautiful oasis. Equipped with the necessary tools and materials, you can effectively restore the vitality of your outdoor space. Bring your yard back to its former glory and create a welcoming and picturesque environment the whole family can enjoy.


