
Spring season is just around the corner! It brings warmer weather and sunshine, and is a time for rebirth and renewal — and that includes inside your home. With nature perking up and the forecast getting brighter outside, it only makes sense to do some spring cleaning inside. Spring cleaning tasks usually include:
- Swapping out winter clothes for summer clothes
- Organizing spaces that have become cluttered
- Wiping and dusting surfaces
- Mopping floors
- Giving the kitchen and bathrooms a deep clean
But there are a few things you and most people may be forgetting!
If you want to do a true spring cleaning that really makes your home feel like new again, then you need to leave no stone (or couch cushion) unturned. Follow all the way through with your spring cleaning this year by doing it thoroughly. Use this as your spring cleaning checklist, and do these 10 simple spring cleaning tasks everyone always forgets about.
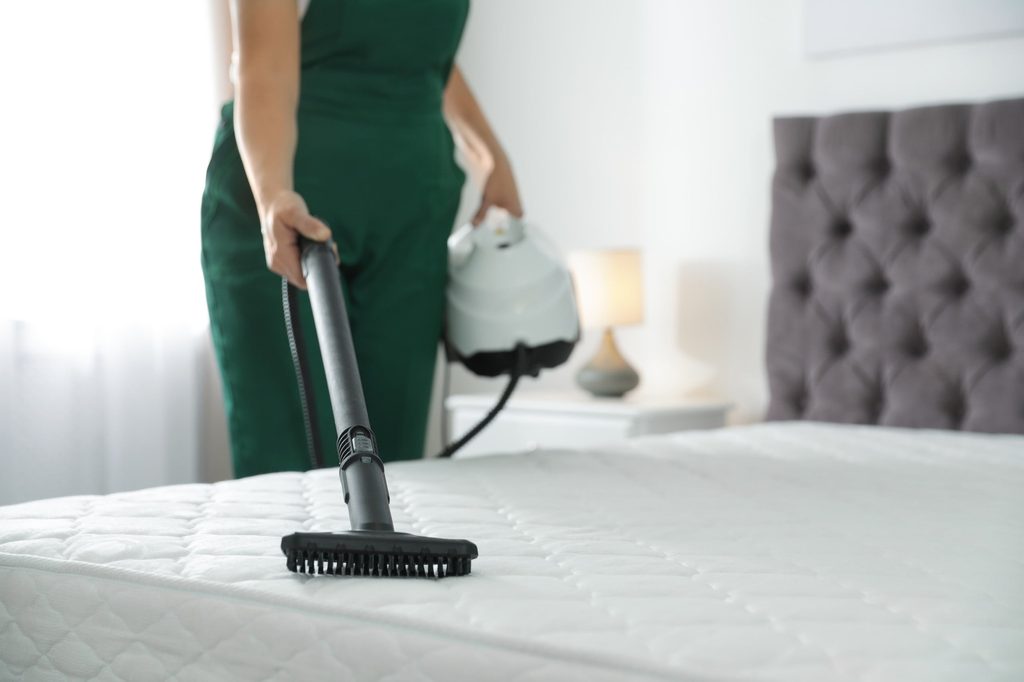
1. Clean mattresses, couch cushions, and pillows
Anything you’re lying on all the time certainly deserves to be cleaned at least once a year. You can throw cushions and pillows can in the laundry if they’re small enough. Or, you can unzip the cushion or pillow covers and put those in the washing machine for a cycle. Then they’ll be good as new.
For cleaning a mattress, first remove all sheets (those should get a good cleaning in the washer, too, while you’re at it). Use stain remover if you see any dirty spots. Then, clean the whole thing to remove any germs and odors. Vacuum the mattress, sprinkle some baking soda all over it, let that sit for about 20 to 30 minutes, then vacuum it again. Do this on both sides.
2. Sanitize small areas and items that people touch a lot
Go around your house with sanitizing spray to clean light switches, doorknobs, handrails, and anything with buttons, such as the thermostat and the television remote. Antibacterial soap and water are also useful for cleaning many of these things if you prefer.
3. Clean tops of door frames
We don’t think of them because they’re typically out of sight and out of mind, but the tops of door frames accumulate a lot of dust and dirt. Grab your ladder and duster, get up there, and clean those bad boys. If you have a handheld vacuum, it will come in handy here to keep all of those dust bunnies from ending up on the floor. Use the vacuum in tandem while dusting and you’ll save yourself some floor cleanup.
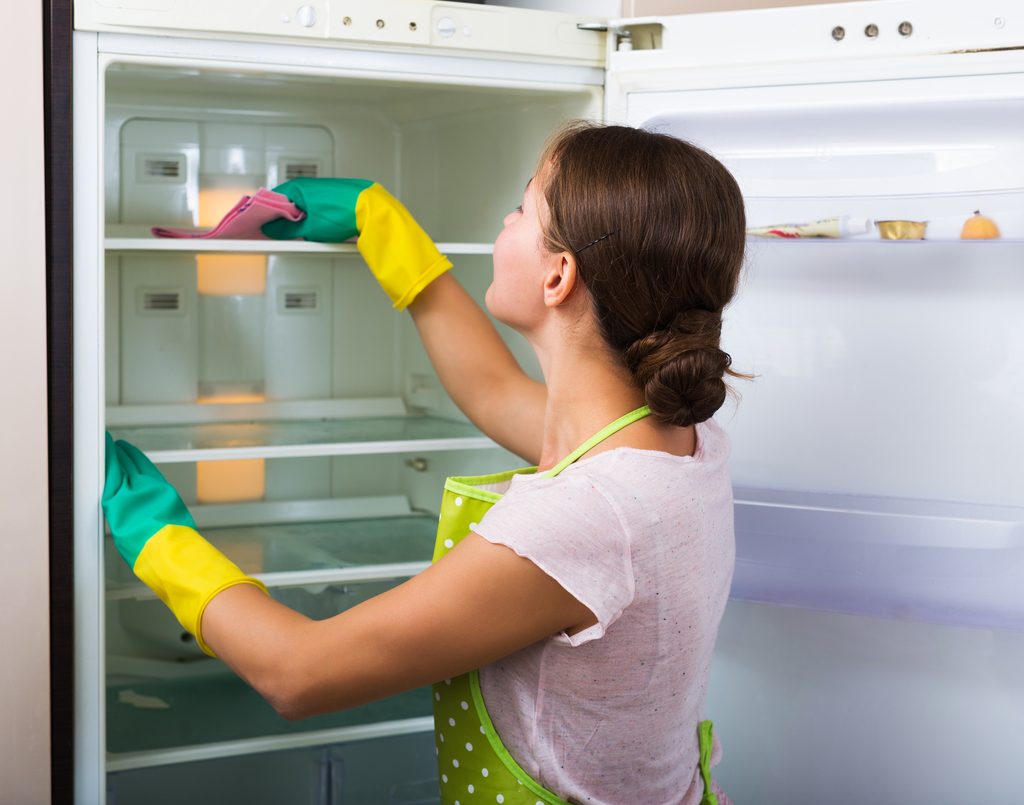
4. Clean the inside of the refrigerator and pantry
This is a biggie! Your refrigerator and pantry likely have drawers and/or shelves in them. Be sure to clean the Those thoroughly around springtime, too. For the fridge, take all the items out. Then, remove the shelves (most fridges allow for you to remove the drawers and shelves) and wash them in the sink with soap and water. In the pantry, remove all items and wipe down the shelves well. Once both are dry, you can organize all your food items even more efficiently than before using storage containers for added organization.
5. Clean any holders or organizers
Here’s another thing we tend to forget: things like utensil holders, toothbrush holders, and jewelry organizers need some cleaning, too. Grab some wipes and scrub ’em down — or check to see if the items are dishwasher safe. The top rack of your dishwasher can save you a lot of work.
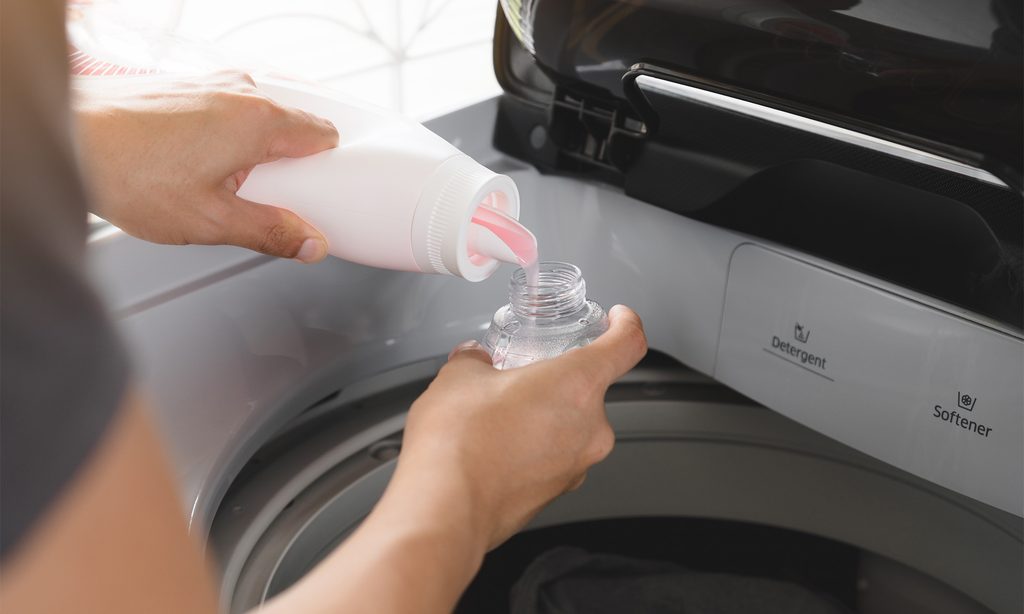
6. Clean your dishwasher and washing machine
Just because these appliances are experts at cleaning things does not mean they automatically clean themselves. You’ll need to follow instructions for your particular appliances, which usually entails running them on a cleaning cycle — because they know how to clean themselves when given the right commands and proper cleaning products!
7. Wash garbage cans
Garbage cans can start to stink pretty badly if you don’t give them a good scrub down every now and then. Wipe them thoroughly with cleaning spray. Or, if your trash bins are large, you can take them outside to hose them down. Dish soap and white vinegar work wonders here.
8. Clean lighting fixtures
Here’s another one that might be out of sight but still accumulates plenty of dirt and dust. Make sure to wipe down and sanitize the tops of ceiling fans and lights, as well as inside lampshades and other lighting fixtures to remove all of that forgotten dust.

9. Wash windows, including shades and curtains
Maybe you had the blinds down all winter, but now it’s time to let the light in. Once you do, you might notice that your windows are filthier than you thought. No problem: Grab your glass cleaning spray, some paper towels, or rags, and wipe them clean. You’ll also want to dust your blinds or shades and wash your curtains in the washing machine if possible. Giving your curtains a good air dry outside will bring some fresh air into your home as well.
10. Clean air and heating vents
Air and heating vents get dusty! Get in there with your duster to remove any unwanted dirt and keep it from getting into the air you breathe. While you’re at it, wipe down the outside of the vents, as well.
These simple spring cleaning tasks are exactly what you need on your spring cleaning checklist. We all know we’ll need to vacuum, scrub countertops, and wipe down surfaces such as tables and chairs, but these few extra tasks will really push your home over the cleanliness finish line. It’s easy to forget things like cleaning door frames or sanitizing your television remote, but it’s exactly small things like this that you should give proper care and attention to during springtime. Treat your home — and yourself — to a full spring cleaning with a stacked spring cleaning checklist that will leave your home smelling and feeling brand new and ready for spring.


