Maintaining a clean house is a weekly—and sometimes even daily—chore. But, once or twice a year, it’s wise to do a little more than just maintenance. We find that bi-annual deep cleans will help keep your home looking its best throughout the year.
Setting aside a few hours to give each room the extra TLC it deserves is what spring cleaning is all about, where we clean, polish, wash, and dust every area of the home. Sounds overwhelming? It’s really not. Go room by room—no need to tackle the entire house in one day—and it won’t seem quite as daunting. We’re starting with the living room, a good place to begin since it’s a room that is often in full view of family and guests.
Follow our handy living room cleaning checklist and keep our simple tips in mind when it’s time for your spring cleaning project!
Living room cleaning list: What you’ll need to get it done
Before tackling your spring cleaning task, make sure you have all the supplies you’ll need on hand.
- Dust mop (preferably with a long handle)
- Step-ladder
- Cleaning cloths—we love microfiber due to its ability to grab and trap dust
- Small bucket with handle
- Sponges
- Vacuum with attachment
- All-purpose cleaner
- Window cleanser
- Rug shampoo machine with an upholstery attachment (optional)
- Spot remover for upholstery or carpets (optional)
Handy living room cleaning checklist—from ceiling to floor
Ceilings and windows
Cobwebs are a definite no-no, so you’ll need to pay special attention to the corners of your ceiling, where cobwebs tend to hide. Grab your step ladder and/or use a long-handled dust mop with a microfiber head for best results.
Ceiling fans can be a nightmare to clean, but we’ve found a little trick that’s pure genius. Place a pillowcase around each blade, grabbing the dust as you slip the case off. The dust will collect inside the case, so when you’re done, you empty it into the trash and pop the pillowcase into the wash the next time you do laundry! So simple, yet so effective.
While you have that step ladder out, it’s the perfect time to take care of your curtains. If yours are machine washable, follow the manufacturer’s care instructions to give them a fresh laundering. If you have ‘dry clean only’ drapes and are not up for the expense or the hassle of a trip to the cleaner, use the upholstery attachment on your vacuum to give your drapes a quick clean-up. Don’t forget to dust or vacuum your curtain rod and blinds, too.
Spring is the perfect time to wash your windows, both inside and out. To get windows sparkling clean, use your favorite window cleaning spray and crumpled newspaper instead of paper towels; you’ll get a lint-free, streak-free shine. Windowsills can be particularly challenging because dirt can get embedded deep into corners. After spraying with an all-purpose cleaner, use cotton swabs or an old toothbrush to get into corners.
Furniture and accessories
Who knows what could be lurking under the cushions of your sofa and chairs? Crumbs, spare change, wayward snacks, even the missing Queen of Hearts from your deck of cards—it’s anyone’s guess what you’ll find. Use the brush attachment on your vacuum to clean the entire surface of your upholstery and the crevice tool to get into all the nooks and crannies. If you have slipcovers on your furniture, now’s the time to give them a machine washing (they’ll come out smelling so fresh).
Throw blankets or accent pillows are probably due for a good cleaning as well. Machine wash what you can, and spot clean the rest with a special upholstery safe cleaner (you can find them online or at your local grocery store).
Nothing looks—or smells—better than freshly-polished furniture. Start by giving everything a thorough dusting. Use your favorite spray polish and buff with a microfiber cloth to really bring out the shine.
When you dust your living room for spring cleaning, take a few extra minutes to dust all of your knickknacks and accessories. From lamps to lampshades, picture frames to electronics, every item in the room should be dust-free when you’re done.
What’s the dirtiest part of your living room? Undoubtedly it’s your remote control. Grab a disinfectant wipe, and give it a good cleaning to eliminate germs.
Floors and rugs
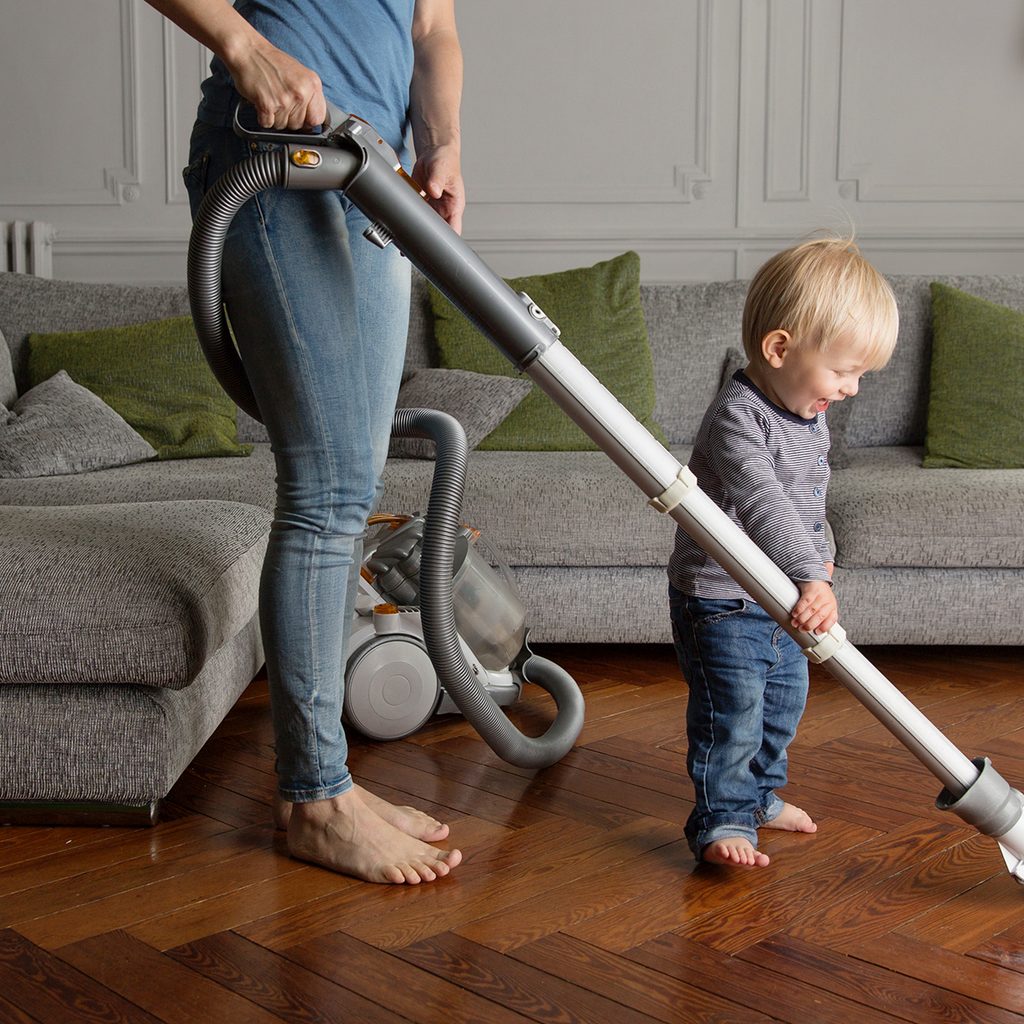
You’re almost done with your living room cleaning list. The last step is your floors. Sweep or vacuum to rid floors of any dust, dirt, or debris. For hardwood, a quick damp mop with Murphy’s Oil Soap and water will give wood a refreshed shine and a spring-cleaning-worthy smell!
Use a spray-on spot cleaner to tackle spots and stains on carpets or area rugs. If you’re feeling extra ambitious, you can rent a steam cleaner from your local home supply store to give carpets a really deep clean.
Follow our living room cleaning checklist, and in just a few hours (and with a little bit of elbow grease), you’ll have your living room looking fresh, clean, and tidy just in time for spring.


