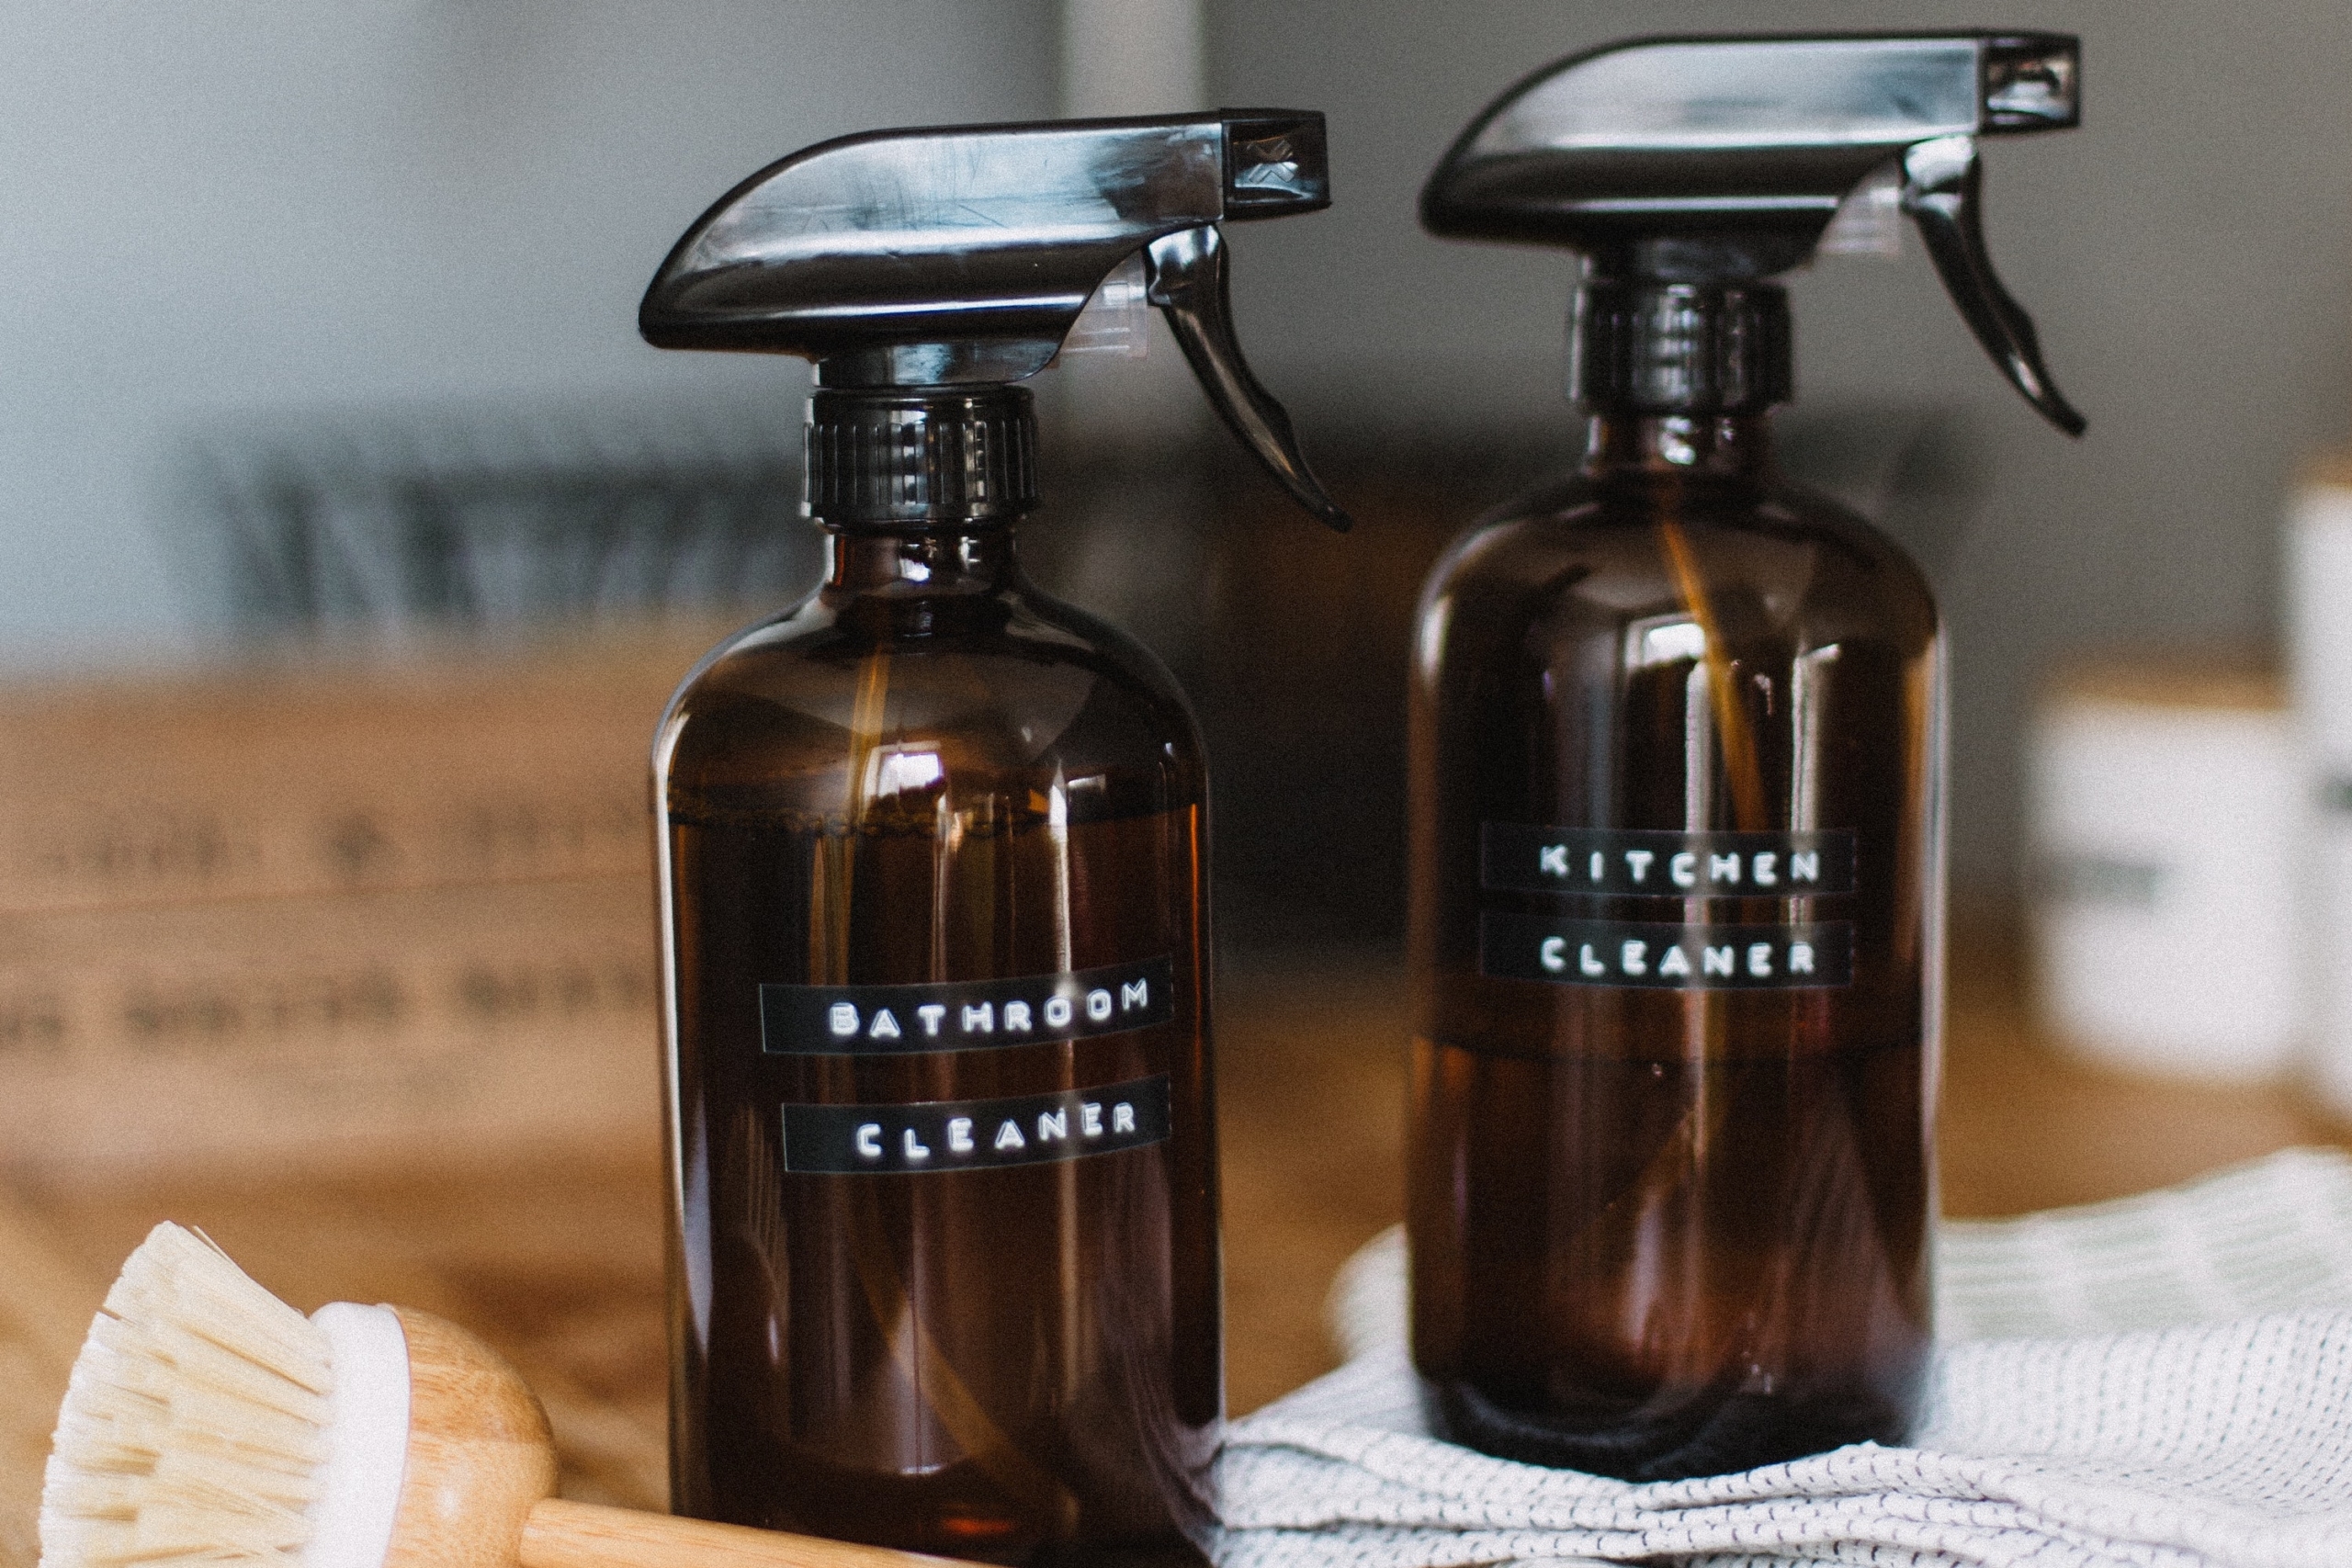
Every day pantry items like baking soda and vinegar can be turned into cleaners and, in my opinion, work even better than their store-bought brothers and sisters. They are effective, cheap, and easy to make which helps cleaning your home a little less painful a process.
The beauty of all-purpose cleaners are in the name — they are all-purpose. If you’re looking to deep clean your home, you can use them on many surfaces — which includes countertops, floors, appliances, showers, and more. This way, you’re not buying or grabbing ten different cleaners to do the job one DIY homemade cleaner can. This means you save time, money, and if we’re being honest, a little bit of sanity as well.
Listed below is an easy-to-follow formula but before we get started, an important safety tip. When making any at-home cleaner, there are a few things you should know. Never combine ammonia-based cleaners (like window and glass cleaners, oven cleaners, floor waxes, and toilet bowl cleaners) with any products containing bleach. Always read the product labels before you mix any ingredients together. Also, always label homemade cleaners before you put them away listing the contents used. In case a child or animal accidentally gets into it, you’ll want to know what’s inside when calling poison control.
This all-purpose cleaner can be used to clean counter-tops, degrease in inside of stoves, shine your fridge, and even on some floor surfaces.

The formula:
- Grab white vinegar, water, and a spray bottle like this one. This comes in a four-pack so if you want to make a batch up, it’ll save time when you decide to tackle an all-house clean.
- The ingredients are simple — you just need one part distilled white vinegar to one part water. That’s it!
- If you want to add a few drops of essential oil, it can give it a nice smell to any item you’re cleaning. I’m a fan of anything earthy like basil or rosemary, but you can play around until you find a scent that’s right for you.

The story behind the ingredients:
- Everything good starts with water. Water may seem like a simple ingredient — it’s what we use to wash clothes, car, and ourselves. It can remove most of the dirt found on surfaces and is actually called a “universal solvent” because it dissolves more substances than any other liquid. But it won’t act alone as a disinfectant.
- Vinegar has amazing properties that breaks down hard-to-clean messes caused by hard water but gentle enough that it can be used on many materials like stainless steel, plastic, and laminate. Vinegar is made of acetic acid, which is a natural disinfectant for killing bacteria like salmonella and E. coli. Regardless of how careful you are, those germs can find their way not your countertops without you even knowing, so it’s better to be safe than sorry. Plus, did you know you can use this same formula to keep cut flowers fresh longer? It also works a charm on grease so you can clean the stovetop, inside the oven, and on greasy pans as well. (You can also throw some into a dressing mix for a salad if you have any leftover.)
While an all-purpose cleaner works magic on many things, steer clear of using it on grout, stone, and wood that can be damaged by the vinegar component.
Another quick note on cost savings. You can buy the vinegar in bulk since, once you use this formula, you’ll never use anything else to save money over buying standard-sized bottles. You can snag huge gallon jug of distilled white vinegar like this one for just $13 on Amazon. Imagine the savings after years of buying store-bought cleaners?
There really is no reason not to give a homemade all-purpose cleaner a shot. It’s simple, easy to use, and is versatile enough to use on so many things. I promise you will not be disappointed.


