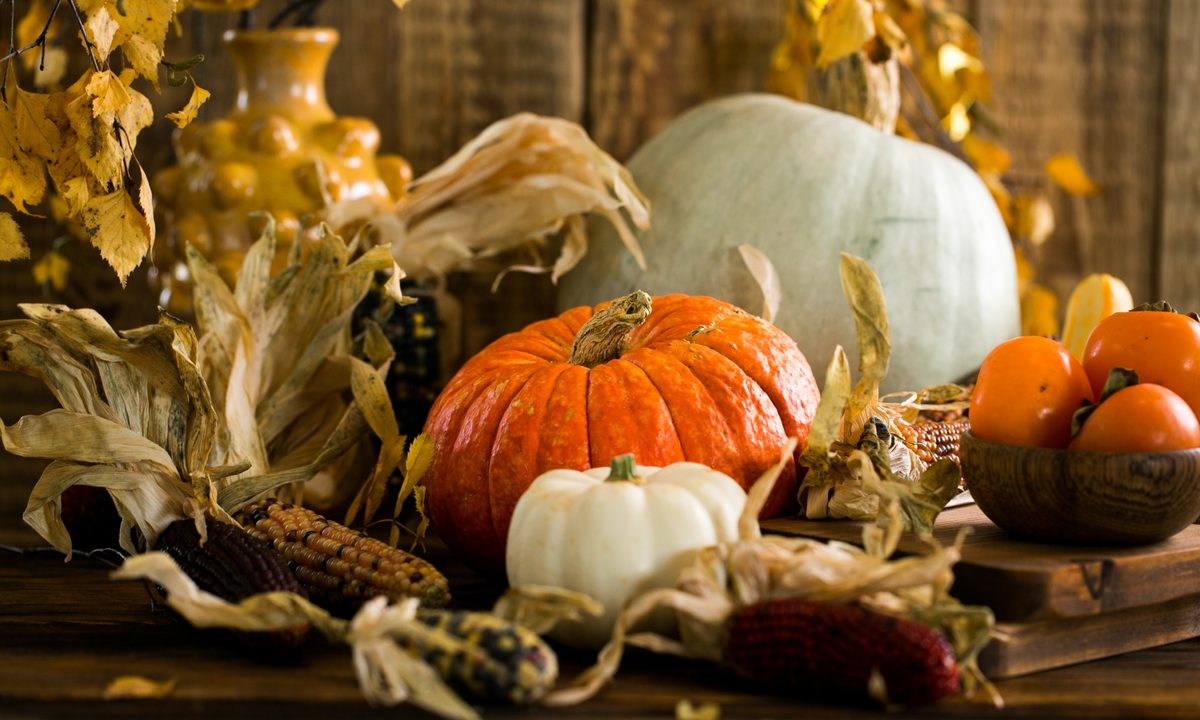
Pumpkins are an autumn mainstay from Halloween through Thanksgiving, for decorating and for eating. But did you know there are pumpkins specifically for carving and others for baking? Baking pumpkin vs. carving pumpkin is a real thing. Knowing the difference is important if you want to use the season's favorite crop best. We’ll show you how to pick a good pumpkin, whether your end game is decorating or baking!
How to tell the difference
Carving pumpkins typically have thinner skin, making them easier to carve. They also have fewer guts inside, which are usually stringier, making them easier to clean. Baking pumpkins — sometimes called sugar pumpkins — are usually smaller and more round in shape.
How to select the best pumpkins for carving
Now that you know the difference, it’s time to discover how to choose the best carving pumpkin.
Step 1: Lift and tap. A good carving pumpkin should feel sturdy and sound hollow when tapped.
Step 2: Check color. The best pumpkins have consistent coloring throughout.
Step 3: Avoid bruised pumpkins. Try to find a pumpkin without bruises, dark spots, or scratches.
Step 4: Do the thumb test. Flip the pumpkin over and apply pressure to the bottom with your thumbs. If you feel as if your thumbs might push through the pumpkin, it isn’t fresh enough to last.
Step 5: Set it down. Place it on a table and make sure it sits flat without wobbling.
Step 6: Carry it correctly. Never carry a pumpkin by its stem; hold it by the bottom or place it inside a tote to carry home.
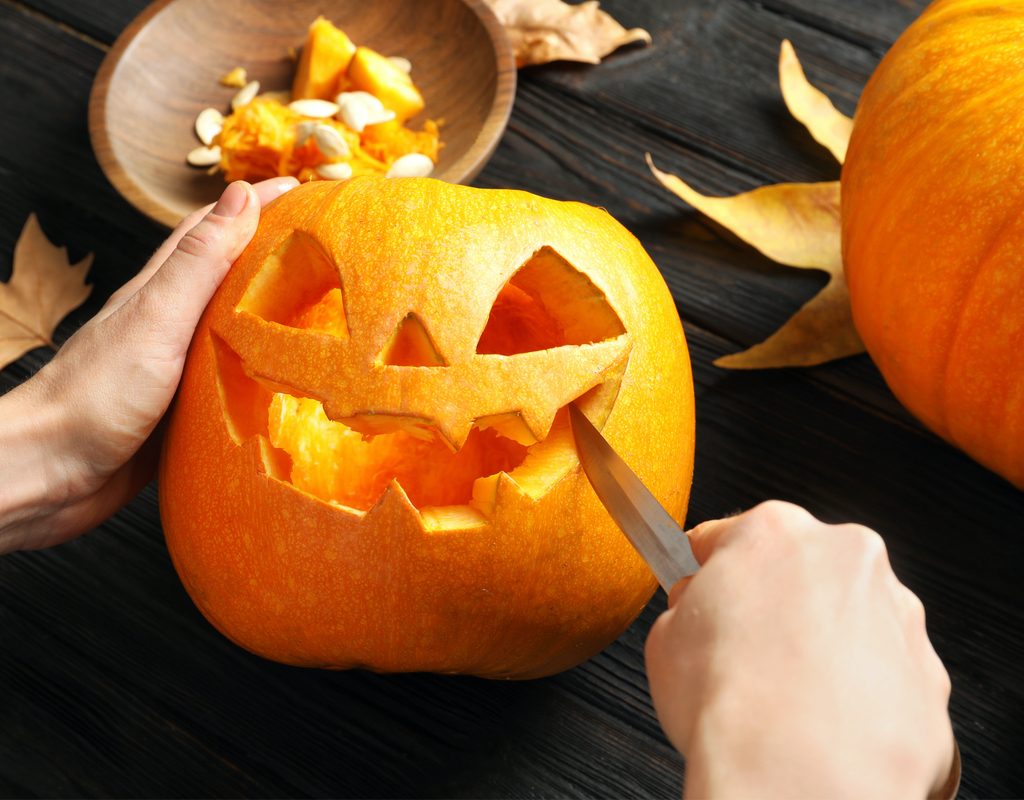
Step 7: Now that you’ve found the perfect carving pumpkin, you’re ready to make a jack-o'-lantern. Using a serrated knife, cut a circle around the stem at the top of the pumpkin large enough for you to comfortably get your hand inside.
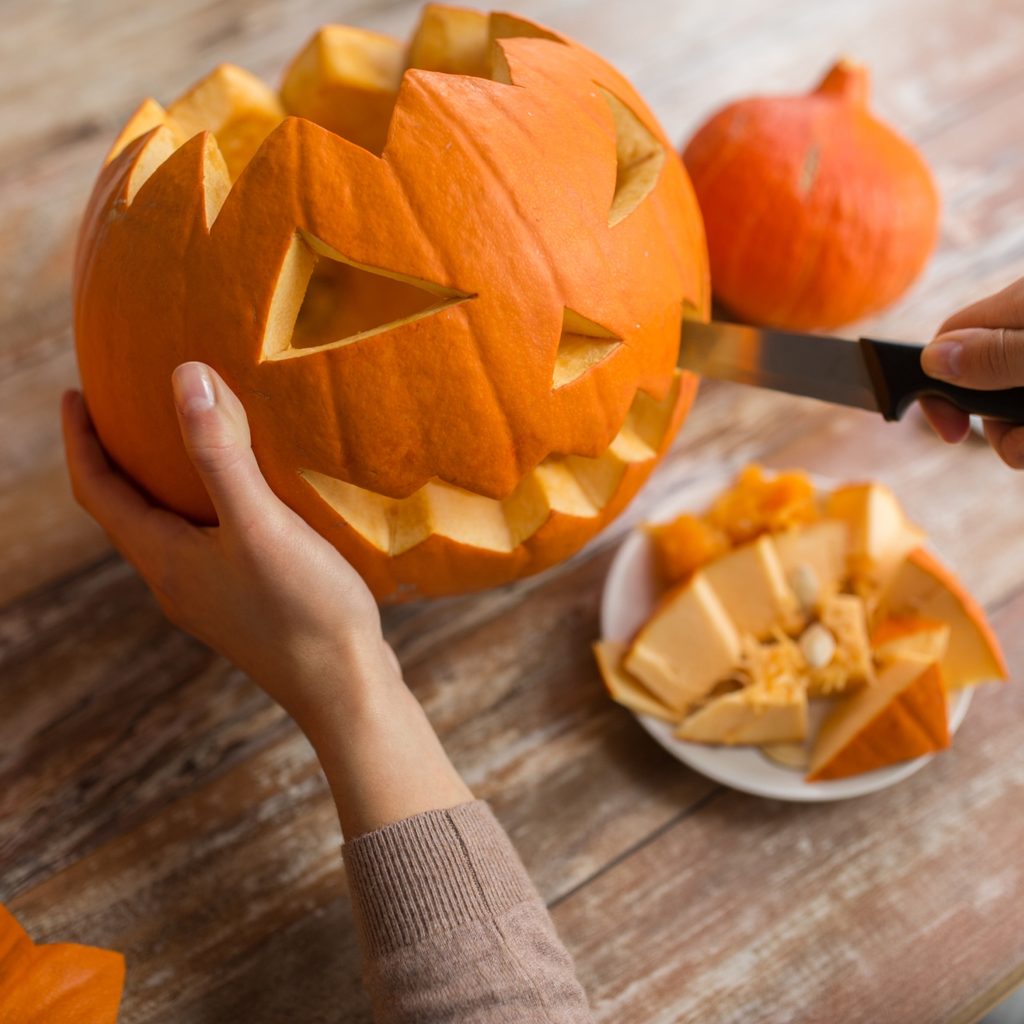
Step 8: Remove all of the guts and seeds inside (save the seeds for later). Once the pumpkin has been hollowed out, it’s time to make your jack-o'-lantern’s face.
You can draw a simple face freehand or use a stenciled design for a more intricate face. Use a smaller serrated knife to cut out the face. Once finished, place a votive candle inside and replace the lid. Get ready for some spooky Halloween fun!
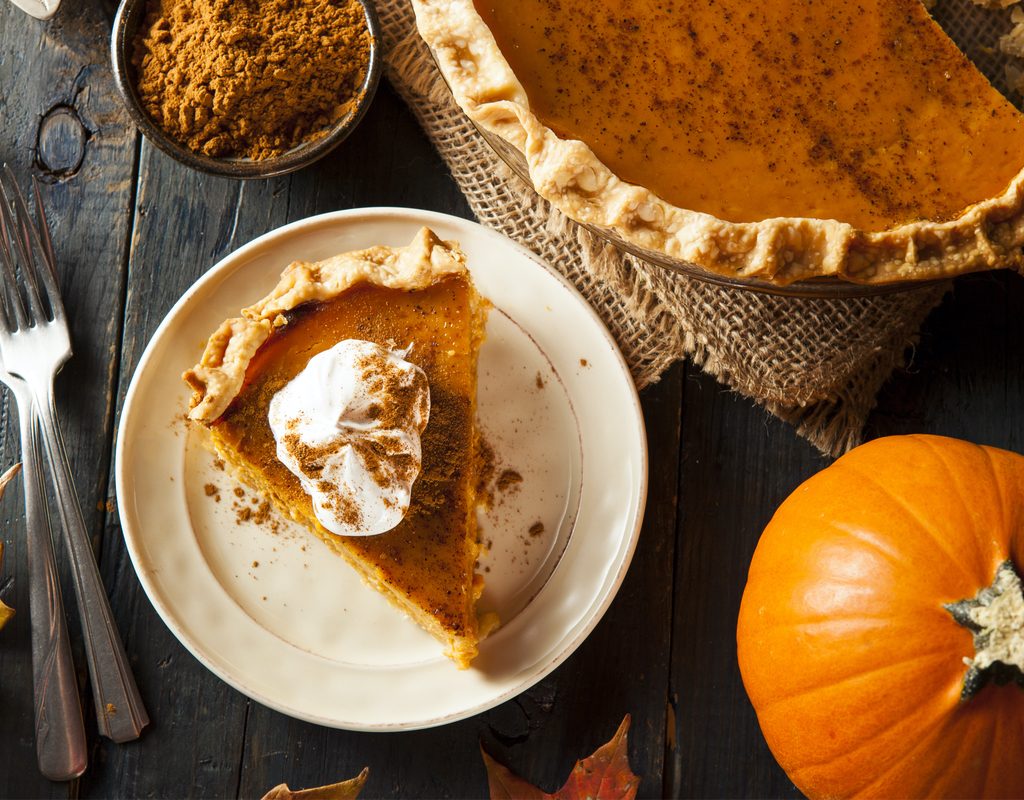
How to choose the best pumpkin for baking
Now that you know what baking pumpkins are, it’s actually pretty simple to select the right one for your next delicious fall dish.
Step 1: First and foremost, make sure your pumpkin is labeled as edible.
Step 2: A healthy stem is key, so be certain your pumpkin has a well-attached dry, brown stem (that’s a sign that it was mature enough to be harvested). Remember, stems are not handles, so never carry your pumpkin by its stem.
Step 3: Examine the surface of the pumpkin (even the bottom) and avoid pumpkins with soft spots, deep nicks, or large bruises.
Step 4: While color matters for carving pumpkins, color is less of an issue when it comes to baking pumpkins. If the skin is free of bruises, chances are the flesh inside will be sweet and edible.
Step 5: Whole pumpkins should be stored in a cool, dry place, but once they are cut, they need to be tightly wrapped, refrigerated, and used within five days. You can, however, safely freeze cubes or pumpkin puree to use at a later date.
How to oven roast your pumpkin
It’s simple and easy to prepare a fresh pumpkin in the oven. So simple, you might never have to use canned pumpkin again!
Step 1: Start with an edible pumpkin and an oven preheated to 375 degrees Fahrenheit.
Step 2: Cut the pumpkin lengthwise, then remove the seeds and stringy guts (keep the seeds for later).
Step 3: Place both halves, cut side down, on a foil-lined baking sheet. Put in a preheated oven until soft (about 1 hour).
Step 4: Once cooled, scoop the flesh from the skin of the pumpkin.
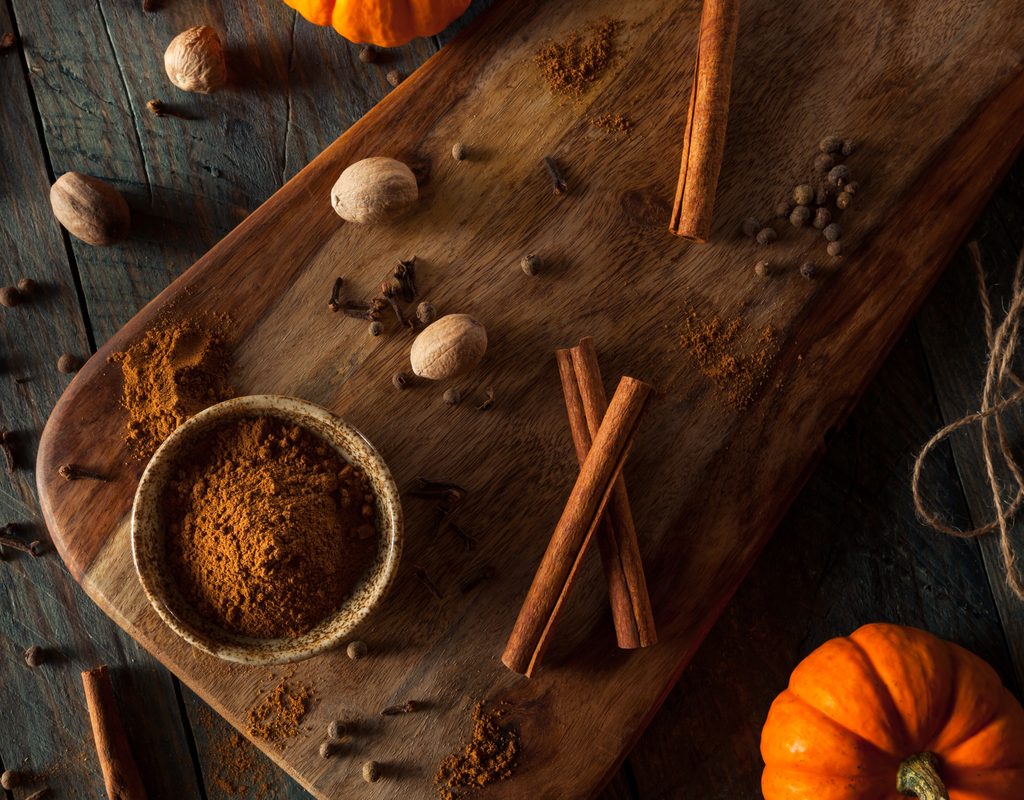
Step 5: Place in a bowl and keep refrigerated or frozen until ready to use for baking in pies, muffins, bread, or other desserts. You can make pumpkin purée — perfect for pumpkin soup — by blending it in a food processor.
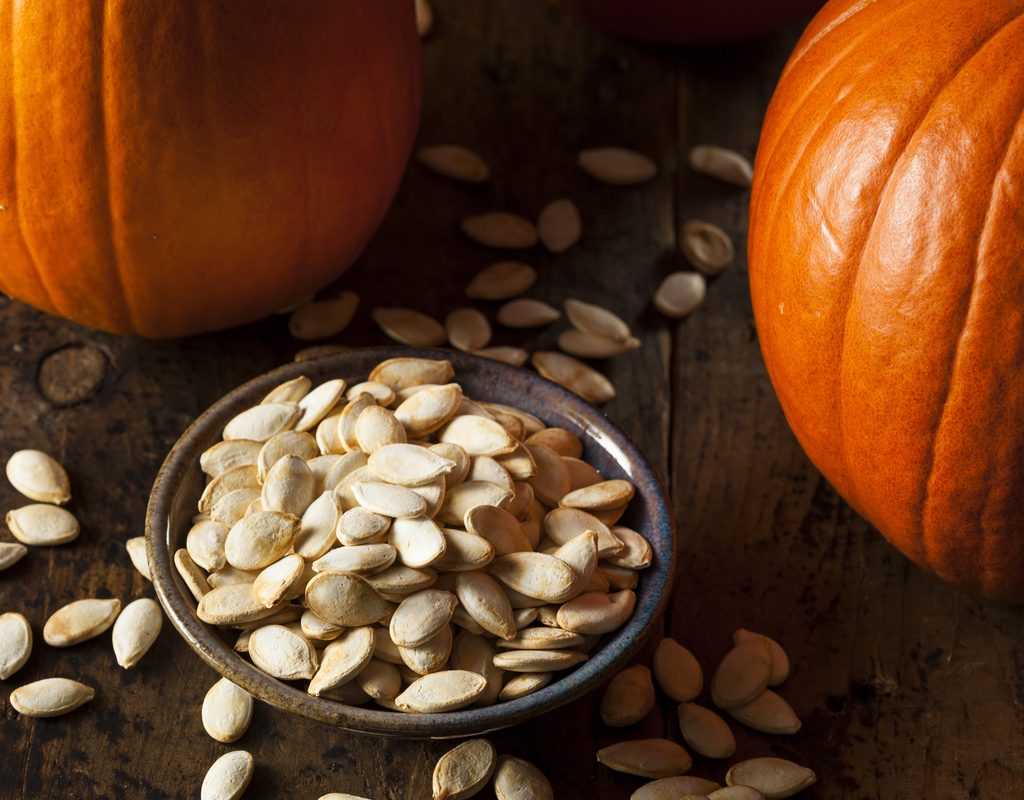
How to make homemade pumpkin seeds
If you love roasted pumpkin seeds as much as we do, here’s our favorite recipe so you’ll have a good supply on hand! And if you have an air fryer, you can make pumpkin seeds in a fraction of the time.
Step 1: Rinse the seeds to remove all of the stringy guts that may stick to them.
Step 2: Pat seeds dry with a paper towel to remove as much moisture as possible.
Step 3: Place seeds in a bowl and coat with your favorite oil (we like olive oil) and a generous helping of sea salt.
Step 4: Roast for 10 to 15 minutes, or until the seeds look golden and crunchy, on a preheated tray at 350 degrees Fahrenheit.
Step 5: Serve warm or store in an airtight container for snacking later.
There you have it, our tips for selecting and preparing the perfect pumpkin — whether you’re carving or baking! So don't waste any time getting into the spirit of autumn — get out there and pick out some pumpkins. Your family and friends will thank you and we think you'll like the results too.


