
Not sure what to do with your pumpkin after Halloween? 4 great ideas to try

During the build-up to Halloween, your mind was on visiting pumpkin patches, carving pumpkins with the family, and dusting off all your Halloween decorations to celebrate the holiday. Once it’s over, you’re left with Halloween pumpkins that need to be thrown out or repurposed. But don’t just toss them in the garbage! There are tons of things you can do with them to keep using them long after the Halloween holiday is over.

If you’re wondering what to do with your pumpkins, we’ve created a list of just some of the options your pumpkins have after the skeletons and witches are long gone. Some of it depends on whether you chose to carve your pumpkin, but there are options for all stages of your pumpkin’s life. All it takes is a little creativity and some motivation, and your pumpkin can live out its legacy in a new and exciting way.

Recommended Videos

Feed our furry friends

If you’ve carved your pumpkin and notice there are bits of dust and dirt inside that may put you off of cooking with it yourself, leave it for the animals who aren’t as picky! You can cut the top of the pumpkin off and hang it on a tree with some birdseed inside. You can also cut chucks off and throw them into the foods for squirrels, raccoons, and deer who are looking to store up for winter. You can also donate pumpkins to local zoos and animal shelters who will use them to feed their animals. Remember, pumpkins aren’t just for feeding people.

Image used with permission by copyright holder

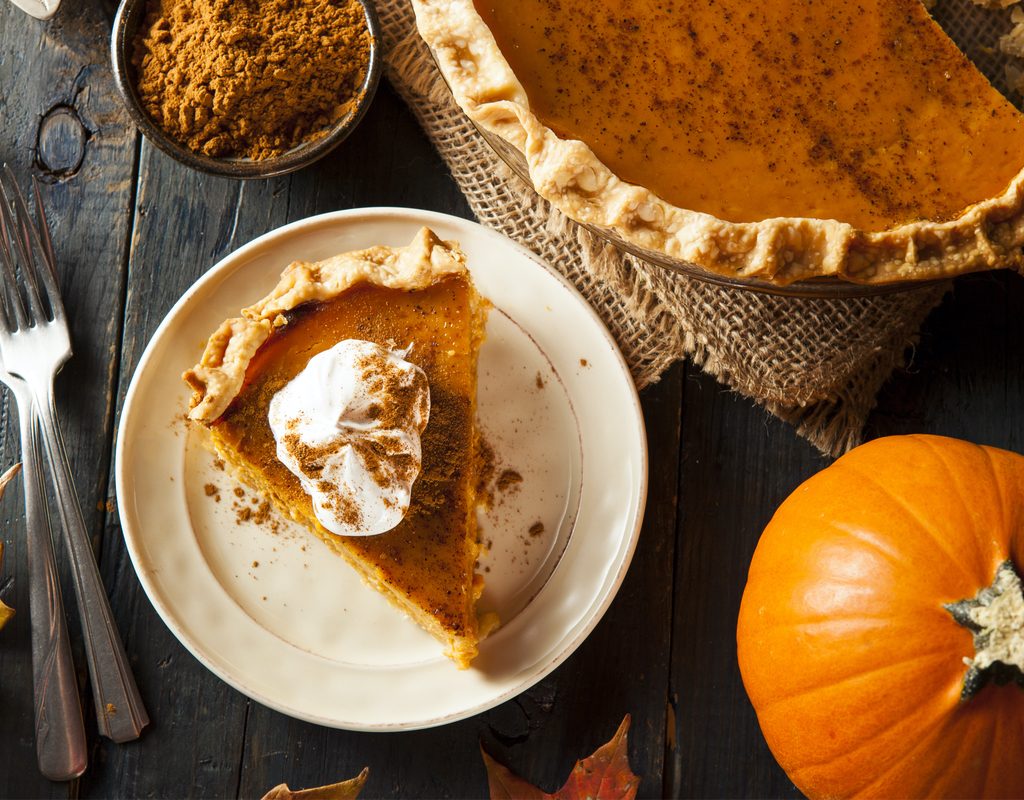
Post-Halloween baking

Just because Halloween is over doesn’t mean you can’t enjoy cooking and baking with your pumpkins if they are still in good condition. If you didn’t carve your pumpkins this year, there are plenty of parts you can use.

  • First, dig out all the seeds.
  • Rinse and salt them, and bake them at 300 degrees until toasty brown.
  • Once the insides have been cleaned, cut the pumpkin in half and roast it at 400 degrees for 30-45 minutes, then scoop out the filling and puree it in a food processor.

This will make pumpkin puree you can use later for pies (hello Thanksgiving), sauces, soups, and even seasonal cocktails. You can add ingredients like cinnamon, nutmeg, salt, and even cayenne depending on your taste. It can be frozen to use later for up to three months.

Woman putting items into a compost container
Image used with permission by copyright holder

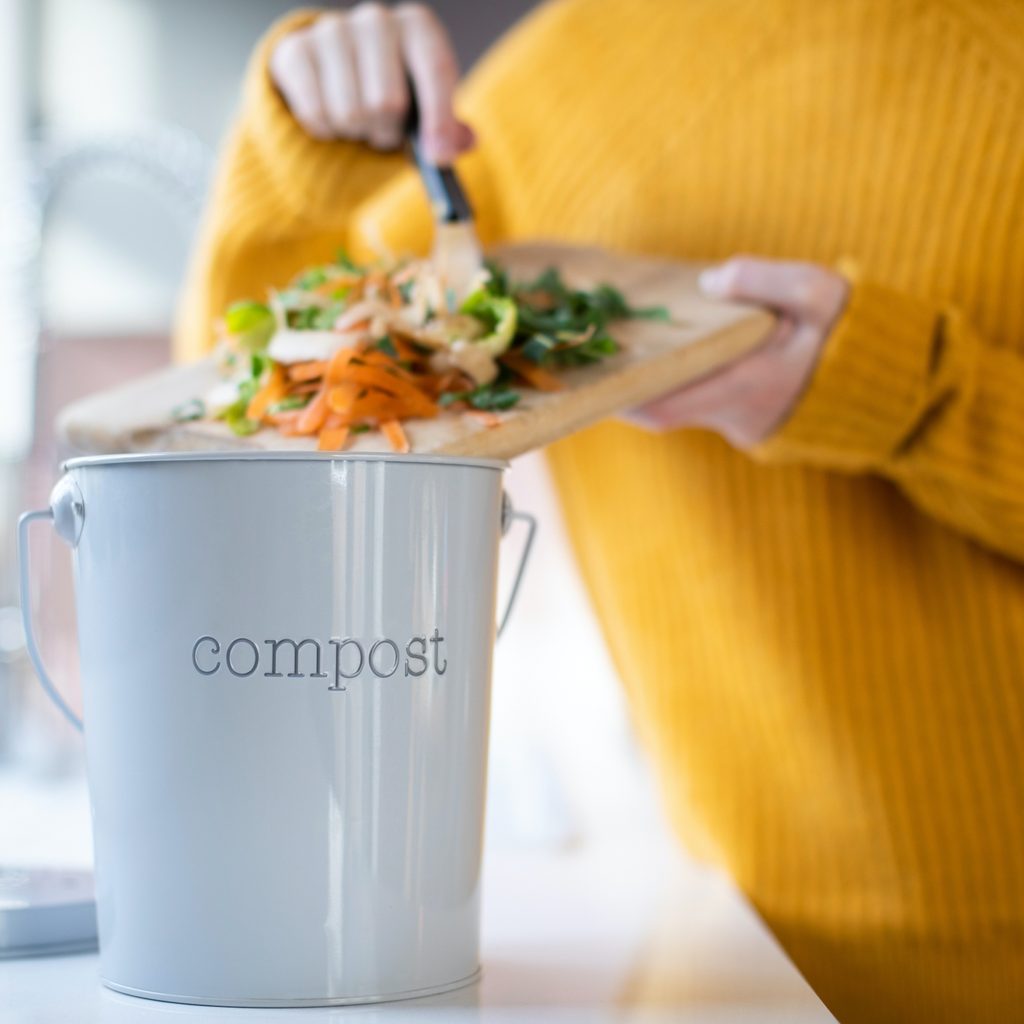
Add it to your compost

Did you know that pumpkins are 90% water? This means you can add them to your compost and they will break down quickly. All you need to do is remove any leftover seeds, chop your pumpkin into small bits, and add it to your compost bin. If you don’t have a compost bin, you can check with local garden centers to see if they will take them off your hands. It’s all about cutting down on waste and keeping things out of landfills.

If you’ve got kids, skip the cutting bit and have them smash the pumpkins in your driveway. It’s fun for the whole family and gets the kids active in the recycling process.

Image used with permission by copyright holder

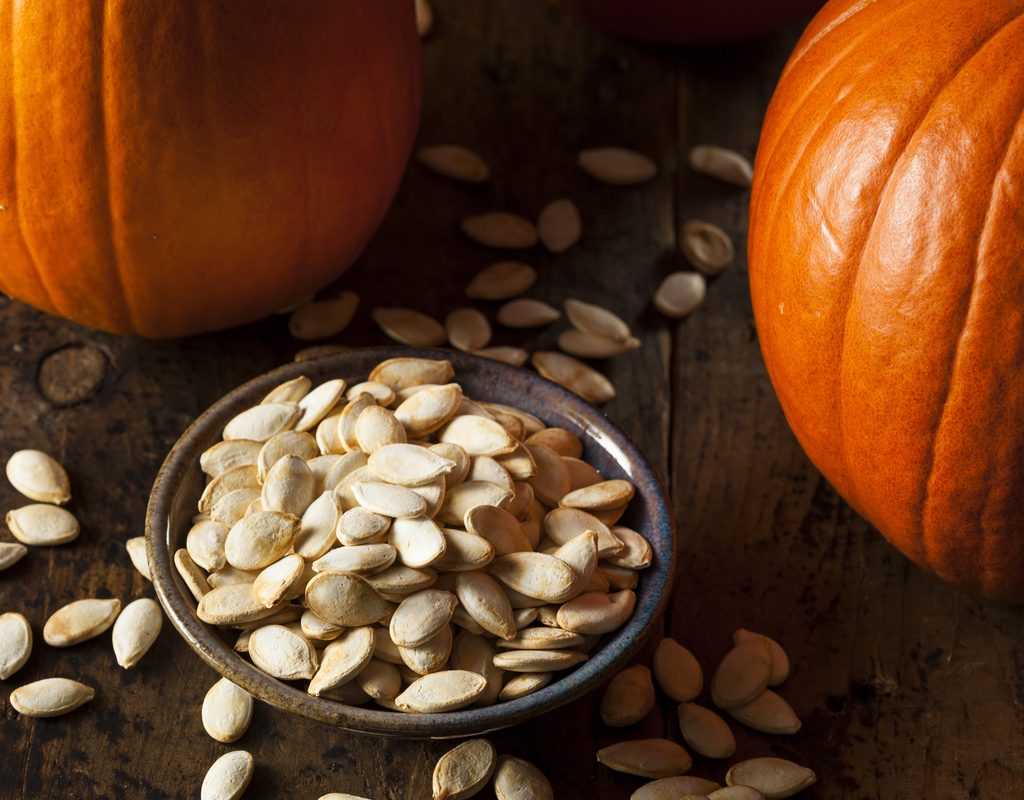
Plant the pumpkin seeds

What better way to prepare for next year’s holiday than by growing some pumpkins yourself? If you have a garden, plant the pumpkin seeds into soil one-half to one-inch deep with the pointed end of the pumpkin seed face down, six to 12 inches apart. They will grow best if the soil is around 80 to 85 degrees, so if you live in a colder weather state, plant the seeds inside through winter and transfer them in May or June. Once you plant them, you may wonder why you hadn’t done this before now.

These are just a few ideas to extend the life of your pumpkin well beyond Halloween. Pumpkins aren’t cheap, so you want to make sure you are using them in all capacities. You may be sick of eating pumpkin-flavored foods by Thanksgiving, but if you make soups, breads, or oatmeal, you can usually freeze them for several months and when the mood strikes mid-winter, you can thaw them out and enjoy.

Considering 1.3 billion pounds of pumpkin reach landfills every year, coming up with fun and creative ways to use them is critical. There are so many ways to reuse or recycle them, it just doesn’t make sense to toss them in the garbage. Our furry friends and our planet will thank you if you make a little extra effort.

Editors' Recommendations

Julie Scagell
Former Digital Trends Contributor
I am a freelance writer based in Minneapolis, MN. My passions include my dogs, talking about my dogs, and taking pictures of…
7 appealing driveway design ideas that will make your home exterior look luxe
Spruce up your exterior with these driveway ideas that are sure to make your home stand out
Modern house with brick driveway

When it comes to adding curb appeal and updating the landscaping, one exterior project that’s often neglected is the driveway. However, the driveway happens to be one of the first things people see when approaching a home. It takes up a lot of space and can easily look unappealing in your exterior design. That’s why updating your driveway is so important, as it can enhance curb appeal and make your home exterior look luxe and elegant.

While it’s easy to opt for a classic gravel, cement, or asphalt driveway, most hotels and luxury homes choose to create a driveway that feels more elegant and detailed. So today, we’re sharing tips on how you can update a boring driveway and turn it into a statement piece on the property. Check out these seven driveway ideas and maybe one will hit the mark with you.
Use brick instead of cement or asphalt
One of the best ways to update a drab driveway is to use brick instead of cement or asphalt. Cement, asphalt, and gravel are the most common driveway materials, but all of them can appear boring or like an afterthought in your exterior design. Instead, why not mimic hotels and luxury homes by opting for brick driveway pavers instead? Brick driveways look luxe, and there are several colors and patterns to choose from. Depending on your exterior palette, you can opt for red, cream, brown, or tan bricks to add some more color to your home’s exterior.

Read more
Make your outdoor shower feel like a sanctuary with these fantastic ideas
Check out these stunning outdoor shower tips to transform your unit into an outdoor oasis
Person showering in an outdoor shower

For homeowners with a backyard pool or those who live on a beachfront property, it’s easy to trek sand, mud, and dirt into the home. That’s why the outdoor shower has become a beloved addition to many properties across the country. However, outdoor showers have a tendency to look out of place and are often of poor design, especially if you install an outdoor shower kit rather than taking on a custom build.

These kits can look cheap, tacky, and downright ugly if not properly decorated. So, to prevent your unit from becoming a blemish in your stunning backyard landscape, we have some outdoor shower ideas to help you spruce up your outdoor shower and make it look more appealing to the eye.
Use natural wood
One of the best things you can do, whether building a custom outdoor shower or discreetly hiding a kit-built unit, is to use natural wood. Natural wood slats are great for adding a privacy wall to your outdoor shower. Not only do they do the job of effectively concealing the shower, but they also look natural and sophisticated in the backyard.

Read more
Don’t over-theme your beach home. Here’s what to do instead
Prevent your coastal decor from going overboard by balancing nautical and sophisticated design
Beach-themed vacation home decor

Decorating a beach home so it doesn’t look over-themed and kitschy can be challenging. While it’s easy to gravitate toward the oversized conch shells and the nautical life buoy decor, doing so can make your home look "theme" and lack sophistication. However, it’s fairly simple to create a chic look without making a beach home look like a tacky seaside tourist trap. After all, we’ve all been to one of those pirate-themed fish restaurants with the netting on the ceiling. The last thing you want is for your home to look like it’s gone overboard!

So today, we’re giving you some ideas on how to find a balance between your nautical sea decor and a sophisticated and modern look.
Less is more
The main issue many homeowners face when styling a beach home is adding too much to the coastal design. From shells to furniture, it’s easy to get carried away and add an excessive amount of decor. However, too many decor items quickly make the design feel overwhelming, cluttered, and super cliché.

Read more