
Take a more luxurious soak with a bathtub overflow cover

A bathtub overflow tube comes with its benefits. It’s a safety feature that’s imperative if you’ve left a faucet running while you quickly answer a phone call and forget about that bath you were running. While it’s likely saved homes from water damage by directing the water away from the edge of the tub, it can be an annoyance when you’re trying to immerse every single inch of your body underneath the water after a long day at work.

The good news is there’s a cover you can install over the tub that allows you maximum soakage during your next bath. It’s simple to install a bathroom overflow cover, and there are many inexpensive options available to create the bath experience of your dreams. The options below fit nearly all overflow tubes, so you’ll be covered no matter which you choose.

woman taking bath
Anna Om/Shutterstock

Bathroom cover options

There are so many options on the market that will give you several inches more water in your bath, which is wonderful if you don’t have a deep soak bathtub and need all the water you can fit into the tub. On Amazon, you can buy this SlipX Solutions Bottomless Bath Overflow Drain Cover for less than $8 (and no shipping cost if you’re a Prime member). It comes in several colors and is a perfect non-slip option.

Recommended Videos

If you want to make sure tiny fingers don’t find their way into the bathroom tub tube, this OXO Tot Tub Stopper is also a great option. If you’ve ever used OXO products, you know they are built to last, and this cover is no exception. You can use the cover for your little one’s bath and also use it to fill a larger bath for yourself later on.

How to install

Tub covers are easy to install and take off. Both of the options above create a lasting seal with the tub. Simply run warm water over the cups or submerge them in water for a second as you’re filling the tub, and press securely against the tub’s surface, covering the overflow. That’s it!

Both get a near-perfect rating for ease to install, remove, use, and clean. No more listening to the water slowly leave the tub while you’re trying to stay underneath the ever-shrinking water line. To remove, slide your finger underneath the sealed edge and gently pull off. For the OXO brand, there’s a handy tab at the top that you gently pull and it comes right off.

bath caddy
topotishka/Shutterstock

Bath accessory must-haves

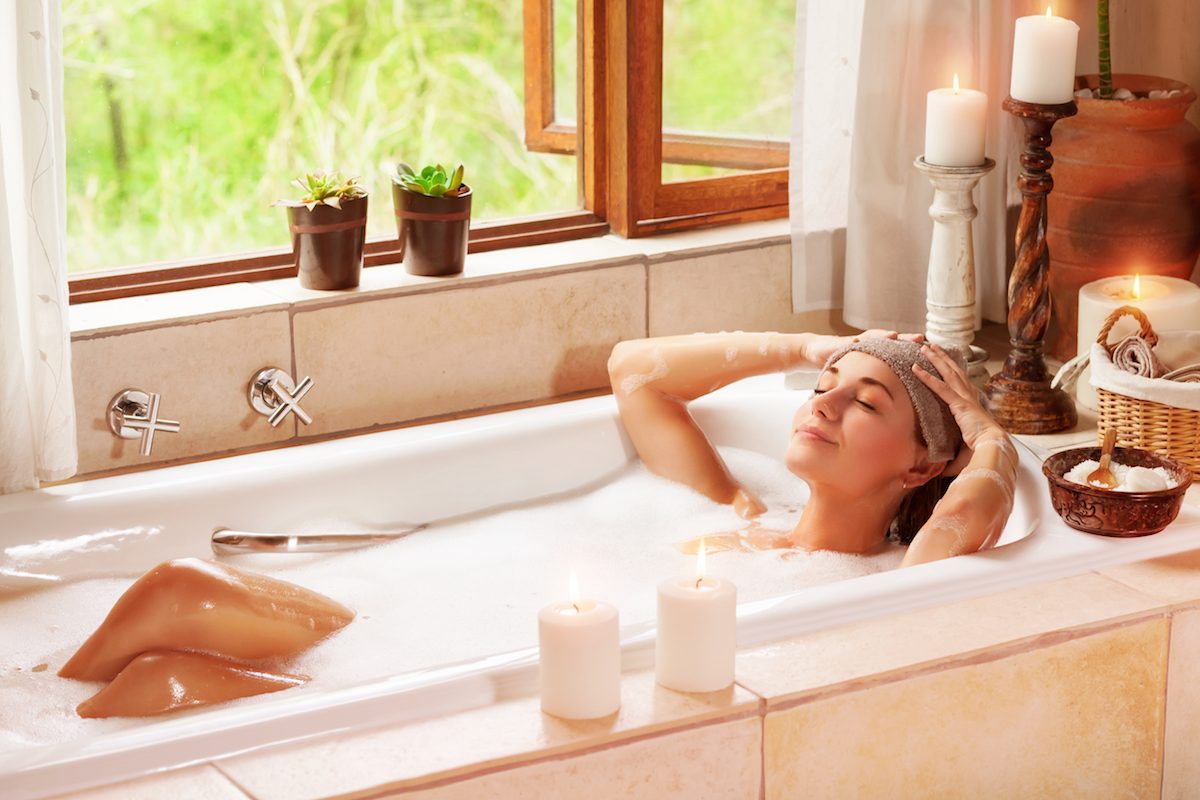
Now that you have a perfectly filled tub, there are some must-have accessories to make your bathing experience as relaxing as possible. You don’t take time to pamper yourself very often, so when you do, make it count! You’ll want a little cushion for your head, so check out this Gorilla Grip bath cushion. It comes in four colors and suctions to your tub as well, providing a no-slip pillow for your head.

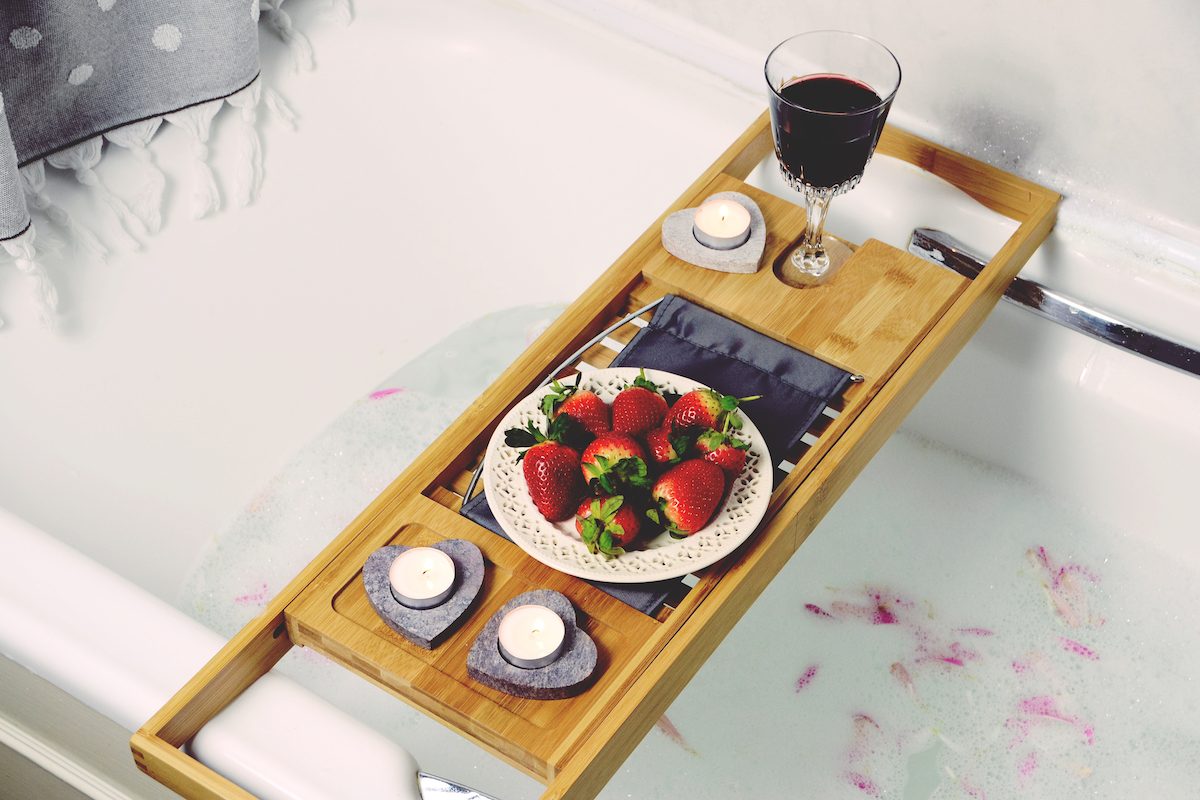
If you want to make it a spa-like experience, there’s this gorgeous bath caddy. You can set it across the top of the tub and put your phone for music, candles, a book, a glass of wine, or anything else that helps you relax. If you want to smell amazing, add this lavender Deep Steep bubble bath to the water. It’s free of all harmful chemicals and bubbles perfectly every time.

After the year we’ve all had, it’s important to take time and carve out moments to relax. Taking a bath relieves stress and lets you take some much-needed time for yourself away from the hectic parts of life. According to Cleveland Clinic, taking a hot soak for 30-minutes or more at 104 Fahrenheit can improve depression. “Warm baths are also linked to decreases in stress hormones and more balanced serotonin levels, which help regulate mood,” experts said.

Bath covers let adults enjoy a longer soak because there’s more water, and you’re not constantly refilling the tub or trying to stop the water from going down the overflow with your toe (yes, we’ve been there). All this means you can spend time concentrating on breathing deep, relaxing, and finding the peace and quiet you deserve without any distractions.

Topics
Julie Scagell
Former Digital Trends Contributor
I am a freelance writer based in Minneapolis, MN. My passions include my dogs, talking about my dogs, and taking pictures of…
These are the best shower plants for your bathroom (and why you really need one)
These plants have design and health benefits for your shower
Woman in a tub next to a plant

Keeping indoor plants has been popular in interior design for years, but this nature-inspired decor has gone to a whole new level in recent years. From green paint being a top color choice to design styles adopting a "friluftsliv" appeal, designers and homeowners alike are finding new and interesting ways to incorporate nature into the modern home. What's one of our favorite green design trends right now? The shower plant.

Whether you have a bathroom with a green palette or a super luxurious, modern bathroom design, keeping a plant inside your shower is a unique and fun design approach. Did you know that it's also incredibly beneficial for your health? These are the benefits of a shower plant — and the best ones you can get.
What are the benefits of shower plants?

Read more
8 gorgeous closet door ideas that make a stylish statement
Get some inspiration from these ideas for your next renovation
Closet with clothes and guitar in corner with plant

When redecorating your bedroom, bathroom, or hallway, you may find yourself struggling to turn your closet doors into a stylish piece in your design. Unfortunately, many closet doors appear cheap and lackluster, often becoming a visual disturbance in the space. Instead of letting your closet doors overrun your design, here are some amazing and stylish closet door ideas that are sure to help you spruce up your space.
Install antique barn doors

Everyone loves a good barn door home addition. If you’re looking for a way to spruce up your closet space, consider installing antique barn doors on a sliding rail. This is an excellent idea for small spaces because the sliding rail doesn’t require a few feet of space in front of the doors for them to swing open. Additionally, you can choose to keep the doors open for a framing effect around your closet entrance or close them for a decorative door look.

Read more
This unique wall design will make you rethink wallpaper
Wallpaper frames? An interesting concept to consider for your home
Geometric wallpaper with a console table

Wallpaper is becoming trendier in today’s home design, but some people aren’t ready to take the leap and wallpaper an entire room. This DIY project shows how you can add more visual appeal to a room using wallpaper ideas like creating individual "frames."
How to create this framed wallpaper look
@olivebranchcottage on Instagram shared a neat DIY wallpaper idea that she calls "wallpaper rectangles." This fun twist on adding traditional wallpaper to a room helps add visual appeal without being overwhelming. Here’s how she did it.

Pick your wallpaper
First, @olivebranchcottage suggests picking your wallpaper. In the nursery she designed, she opted for a black-and-white pattern depicting nature scenes.
Choose your trim
To create the "rectangles" on the wall, you’ll want to choose some wood trim. The creator chose some from The Home Depot.
Paint the trim the same color as the wall
Next, you’ll want to paint the trim the same color as the wall tone. This creates a greater sense of flow once you add the wallpaper.
Use painter’s tape to outline your design
@olivebranchcottage used painter’s tape to outline the design. This makes it easy to move pieces as needed and readjust until you find what is right for you. Also, she notes that the size and spacing of your rectangles are entirely up to personal preference. For the nursery, @olivebranchcottage placed the tape 5 inches from the ceiling and 5 inches from the baseboards.
Add your wallpaper
The creator suggests using a laser level to keep things even and straight as you place your wallpaper.
Cut your trim pieces
To cut your trim pieces, measure them to the same length as the painter’s tape you used for outlining. The Instagram creator says a 45-degree angle is best.
Use a nail gun to attach your trim pieces to the wall
Using a nail gun, attach your trim pieces to the wall. You should do this after you’ve laid your wallpaper. It’s OK if the wallpaper goes beyond the painter’s tape outline you created.
Cut the excess wallpaper
Once you attach your trim pieces to the wall, you can use an X-Acto knife to cut off the excess wallpaper. After you cut all the edges, you’ll have a stunning wallpaper design.
How to style framed wallpaper in a room
Styling the framed wallpaper is up to personal preference.

Read more