This DIY Halloween decoration is super cute and really easy to make

Check out this simple DIY Halloween decor idea from TikTok

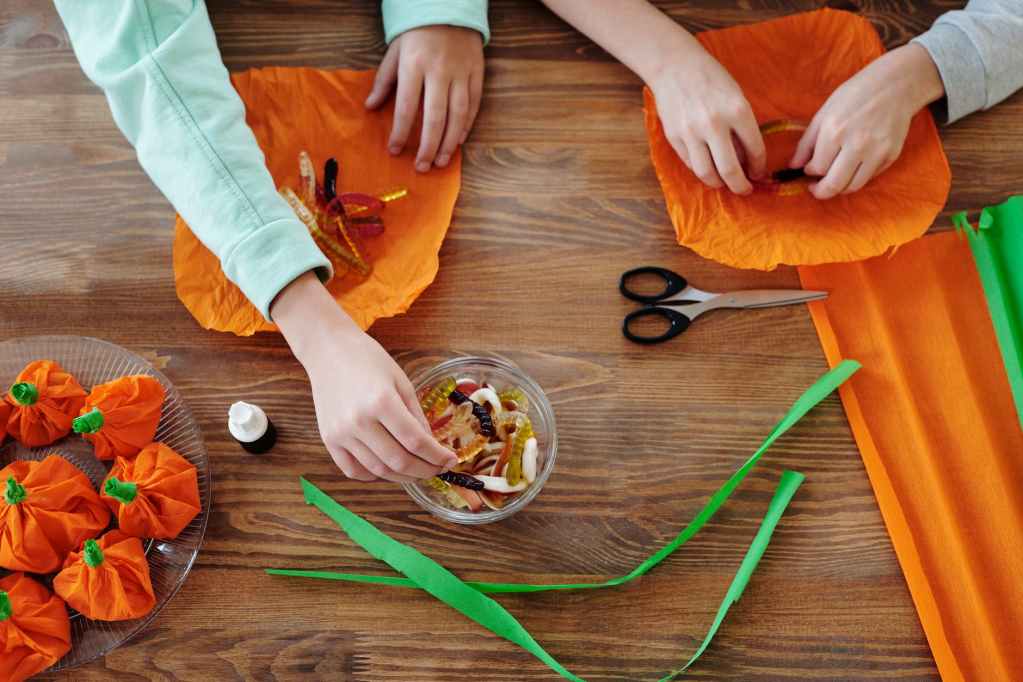
Halloween craft for kids with paper pumpkins
Shutterstock

When you’re DIYing your Halloween decorations to create the ultimate haunted theme, it’s easy to get caught up in endless projects and crafts that leave you feeling more stressed than excited about the holiday. While many crafts can require hours to complete, some DIY Halloween decor items are not only affordable but super easy to make.

If you’re looking for some spooky inspo for your Halloween aesthetic this year, we found an adorable project that you can complete in less than an hour.

Get creative with these cute DIY ghosts

TikTok user @brianna.traynor shared a creative and cute DIY Halloween ghost decor idea. The project is super simple and made with affordable items to make it a stress-free addition to any spooky setup.

All you need to make the DIY ghosts are:

  • A tomato cage
  • Zip tie
  • A styrofoam ball
  • String lights
  • A full-size white sheet
  • Black felt
  • Scissors

Directions:

  • Simply flip the tomato cage upside down so the stakes that usually go into the ground to hold the cage in place are now facing up to become the top.
  • Use a zip tie to tie the stakes together at the top to create a cone shape.
  • Once your tomato cage is shaped properly, stick the styrofoam ball into the stakes.
  • Then, weave string lights around the tomato cage. They can be any color to best suit your theme and color palette.
  • Next, lay a full-sized white sheet over the frame and cut out black felt to create “eyes” for the ghost.
Recommended Videos

Once your ghost is set up, be sure to give it some friends and prop it up somewhere for everyone to see. Whether you add them to the living room, dining room, entryway, or porch, this adorable DIY Halloween decor idea is great for those who want more ease in their decorating process.
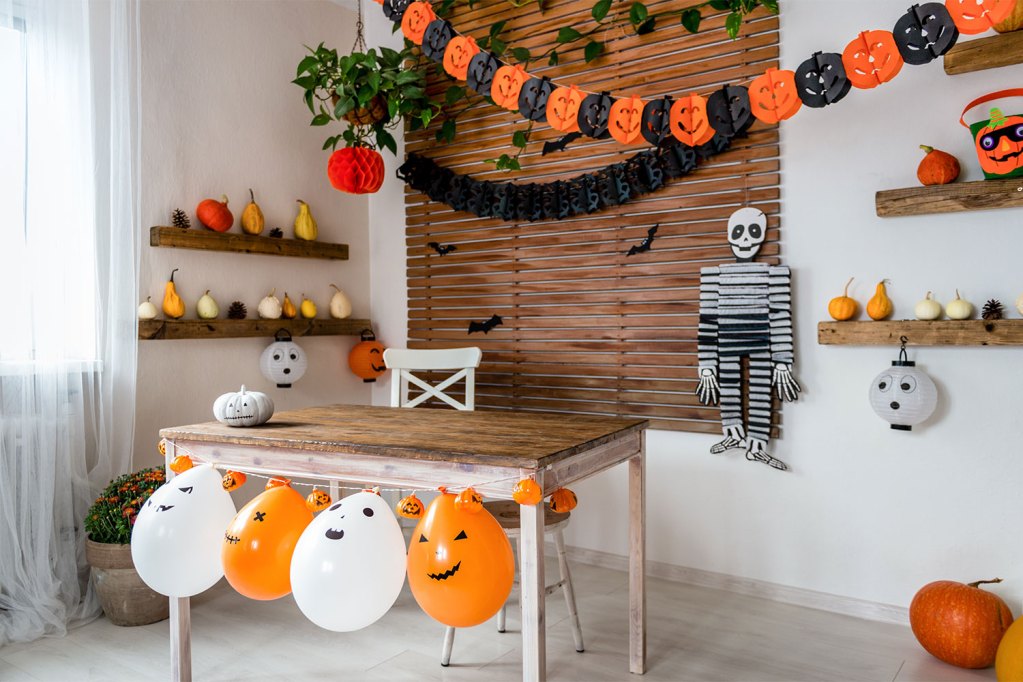
halloween decorations
ABO PHOTOGRAPHY / Shutterstock

How to use this easy project in your Halloween setup

This super simple project doesn’t require much time to prepare. Additionally, you can customize the ghost however you like by adjusting the styrofoam ball size, tomato cage size, shapes of the felt cut-outs, and color of the string lights or sheet.

Here are a few ways you can add this DIY project to your Halloween decor.

Indoors

When placing the standing ghost indoors, you can mimic what the creator did by adding two to three different ghosts of different heights to create a layered effect in the corner. Add them to the dining room or living room for a cute yet spooky effect.

Additionally, if you prefer to swap out the lights for unique Halloween-themed colors to better work with your existing theme or decor, you can use Halloween string lights in place of the plain white lights.

Outdoors

When using these items outdoors, keeping them under cover is best. Place them on a porch or covered patio to shield them from the elements. However, you could place these ghosts in the yard if you prefer. Just keep in mind that depending on the quality and material of the bed sheets, they may become prone to mold or damage from wind or rain. When placing the ghosts outside, be sure to use outdoor-safe string lights and exterior extension cords for powering them.

This cute DIY idea is a great way to save time and money on your Halloween decor. Feel free to modify the shape and size of your ghosts or mix and match colors to create a look that is uniquely yours.

Topics
Amelia Wilson
Amelia Wilson (author pen name Amelia J. Wilson) is a content writer in Greenwood, IN. She often enjoys topics on…
These incredible small patio ideas will make your outdoor space feel huge
You can have style and comfort outside without the square footage
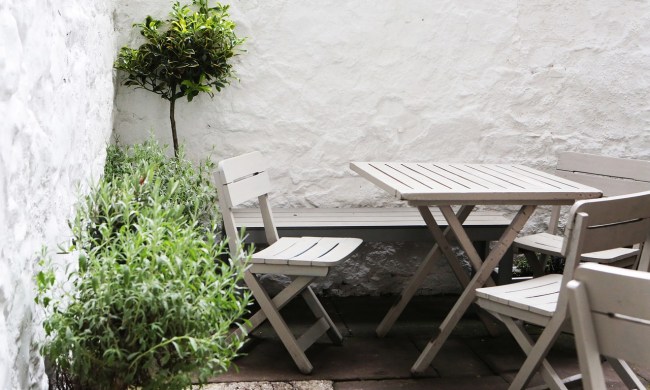
Small patio with light colored walls and folding chairs

Small outdoor living spaces may seem limiting, but with the right design, they can become cozy retreats that feel spacious and inviting. Whether you're dealing with a tiny urban balcony or a petite backyard nook, there are many ways to maximize your outdoor oasis. From interesting gardens to clever seating solutions, these small patio ideas will transform your compact area into a stylish and functional oasis.
1. Think vertically

When space is at a premium, look up! Vertical gardens, gorgeous garden trellises, and tall, thin plants are excellent options for adding greenery without sacrificing valuable floor space. Consider installing shelves or wall-mounted planters to create a lush backdrop for your patio oasis. Not only do vertical elements add visual interest, but they also help to draw the eye upward, making the space feel larger and more expansive.
2. Make the floor pop

Read more
8 gorgeous closet door ideas that make a stylish statement
Get some inspiration from these ideas for your next renovation
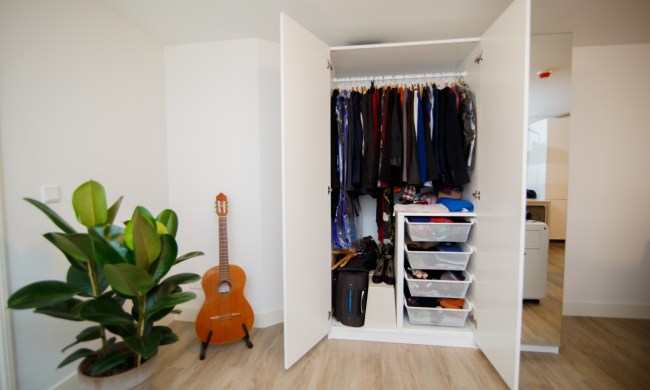
Closet with clothes and guitar in corner with plant

When redecorating your bedroom, bathroom, or hallway, you may find yourself struggling to turn your closet doors into a stylish piece in your design. Unfortunately, many closet doors appear cheap and lackluster, often becoming a visual disturbance in the space. Instead of letting your closet doors overrun your design, here are some amazing and stylish closet door ideas that are sure to help you spruce up your space.
Install antique barn doors

Everyone loves a good barn door home addition. If you’re looking for a way to spruce up your closet space, consider installing antique barn doors on a sliding rail. This is an excellent idea for small spaces because the sliding rail doesn’t require a few feet of space in front of the doors for them to swing open. Additionally, you can choose to keep the doors open for a framing effect around your closet entrance or close them for a decorative door look.

Read more
This unique wall design will make you rethink wallpaper
Wallpaper frames? An interesting concept to consider for your home
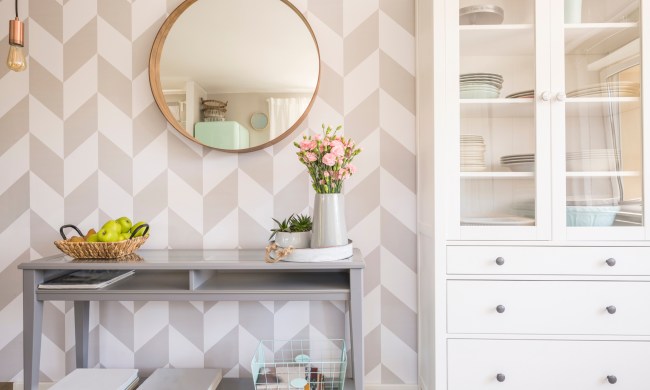
Geometric wallpaper with a console table

Wallpaper is becoming trendier in today’s home design, but some people aren’t ready to take the leap and wallpaper an entire room. This DIY project shows how you can add more visual appeal to a room using wallpaper ideas like creating individual "frames."
How to create this framed wallpaper look
@olivebranchcottage on Instagram shared a neat DIY wallpaper idea that she calls "wallpaper rectangles." This fun twist on adding traditional wallpaper to a room helps add visual appeal without being overwhelming. Here’s how she did it.

Pick your wallpaper
First, @olivebranchcottage suggests picking your wallpaper. In the nursery she designed, she opted for a black-and-white pattern depicting nature scenes.
Choose your trim
To create the "rectangles" on the wall, you’ll want to choose some wood trim. The creator chose some from The Home Depot.
Paint the trim the same color as the wall
Next, you’ll want to paint the trim the same color as the wall tone. This creates a greater sense of flow once you add the wallpaper.
Use painter’s tape to outline your design
@olivebranchcottage used painter’s tape to outline the design. This makes it easy to move pieces as needed and readjust until you find what is right for you. Also, she notes that the size and spacing of your rectangles are entirely up to personal preference. For the nursery, @olivebranchcottage placed the tape 5 inches from the ceiling and 5 inches from the baseboards.
Add your wallpaper
The creator suggests using a laser level to keep things even and straight as you place your wallpaper.
Cut your trim pieces
To cut your trim pieces, measure them to the same length as the painter’s tape you used for outlining. The Instagram creator says a 45-degree angle is best.
Use a nail gun to attach your trim pieces to the wall
Using a nail gun, attach your trim pieces to the wall. You should do this after you’ve laid your wallpaper. It’s OK if the wallpaper goes beyond the painter’s tape outline you created.
Cut the excess wallpaper
Once you attach your trim pieces to the wall, you can use an X-Acto knife to cut off the excess wallpaper. After you cut all the edges, you’ll have a stunning wallpaper design.
How to style framed wallpaper in a room
Styling the framed wallpaper is up to personal preference.

Read more