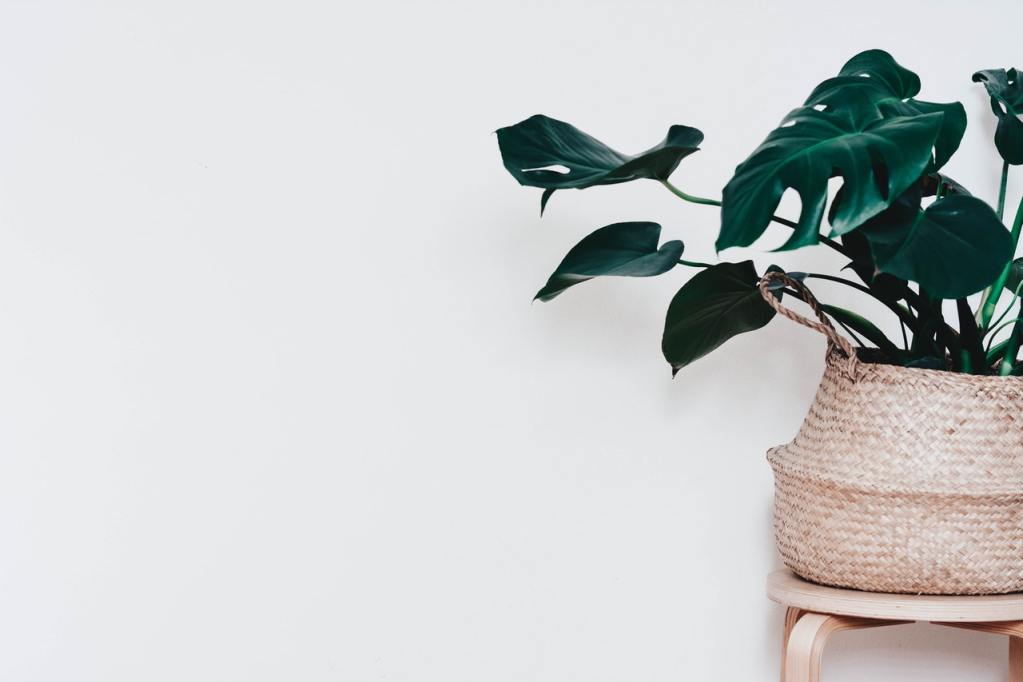
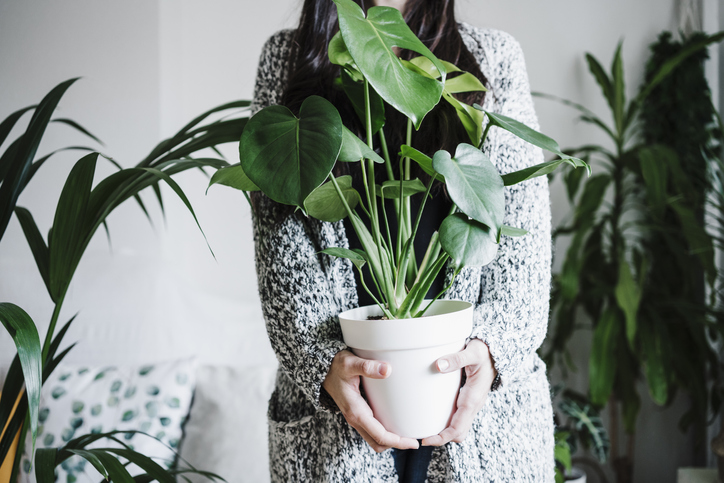
Having indoor plants has so many benefits on so many levels. Not only are they visual aesthetic, but their also beneficial to your physical and mental health. If you love having your green babies indoors, you want to make sure they’re getting all the care and attention they need so they can flourish for a long time. It’s a good idea to repot your indoor plants on occasion, and not just to match your newly redecorated space. Repotting is also beneficial to your plants’ continual growth. We’re going to walk through how to repot plants safely without harming or stunting the growth of your beautiful indoor greenery.
Why repot a plant?
While replacing and updating your decorative pots is a good way to spice up and refresh your indoor space’s decor, the biggest reason to repot a plant is for the plant’s health. Potted plants often start to outgrow their pots, meaning that their root system becomes too big for the space, stunting growth. Plants eventually need to be transported to a larger pot to continue to grow and flourish. The soil in the pot also needs to be replaced on occasion. As the plant grows, it absorbs nutrients from the soil, and in the case of a potted plant, replacing the soil allows your plant to continue to be fed.
When to repot a plant
Believe it or not, repotting your plants is not something you should frequently do. The repotting process can put stress on the plant and cause damage to it or hinder its growth. You should only repot your indoor plants at certain points throughout the life of the plant, and the process should be carefully done to minimize plant stress. Here are the best times to repot that pretty little plant.
After purchasing the plant
When you purchase a new house plant, wait several days to repot it. Give your new green baby some time to get accustomed to your home’s light, climate, and airflow. That way, it has become strengthened and acclimated to its surroundings before you put it through the stress of repotting.
After 12-18 months
As we mentioned, potted plants need their soil to be replenished occasionally so that they continue to soak up nutrients. It’s a good idea to repot every year or so, even if the plant isn’t showing signs of outgrowing its pot. This timeline will ensure that the soil around the roots is continually beneficial to the plant.
When the plant outgrows its pot
If your plant gets too big for its planter, it will eventually stop growing and possibly even start to yellow or wither. After you’ve had your plant for a while, you may notice some tell-tale signs that it’s starting to outgrow its potted home. Look for these signs and be ready to repot your plant into a bigger home soon after the signs start to show.
- Roots are growing out of the drainage holes
- The plant dries out more frequently than when you first got it
- You can see excessive amounts of roots amid the soil
- The top of the plant is tilting from being too top-heavy
- The plant’s growth has slowed or stopped

What kind of pot should you transfer to?
Consider the size, material, and drainage in your new pot. A too-big pot will make it so that water drains without reaching the plant’s roots. It’s best to gradually increase the pot size by 1 or two inches for smaller plants and 3 or 4 inches for larger floor plants. If your plant requires lots of water, pick a pot that traps moisture, like plastic or ceramic. If your plant requires less water, a terra cotta pot pulls moisture away from the soil. Definitely select a pot with drainage holes or use rocks at the bottom of the pot to help with drainage.
How to repot a houseplant
Remove the plant from its old pot
Hold onto the thickest part of the stem and gently tip the plant. Tap on the bottom of the pot, and the plant should eventually slide out of the pot. Be careful with any roots that are coming out of the bottom.
Examine and trim roots
This is a good time to take a close look at your plant’s roots. Give them a gentle shake to loosen them up so you can see all the roots easily. If you see any that look dead or are super long, trim them off with pruning scissors.
Add the plant and soil to the new pot
Keep about a third of the soil from the old pot, as its presence will make an easier transition for your plant and create less of a shock. Place the plant in the new pot and top it off with the new soil. Press the soil down gently to remove any air pockets, but don’t push down too hard as the soil may become compacted. You want your plant’s roots to remain a bit loose so they can continue to grow in the new soil.
Water appropriately
You may be tempted to excessively water your newly potted plant, but only water until you see some of the water start to drain out of the bottom. Then, check the soil with your fingers daily in the following week to ensure the soil is still moist.
You’ve worked hard to maintain your lovely indoor garden, and you want to create the best possible growing conditions for your beloved plants. While repotting your indoor plants is necessary for them to live a long life, it can be a tricky process. Avoid damaging or stressing out your plants by repotting them the right way so they can flourish in their new homes.