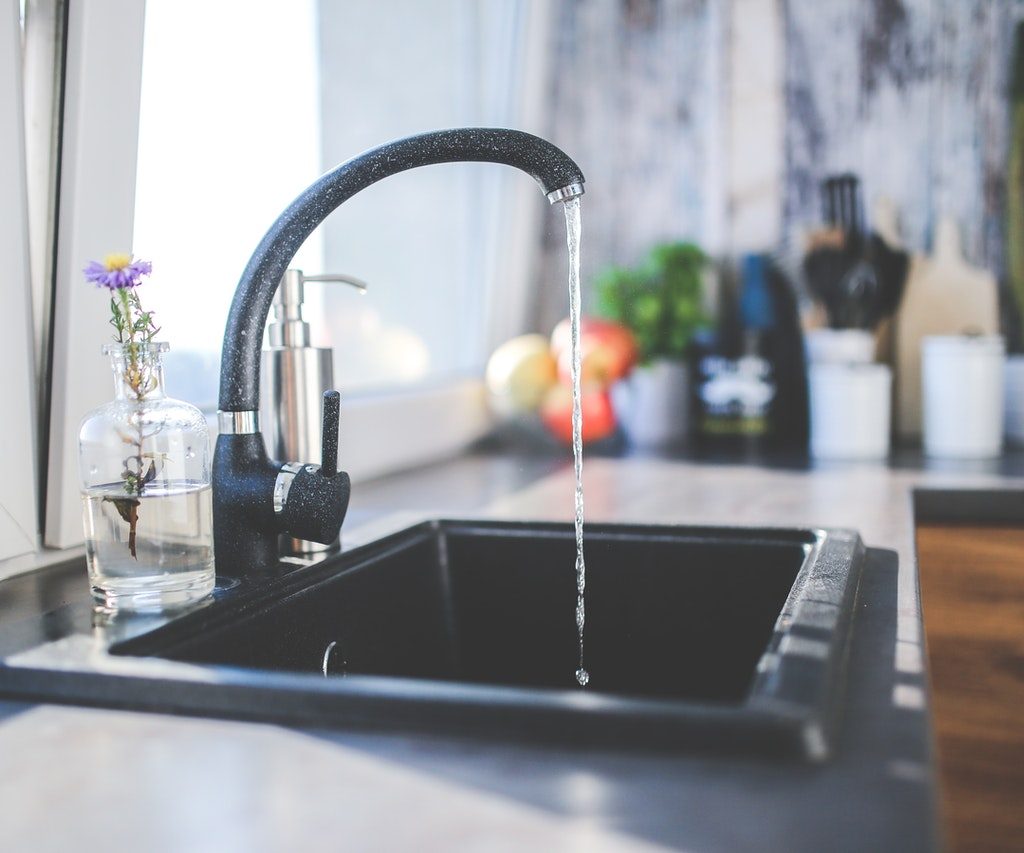
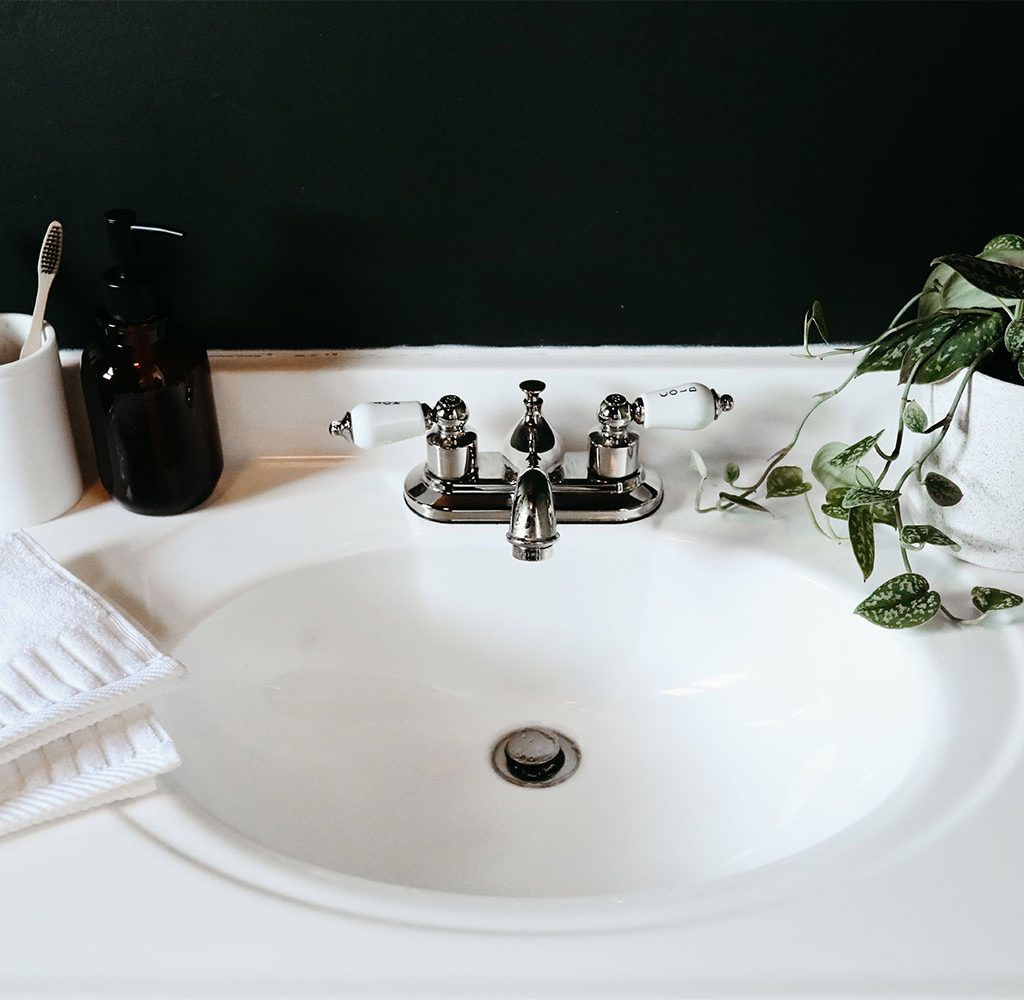
If you’ve ever listened to that echoing drip of a leaky faucet, whether in the kitchen or in the bathroom, you know just how annoying it can be. While some plumbing issues require complex fixes and are best done by a professional, they can be expensive. You’ll be happy to know that you can fix a leaky faucet on your own without much time, effort, or money. We’ll get into how you can isolate the problem in your faucet and how to fix that drip yourself.
The problem with a leaky faucet
A leaky faucet isn’t just annoying; it can also be costly. Even though it’s only a drop of water, repeated dripping increases your water bill every month. A constant drip can waste around 10 gallons of water per day.
Not only is a leaking faucet annoying and wasteful, but an unaddressed leak can lead to other damages. The minerals in the leaking water can damage parts in the sink handle as well as the sink itself. Minerals can stain the sink material from continuously pooling in the sink bowl, and the resulting discoloration can be impossible to get out.
It’s important to address a leaky faucet as soon as possible to avoid wasting water and money in the future.
Why is your faucet leaking?
Water flows from the potable water pipes and into your sink’s handles, where you control the flow out of the faucet’s spout. If the faucet is dripping, this likely means that either:
- Mineral deposits on the handle’s parts are making them malfunction.
- One of the parts in the sink’s handle is damaged or worn and needs to be replaced.
Different faucet parts that could be damaged
- Valve seat. This is the piece on the very bottom of the handle that connects the spout to the faucet.
- Washers. Rubber washers sit on top of the valve seat.
- Cartridge. This is the internal piece in each faucet handle that controls the flow of water. It moves with the handle as you twist it. If the cartridge is damaged, worn, or has a buildup of mineral deposits, it may not function properly.
How to fix a leaky faucet
What you need
- Screwdriver or hex key (check the screws on the faucet handles for the right type)
- Crescent wrench
- Rags
- Distilled white vinegar
- Replacement parts
Step-by-step guide
- If you have a sink with both hot and cold handles, you’ll need to first figure out which handle is causing the leak. Under the sink, turn off one of the valves, either the cold water valve or the hot water valve. Then, check to see if the drip stops. If it doesn’t, the problem is with the other handle.
- Be sure you’ve turned off both hot and cold water valves to shut off the water supply to your sink entirely. If you leave the water supply on, you could flood your bathroom or kitchen.
- Close your sink’s stopper or cover the inside of the sink bowl with a rag so that any small parts don’t accidentally go down the drain as you’re repairing the leak.
- Locate the screw on the defective handle and use a screwdriver or hex key to remove the handle. If there’s a cap on the screw, you can pry it off with a flathead screwdriver before removing the screw.
- Use your crescent wrench to loosen the packing nut, and remove it from the top of the cartridge.
- Remove the cartridge.
- Examine all the parts you’ve removed to see if there is any damage, wear, or buildup of mineral deposits.
- If it appears that all parts are in working order but they have significant mineral deposits on them, soak the parts in vinegar to break up the minerals.
- If any of the parts are broken or damaged, you’ll need to replace them.
- Reassemble the new and old parts, and put the sink handle back together.
- Turn the hot and cold valves back on, and check that the spout is no longer leaking.
How to fix a leaky faucet handle
If the leak you’re seeing is coming out of the faucet handle rather than the spout, it can be a big issue. Having water spill all over your sink from the handle isn’t just gross; it can also cause water damage, a buildup of mineral deposits on handle parts, or even mold growth on and around your sink.
The likely culprit for a faucet handle leak is a damaged or ineffective O-ring, which is a rubber ring that sits just below the sink’s handle. To replace the O-ring:
- First, turn off the water supply to the sink to avoid flooding.
- Use a screwdriver or hex key to remove the sink handle.
- Once the handle is off, you should see the rubber ring resting around the valve seat.
- Remove the old ring and replace it with the new one before replacing the sink handle.
A leaky faucet is an irritating, messy, and sometimes costly plumbing issue. It’s a simple fix, though, that doesn’t necessarily require the use of a professional plumber if you’ve got just a smidge of DIY abilities. With our guide, you can tackle that annoying drip in less than two hours while saving big bucks.


