A gorgeous lawn is the shining crown of any home, isn't it? That luscious, green grass is enough to make the neighbors "green" with envy. But a pristine yard doesn't just happen. It requires a little money and a lot of maintenance. One of the most important things you can do for the health of your grass is seasonal fertilization. While fertilizing vegetable gardens and flower beds is simple and has a variety of methods, feeding those grass blades isn’t quite as loose. To maximize your curb appeal, follow this handy guide to fertilize your lawn the right way.
What is the best time to fertilize your lawn?
Spring and fall are the most crucial times of the year for lawn fertilization. Spring is when the grass gathers the nutrients it needs to grow thick blades that can withstand the hot, dry summer. Fall fertilization helps strengthen the grass's root system and prepare it for the cold weather, so it should be done prior to the first frost.
During the spring season, it’s important to fertilize early enough to provide nutrients for the newly growing grass, but not so early that the fertilizer disrupts the natural cycle. When the lawn is just starting to get a tad green again, the grass is focusing its efforts on strengthening the root system. If you fertilize during this time, the influx of nutrients could cause the grass to switch gears and focus on developing its leaves, leaving the root system weaker than you’d like.
So how do you know when the time is right in the spring? Wait until the soil temperature is consistently above 55 degrees Fahrenheit. You can use a soil thermometer periodically starting in mid-April to gauge the soil temperature.
What is the best fertilizer for lawns?
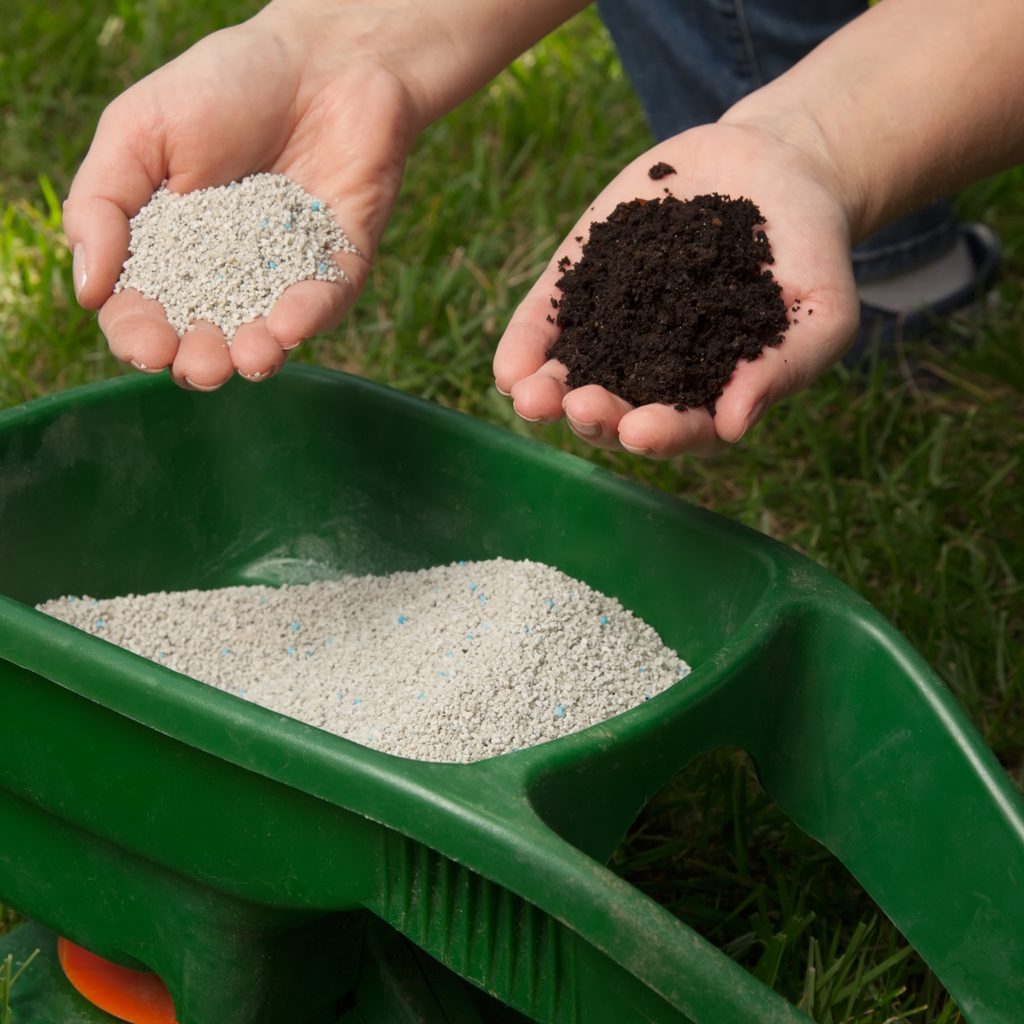
Bags of fertilizer have a series of three numbers on them, like “20-5-10.” These numbers indicate what percentages of the bag contain nitrogen, phosphate, and potassium, respectively. These nutrients are essential to healthy grass growth and the 20-5-10 is a common mix that's beneficial for most lawns.
If you’re fertilizing a lawn yourself, choose a granular fertilizer over a liquid one. While liquid fertilizers are quicker-acting for lawns in desperate need of food, they are also more expensive and require more frequent applications. Granular products are easier for DIY fertilizer projects and they disperse more evenly. The slow-release formula also means you'll need to apply it less often.
Is it possible to overdo it with lawn fertilization?
You may think more is better when you’re fertilizing your lawn. After all, the more you feed it, the greener and thicker it will be, right? Not so much. It is possible to overfertilize your grass. It will only get so green and, if you’re feeding it too much, the buildup of chemicals can burn your grass and cause widespread damage.
To strike the right balance, feed your lawn between two and three pounds of nitrogen over five total feedings between mid-April and October.

How to fertilize your lawn the right way
Now that you’ve picked out your granular fertilizer and the soil has reached the appropriate temperature, it’s time to get down to business. Here’s a step-by-step guide to fertilizing your lawn the right way, starting in April.
Step 1: Check the weather prior to fertilizing your lawn. If a big rainfall is coming, wait until after the rain. Your fertilizer will simply wash away if it doesn’t have time to soak in.
Step 2: Read the fertilizer label carefully to determine whether you need to water your lawn prior to application. While the label lists instructions for the application amount, these recommendations are very liberal and you can often cut the amount in half.
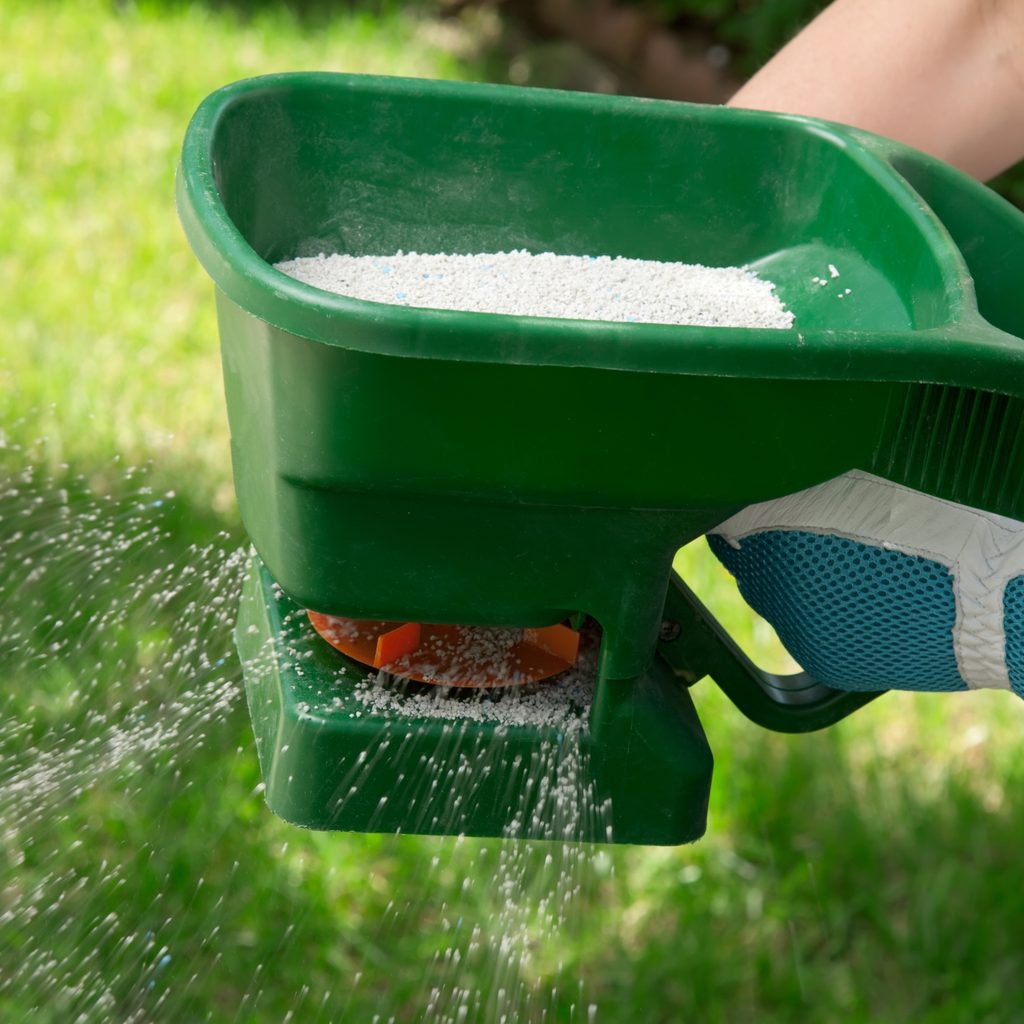
Step 3: Grab a broadcast spreader. A broadcast spreader is preferable to a drop spreader since it disperses the fertilizer wider and more evenly. This will prevent strips of grass that are greener than others. Use one on wheels for a larger yard or a manual one with a hand crank for smaller areas.
Step 4: Before filling the spreader, place it on a concrete surface or tarp so that excess granules don’t pour onto the surrounding of grass as you fill it.
Step 5: Make sure the hopper is closed before you pour the fertilizer into the spreader.
Step 6: Distribute the fertilizer in rows across your lawn and use the spreader’s tire marks as a guide so you don't miss any patches or double coat others.
Step 7: Once you’ve filled in your lawn in one direction, fill it in again in the opposite direction, creating perpendicular lines across the ones you just made. This will ensure total coverage on every inch of grass.
Step 8: Once the yard is evenly coated, pour any remaining fertilizer back into the bag to save it for a future application.
Step 9: Before watering the lawn, check the product instructions to determine when to water and how much to give.
Step 10: Repeat the lawn fertilization process in four weeks. After that, fertilize every six to eight weeks until October.
Your lawn is a great place to hang out during the summer, but it also adds tremendously to your home’s curb appeal. For a home that's both impressive and inviting, a lush, green lawn is a must. With these fertilization best practices, your grass will grow quickly and become greener and greener as the sunny season commences.