
If your lawn is the pride and joy of your property, it’s pretty disappointing when it starts struggling to grow or just isn’t looking quite as green and lush as it used to. In these cases, it’s probably due for some aeration. Buying an aerating machine, renting one, or hiring a landscaping service can all be quite expensive, and many homeowners may not have space in the budget for these investments. Luckily, there are some simpler ways you can successfully aerate your lawn. Enhance your curb appeal without breaking the bank with these tips.
While the easiest way to aerate your lawn is to hook up pull-behind aerator attachments to your riding lawnmower or ATV, these can get pricey and are only effective if you have the right machine to pull it. Especially for a smaller lawn, you can aerate it effectively without investment in any heavy machinery.
What is aeration and why does your lawn need it?
Aerating your lawn is the process of loosening up the soil. Heavy rains, foot traffic, and even time can compact your soil, and this prevents the water, air, and fertilizer from getting down to the root system of your grass to feed it. By driving thin spikes down into the soil, you can loosen it and give it a better chance to thrive.
How to tell if your lawn needs to be aerated
Keep an eye out for these telltale signs that your lawn is in need of aeration:
- Browning or yellowing grass
- Bare patches where the grass isn’t growing
- Growth-stunted grass
- Areas with puddling water
Aerate your lawn with a pitchfork
The simplest way to aerate your lawn without the use of a motor is to use a pitchfork. Particularly great for smaller lawns, simply press the spikes into the ground about 4 inches deep and repeat the process every 4 to 6 inches over the entirety of your lawn.
Use a manual core or spike aerator
A manual spike or core aerator operates similarly to a pitchfork. The tool has spikes or hollow tubes on the end that puncture holes in the soil. The biggest difference between a manual aerator and a pitchfork is that the aerator is designed specifically for aerating your lawn, so the spikes are short enough to avoid penetrating the soil too deeply. Additionally, and the handles are designed for extended use which prevents cramping and general discomfort.
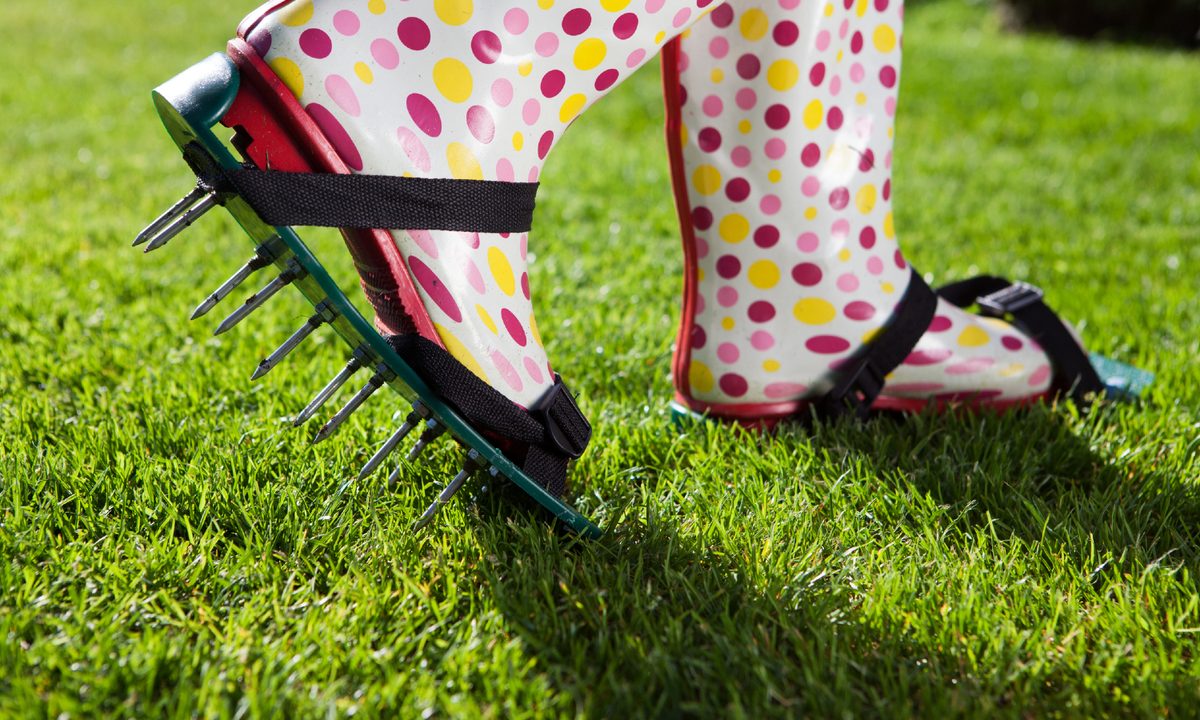
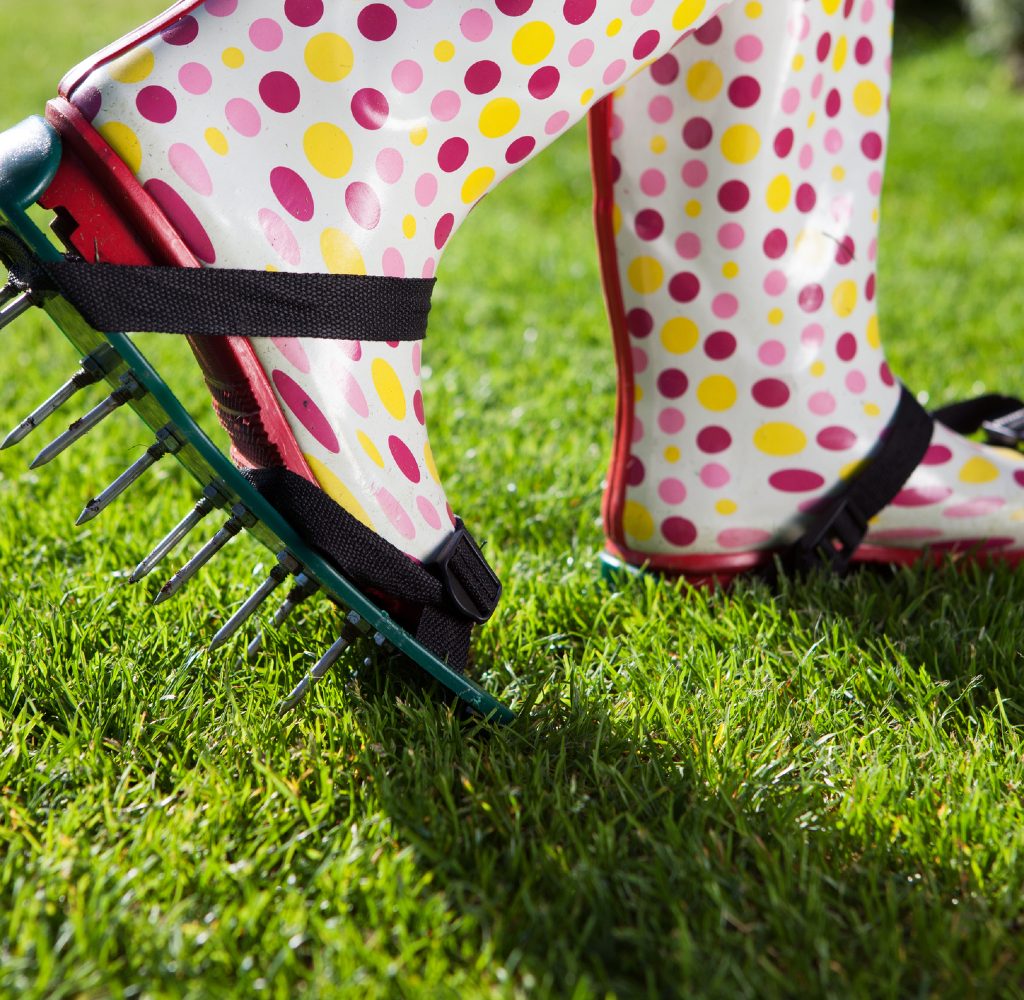
Aerating shoe attachments are handy
If you want to avoid some physical labor, invest in shoe attachments specifically intended for lawn aeration. They are designed like sandals with straps that go over your shoes and they have spikes on the soles. This way, you can simply walk carefully across your lawn, spacing your steps as close together as possible, to aerate it.
Aerating rollers make the job easy
Rolling aerators could not be easier to use. These push-operation rollers have spikes between the wheels that allow you to quickly and easily aerate even a mid-sized lawn in very little time. Just walk and push the roller in front of you to take care of your entire lawn within minutes.
How to aerate a lawn successfully
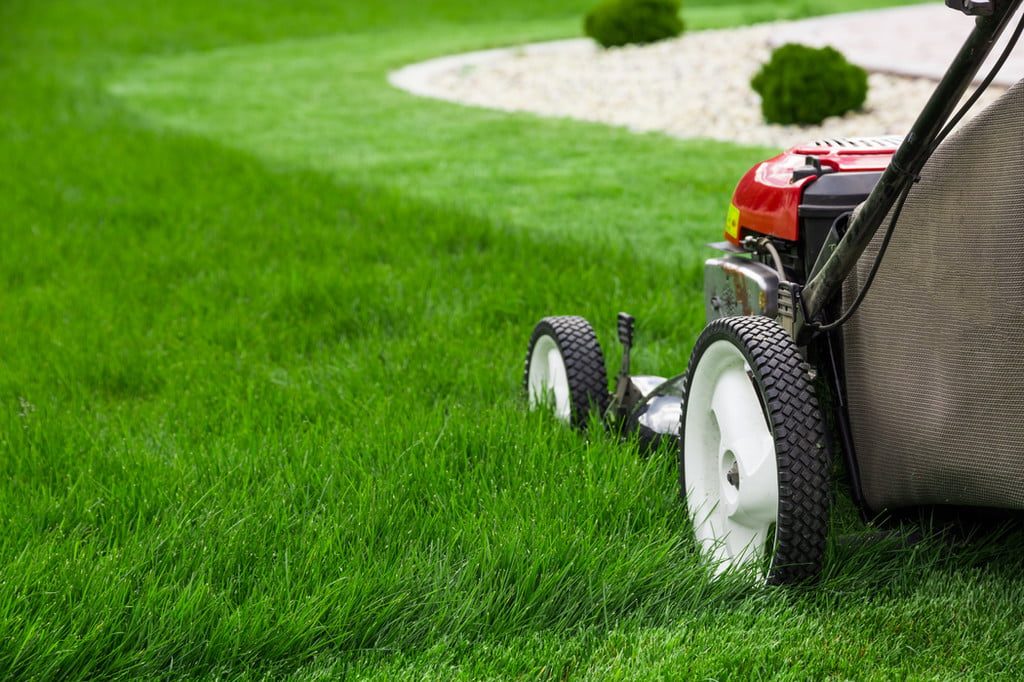
Step 1: Mow the grass. Shorter grass allows your aerating tool to pierce the soil more easily.
Step 2: Start watering your grass generously two or three days before you aerate. Keeping the soil moist will lead to easier aeration and prevent damage to the grass’s roots.
Step 3: Check that the soil isn’t too wet or too dry. If you push the spikes into the soil and it sticks to them in clumps, your soil is too wet, and you’ll end up pulling up patches of grass.
Step 4: If the soil is so dry that it’s powdery, water it thoroughly and aerate again in a couple of days.
Step 5: Use the tool of your choice from the ones described above. Be sure you aerate the entire lawn to orchestrate adequate drainage throughout.
Step 6: Once you've finished aerating, throw down some fertilizer since it will be able to reach the roots more easily than when the soil was compacted.
Step 7: Water thoroughly for a few days to keep it moist but not drenched. The water will reach the root system well and helps the fertilizer soak into the soil.
General maintenance of your lawn includes the obvious tasks: watering, fertilizing, and weeding. However, if your lawn isn’t aerated properly, all that effort will go to waste since air and water can’t reach the grass’s roots. To promote new and healthy growth, be sure to aerate every one to two years. However, if it’s looking a little dull in the meantime, feel free to loosen the soil and give your lawn a breath of life.


