After a long, hot summer, your lawn may need a little TLC. The scorching sun can dehydrate and burn your grass, leaving bare spots, yellowing, and excessive thatch, even if you’ve been caring for it all season long with regular fertilization, mowing, and weeding. Aerating your lawn in the fall is one of the best ways to breathe new life into your grass, ensuring a lush and healthy turf next summer.
If you aren’t familiar with aeration, don’t worry. We’re going to discuss the benefits of autumnal aeration and walk through the best ways to aerate your lawn for premium growth.
What does aerating do for your lawn?
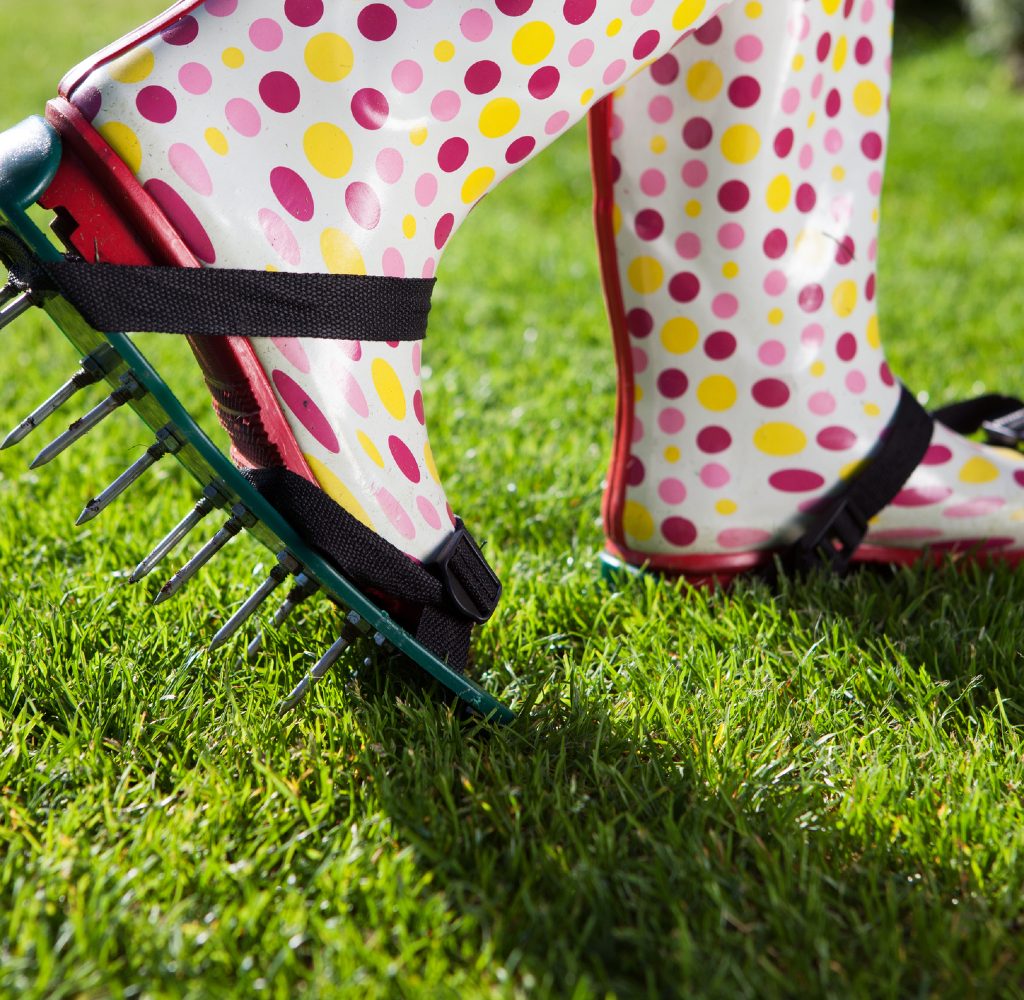
Aeration, put simply, is the process of poking holes in your lawn. Over time, living and dead plant matter accumulates at the roots of the grass. When this layer becomes too thick, crucial nutrients have a difficult time penetrating the build-up and reaching the plant roots. Aerators puncture your lawn and pull out cylindrical plugs of soil to loosen it, allowing sunlight, water, and nutrients to reach the roots of your grass.
The device you use for this process depends largely on the size of your lawn. Manual, handheld aerators work well for smaller lawns, but aeration machines are necessary for larger lawns.
Why aerate your lawn in the fall?
Experts recommend aerating your lawn at least once per year in either the spring or fall. In some cases, your lawn may require aeration twice a year, especially if thatch accumulates quickly. If your grass continues to struggle to grow or is lacking that envious bright green color, consider aerating in both the spring and fall.
That being said, if you only need to aerate once a year, make sure it’s in the fall. This just may be the key to maintaining a luscious lawn all year long.
Lawns get higher traffic in the summer
During the summer, your yard experiences a lot of foot traffic and surface weight from backyard barbeques, sprinkler sessions, and pop-up pools, all of which can compact your soil. Aerating your lawn in the fall loosens the soil after a season of constant use.
Grasses expand their roots in the fall
During the autumn months, roots start to expand and strengthen themselves for the coming winter months. You can support this process by loosening the soil with aeration and adding seed and fertilizer. With more room to grow and plenty of nutrients, your grass will have the strength to withstand the cooler months and pop up in the spring as beautiful as ever.
How to aerate your lawn
Poor aeration practices can be ineffective and may even damage the roots, creating more bald spots and yellowing. Follow these steps to ensure your lawn gets the most out of your aeration session.
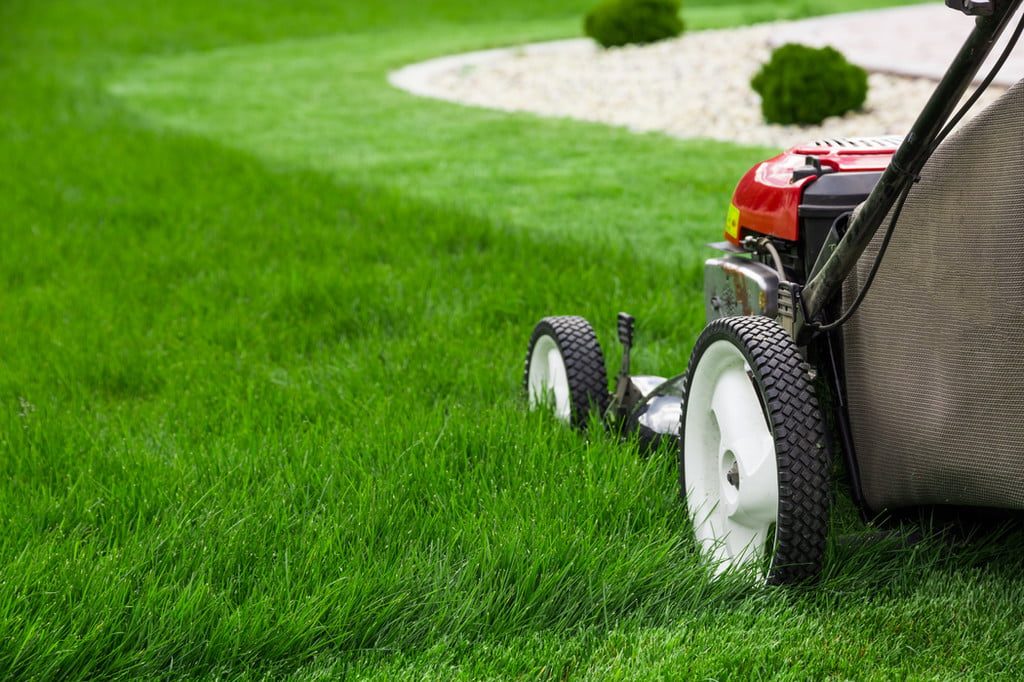
- Mow your grass short before aerating. With shorter grass, the new seeds you lay down will get the proper water and sunlight they need to germinate and grow. Fertilizers can also reach the grass’s root system easily with shorter grass.
- Keep an appropriate watering schedule leading up to aeration. Your soil can’t be too wet when you aerate and it can’t be too dry either. Be sure the soil is moist but not drenched before you begin the process.
- Use your aerator properly. Make sure to place the spokes into the soil about 2-3 inches deep and space the holes about 4 inches apart.
- Seed and fertilize after aeration. Now that your soil is loose, lay down some new grass seed to promote growth ahead of the winter months. This is the best time to seed since the new roots easily penetrate the deeper levels of soil, keeping it healthier and more durable. This is also a great time to fertilize since the nutrients can more easily reach the new seeds and the existing roots.
- Water lightly. Drenching your lawn with water may leave you with standing water in some spots which can encourage mold growth and lead to plant rot. Instead, water the lawn just enough to wash the fertilizer down into the aeration holes and toward the root system.
After a long summer of regular watering, mowing, weeding, and dethatching, you may welcome fall and winter as a well-deserved break from your exhausting lawn care routine. While you certainly have several months ahead to rest from yard work, do so after a fall aeration session. This one last landscaping project will ensure that next summer’s lawn will be lush, green, and ready to show off to the neighbors.


