
Whether you’re dealing with a tiny apartment kitchen or you lack adequate counter space, storing your kitchen supplies can be a hassle if done improperly. When you’re limited on space, it’s best to seek creative storage solutions to maximize the area available to you.
Kitchen organization starts with the cart
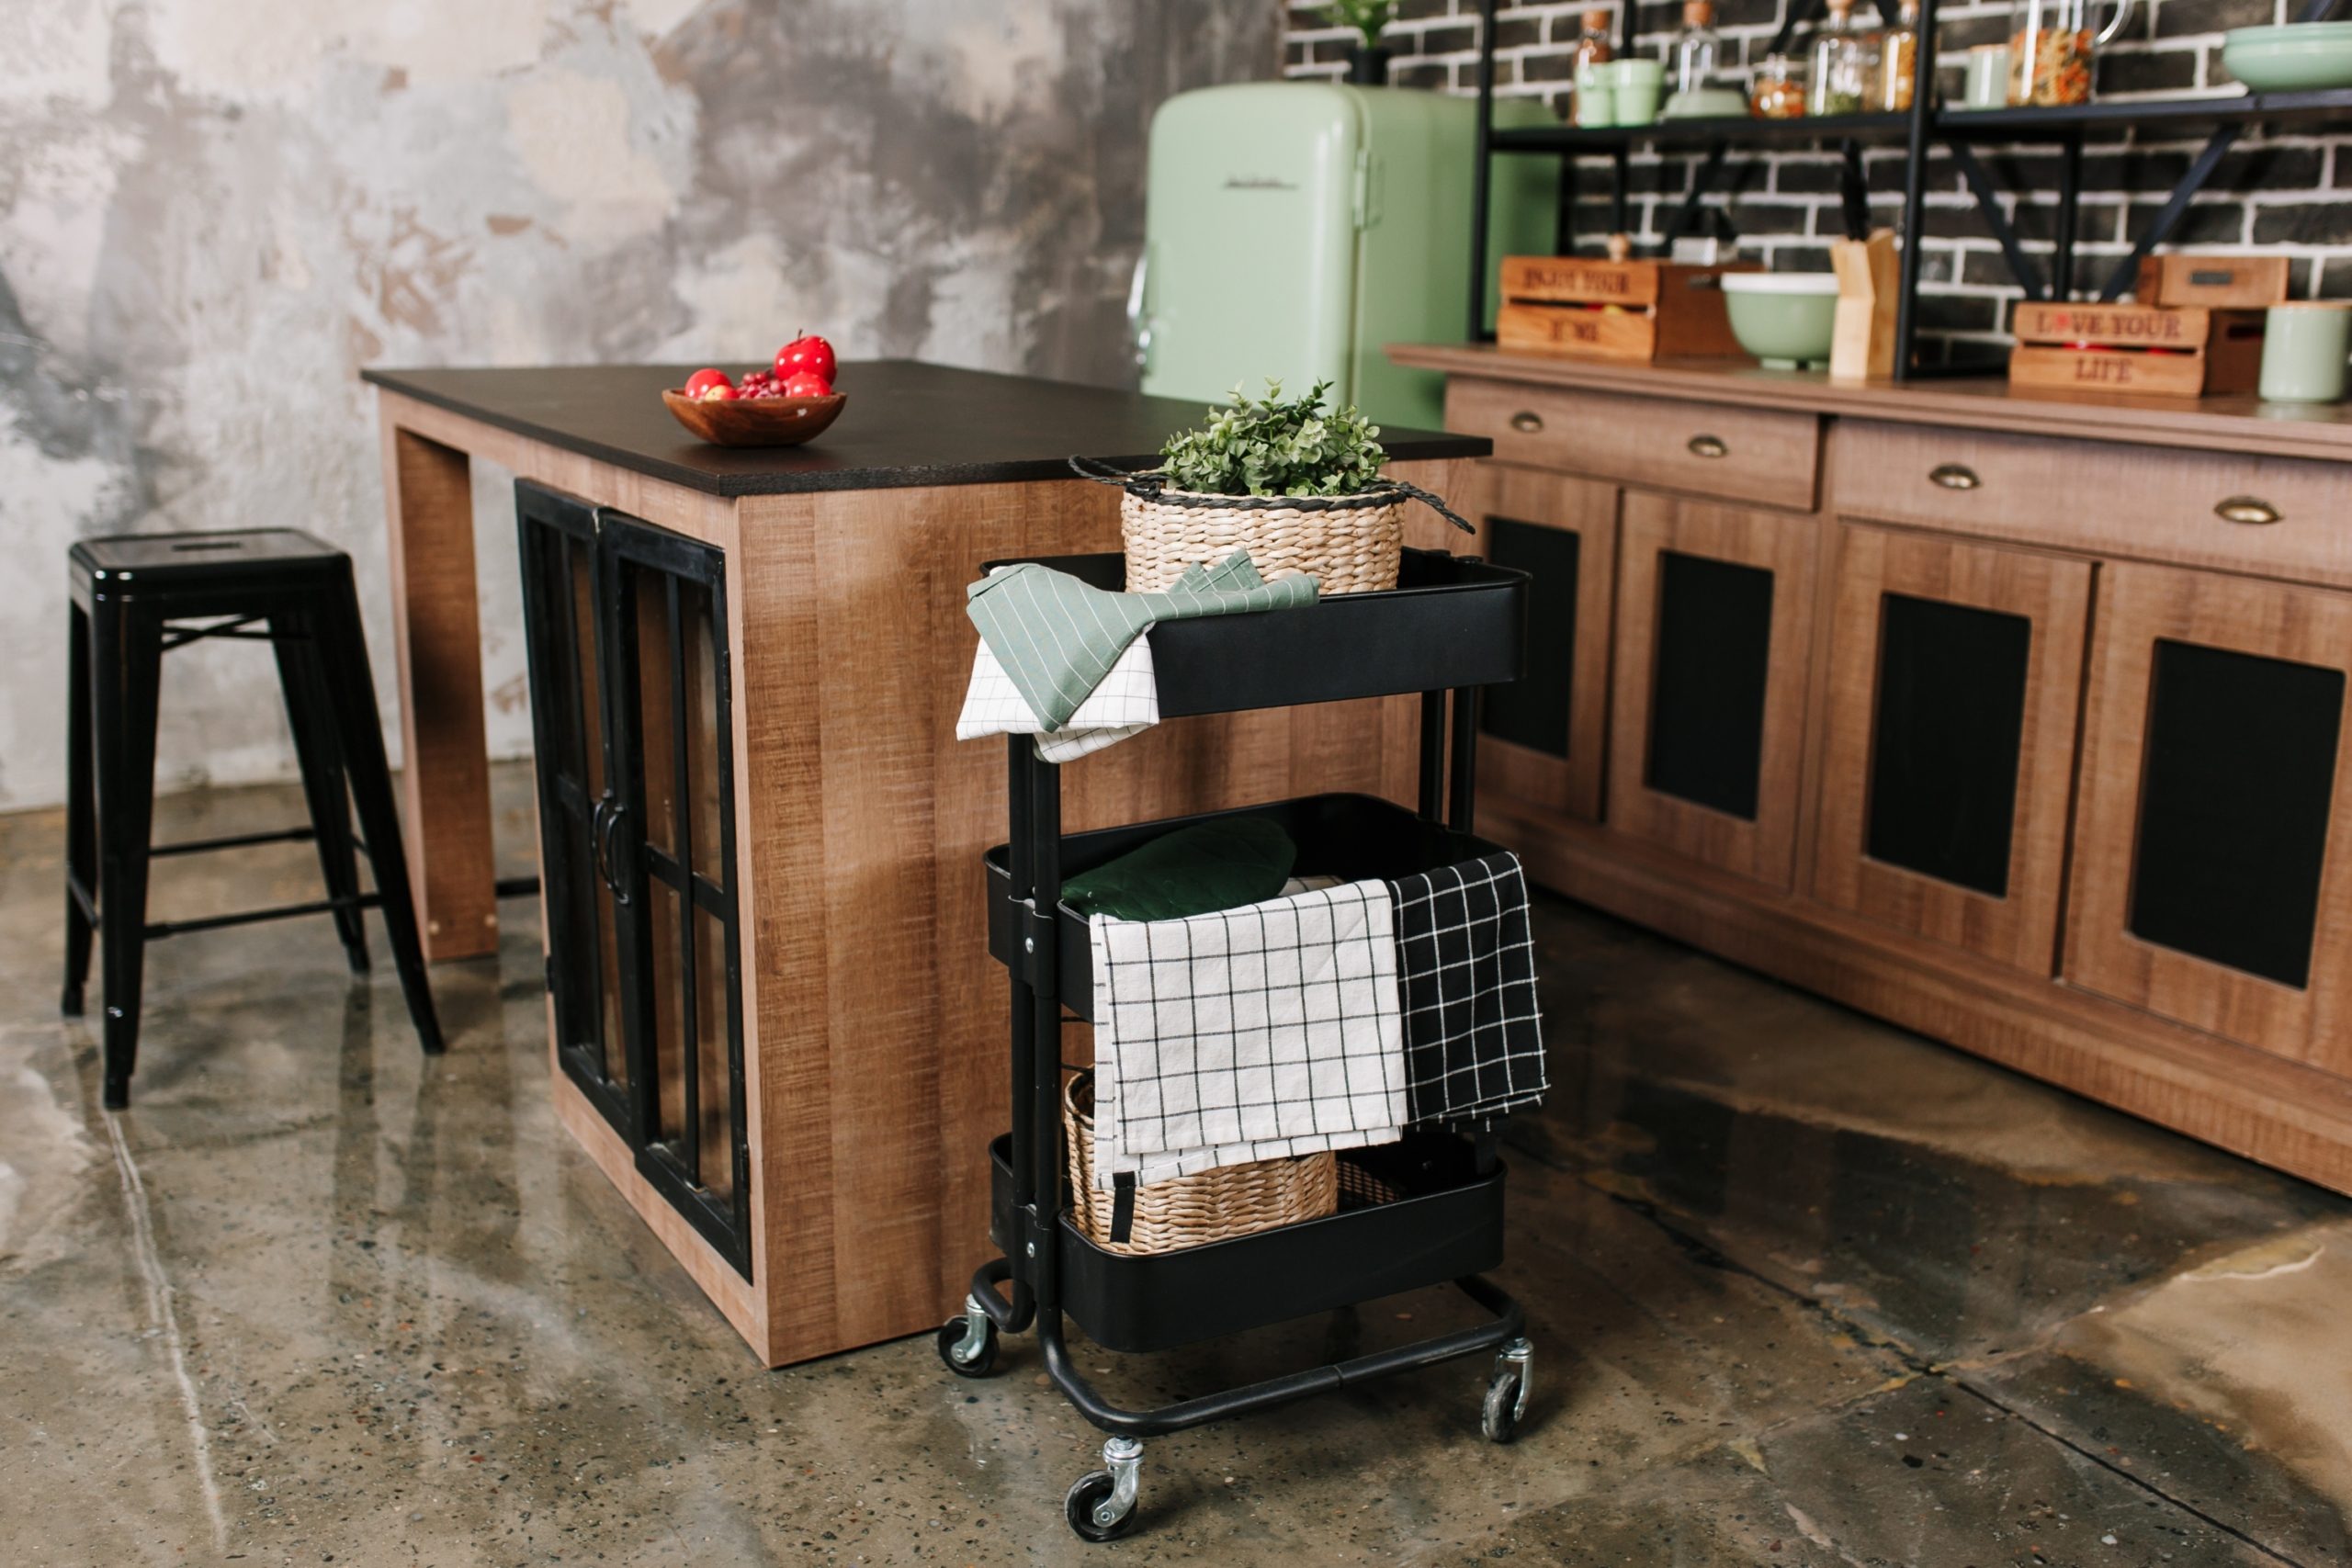
One of the best ways to implement more storage and counter space into a small kitchen is using a kitchen cart. Carts offer a unique solution for small kitchens that lack adequate space to prepare food or store goods and supplies. They provide more shelving options for dishes, spices, and towels and supply you with a feasible counter to prepare meals.
Kitchen carts have recently become a popular item in many households, and the main intrigue for them is their ability to be easily moved from room to room. This mobility allows you to shift the cart to the middle of the room to act as an island for your cooking or baking and provides the opportunity to be tucked away when you need more open space.
What’s more impressive is that there are several styles of kitchen carts to choose from. If you’re looking for a more industrial style cart, you might find metal piping and open cart shelving to work for your space. Alternatively, several classic wooden carts provide hidden storage solutions as well.
When to maximize kitchen storage for small spaces
When you’re dealing with a small kitchen, you’re limited on several things. You may not have a lot of counter space to prepare your food or enough surface area to hold your small appliances. While you can likely store these items in your cabinets, you’ll find that most kitchen storage solutions are outdated and don’t efficiently maximize the space you already have.
However, maximizing your space is relatively simple. It all comes down to creative thinking and a little DIY.
Stackable shelves in cabinets
Stackable shelves have become quite a trend in recent years, and for a good reason! Most kitchen cabinets are built to be large. They focus on depth and are meant to appear larger than they are.
Due to this, they often only come with one or two shelf dividers. While this can work for some storage situations, it is not ideal if every cabinet is built the same way. In your kitchen, you have supplies and utensils in diverse sizes and quantities. Your cabinets can better store your goods if they are appropriately sized to accommodate the variety of materials you have in your kitchen.
For example, if you own several delicate dinner plates and bowls, it can be impractical to stack them all on top of one another. What happens when you want a plate? Do you have to remove all of your bowls to pull one out?
Using stackable shelves allows you to create a division in your cabinet. This provides you with the opportunity to place your plates on the bottom and your bowls on top. Stackable shelves allow you to divide your kitchen cabinets further and eliminate all of the open space you cannot use.
There are several types of stackable shelving solutions from wire bins, plastic tubs, and wooden stair-step shelves. You can even utilize wire can holders to condense the space your canned goods occupy in your cabinets. It’s important to remember that the more creative and versatile your solutions, the better able you will be to maximize your space.
Built-in spice rack sliding cabinet
One unique solution for maximizing space in small kitchens is the use of a built-in sliding spice rack.
Your small kitchen likely struggles to organize and contain the plethora of spices in your pantry and shelves. It’s equally as likely that you have a bit of dead space between your fridge and cabinets or wall. To maximize this unused space, you can build a sliding spice rack concealed next to your fridge and maximize the space for your spices.
To build a built-in spice rack, you’ll need to measure the available space first. We recommend that you have at least four to six inches of clearance to perform this DIY hack. It’s also best if the back of the rack (where the sliding mechanism will be placed) is next to a wall.
Next, you can use a 2×4 to create the cabinet’s outer portion (the part people will see when looking at the built-in rack). It can be as tall as your fridge or shorter, depending on your needs. You will need at least two 2×4’s of the same length to create the shelf’s front and back. A popular choice is to make these boards an inch or two shorter than your fridge’s height for a full cabinet.
Next, using plywood, you can secure a back to your shelf. Use staples, nails, or screws to secure it. Using two more sets of 2×4’s, you can attach the sliding shelf’s bottom and top. Be sure to measure these accurately, as they’ll serve as the depth of your built-in rack.
Create the sliding mechanism with drawer sliders, similar to what you would use on your kitchen drawers. Be sure to connect them to the studs in the wall for optimal security. Place the sliders at the top and bottom of the drawer so it can slide vertically.
Use 2×4’s and wood trim to create the separate shelves, add a handle to the front board, and paint the rack to match your cabinets. You’ll be left with a rack fit for your spices.

Pan and cutting board dividers
Another solution for maximizing your cabinet space is to divide drawers vertically. This is a unique alternative to what you may be used to as most kitchen cabinets are split horizontally. Vertical slats can be inserted into your cabinets to create separation for pans, cutting boards, and lids. Make sure that your slats fit snug in your cabinets to prevent them from falling over.
Vertical dividers are a simple DIY solution for maximizing space for these larger kitchen tools and create a more manageable approach to storing and using them when necessary.


