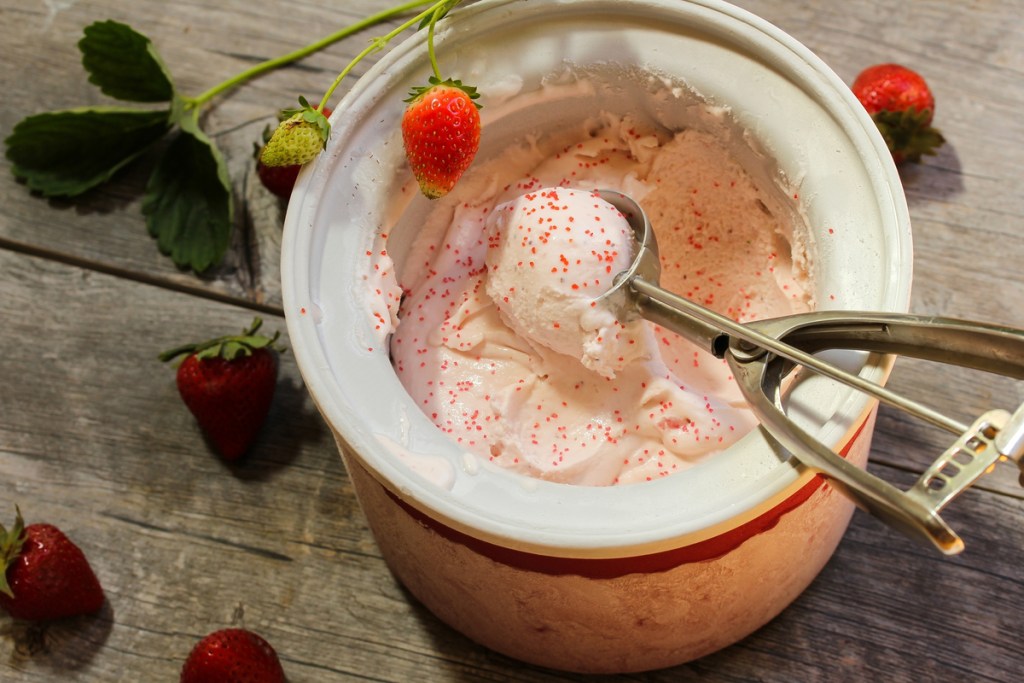
Homemade ice cream is even more decadent and delicious than the store-bought variety, but it certainly takes a lot of work. Making the custard base that’s a hallmark of “French-style” ice cream is usually the culprit behind complex and time-consuming recipes. But, there’s an easier method that, though nontraditional, elevates this timeless dessert to a whole new level.
Philadelphia-Style Ice Cream, also known as American or New York-style ice cream, forgoes the eggs and centers the flavor of the cream, resulting in delicate and surprisingly smooth ice cream.

What is Philadelphia-style ice cream?
During the early years of America’s history, ice cream was considered to be a European delicacy. For an American take on this dish, culinary innovators ditched the labor-intensive custard-making step in favor of a lighter ice cream that requires far less effort. They termed it Philadelphia ice cream and it’s been an All-American delicacy ever since.
Philadelphia-style ice cream is made with cream, milk, sugar, and whatever other flavorings you desire — no eggs needed. To make it, simply blend the ingredients together, churn, and freeze. It’s faster and easier, plus, its lighter, creamier texture makes it an even better style of ice cream for serving in ice cream cones.
French-style ice cream, made with a custard base, contains egg yolks that make the ice cream thicker and richer, while Philadelphia-style ice cream is lighter and airier with a more delicate texture than both French-style ice cream and Italian gelatos.
Philadelphia ice cream recipe
A basic vanilla ice cream can be the base for so many other inventive ice cream flavors. This delicious Philadelphia ice cream takes just 30 minutes from start to finish — minus the freezing process, of course. Though delicious, this recipe isn’t made for leftovers. For best results, you should enjoy it within hours of finishing the recipe, so try not to make more than you can consume in a day or so. You can always cut the recipe in half for a smaller amount.
You will need an ice cream maker in order to make this recipe, but you don’t have to invest in a fancy gadget. Ice cream makers come in a variety of different styles and price ranges, so you can find one that fits your needs and budgets. More avid home chefs might find more utility in an expensive machine with extra features, but casual ice cream fans only need the basics.
Philadelphia-style vanilla ice cream
Ingredients:
- 2 cups heavy cream
- 1 cup milk
- 3⁄4 cup sugar
- 1 Tbs. vanilla extract
Directions:
1. Prepare
Stir the cream and milk together in a bowl. Add sugar and whisk until the sugar dissolves, about 3-4 minutes. Taste a small amount to make sure the sugar has dissolved completely and the mixture feels smooth and not grainy. Continue whisking, as needed, until you reach the desired consistency. Once you’re satisfied that all of the sugar has dissolved, stir in the vanilla extract.
2. Chill
In a large bowl, add ice cubes to fill the bowl approximately halfway, then add enough cold water to cover the ice. Take the bowl with the cream mixture inside and nest it into the larger bowl, allowing it to cool for 30 to 45 minutes. Remove the bowl with the ice cream mixture, cover it with plastic wrap, and refrigerate for at least 3 hours but no longer than 24 hours.
Note: If you want to add anything to your basic vanilla flavor, like chocolate chips, add them now.
3. Churn
Remove the plastic wrap from the bowl and pour the chilled cream mixture into the mixing container of your ice cream maker. Freeze according to the manufacturer’s instructions.
4. Store & serve
You can serve the ice cream directly from the mixing container, but it will be very soft and will have a mild flavor. Transferring the ice cream to a plastic freezer container, sealing, and freezing until firm will coax out the flavor and creamy goodness. Again, Philadelphia-style ice cream is best served within 12 hours of freezing, as it has a tendency to become grainy a day or two after churning.
Recipe makes 1 quart.
Once you try making Philadelphia-style ice cream at home, you’ll find it’s hard to stop. As you become more comfortable with the recipe, you can begin experimenting with different flavors like chocolate and strawberry, or you can get really creative with something like this Mind-Blowing Mint Chip ice cream! You’ll love making it, your family will love eating it, and it’s easier to do than you ever thought was possible.


