
How to wash a weighted blanket in 4 simple steps

Proper care and maintenance are essential with weighted blankets

woman sleeping with gray blanket and navy sheets
Slaapwijsheid.nl / Unsplash

Weighted blankets have gained popularity for their ability to alleviate anxiety and improve sleep quality. However, when it comes to washing your bedding, proper maintenance is a big part of ensuring you can enjoy your weighted blanket for years to come. Let’s discuss some of our maintenance best practices and our recommendations for how to wash a weighted blanket in just a few simple steps.

Two dogs laying together under a blanket
Dezy / Shutterstock

What’s inside a weighted blanket?

Before we dive into the how-to’s, it’s important to understand what exactly these blankets are made of. Weighted blankets are filled with materials like glass beads, plastic pellets, or even rice to provide the desired weight. These materials are distributed evenly throughout the blanket to apply gentle pressure across the body, promoting relaxation and calming effects in your bedroom.

person putting laundry into the washing machine
SaraAnne / Shutterstock

Can you wash a weighted blanket in the washing machine?

Many weighted blankets are machine washable, but it’s crucial to check the care tag on the blanket or the manufacturer’s instructions before washing it. Some blankets may require spot cleaning or hand washing to prevent damage to the internal materials or the blanket’s stitching. There are even some weighted blankets that are dry-clean only.

red haired woman holding mug on gray blanket
Amin Hasani / Unsplash

Removing stains from your weighted blanket

For spot cleaning your blanket, make a DIY stain remover with mild detergent or use an appropriate commercial stain remover and gently blot the affected area with a clean cloth. Avoid rubbing vigorously, as this can damage the fabric or cause the stain to spread. For tougher stains, consider professional cleaning services or consult the manufacturer’s guidelines.

Laundry sanitzer
AePatt Journey / Shutterstock

How to wash a weighted blanket

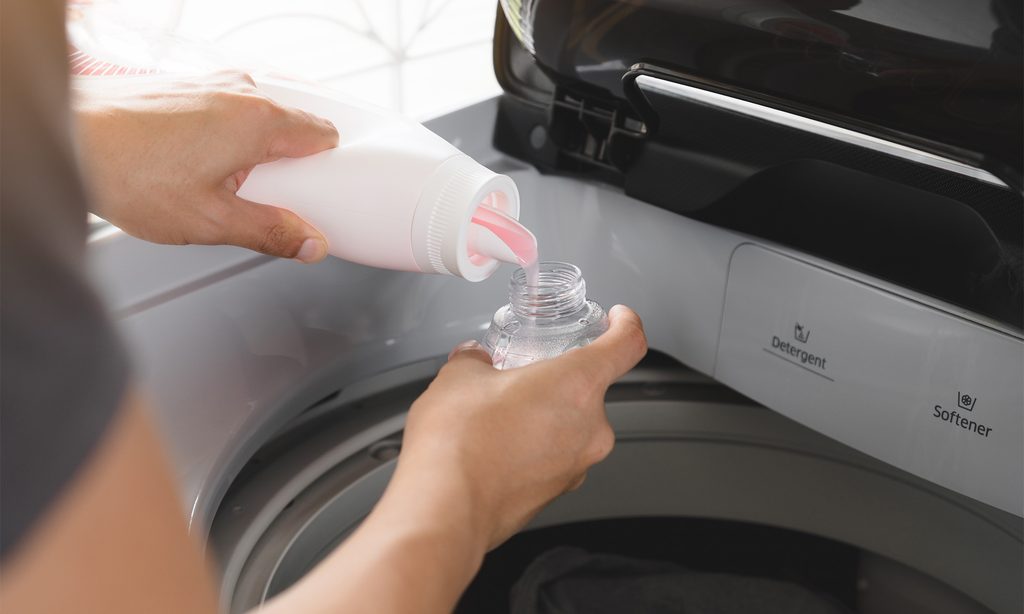
1. Prepare the washing machine

If your weighted blanket is machine washable, ensure that your washing machine is large enough to accommodate its size and weight. Use a gentle cycle with cold water and a mild detergent to prevent shrinking or damaging the fabric.

Recommended Videos

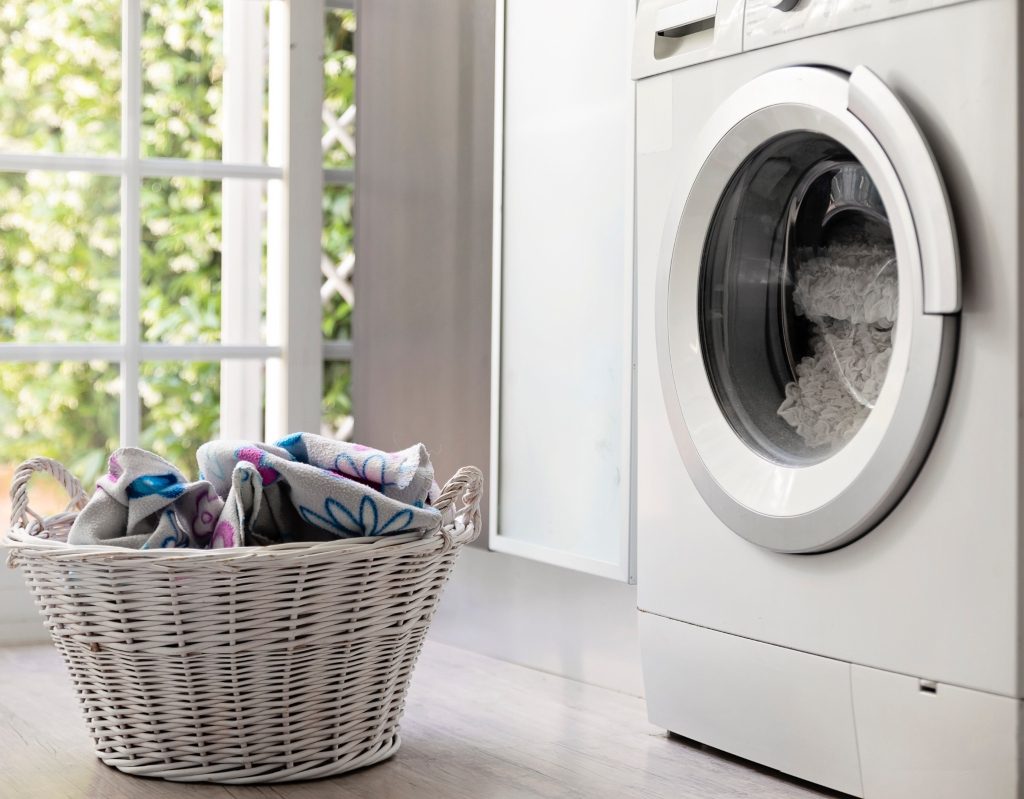
2. Load the blanket alone

Place only the weighted blanket in the washing machine and don’t add any other items to the load. Overloading the machine can prevent proper cleaning and rinsing. Make sure it’s evenly distributed to maintain balance during the wash cycle.

3. Wash with care

Start the washing machine and allow the cycle to complete. Avoid using bleach in this laundry load as well as fabric softeners, as they can degrade the fabric or affect the weighted filling. If necessary, run an additional rinse cycle to ensure all detergent is removed from the blanket.

4. Dry a weighted blanket

After washing, it’s essential to dry your weighted blanket properly to prevent mold or mildew growth. Hang the blanket outside or lay it flat on a clean surface to air dry naturally. Avoid hanging it in direct sunlight, as prolonged exposure can fade the fabric colors.

If your weighted blanket is suitable for tumble drying, use a low heat setting and remove it promptly once dry to prevent overheating or wrinkling.

Close-up of a laundry basket and washing machine
Cris Cantón / Getty Images

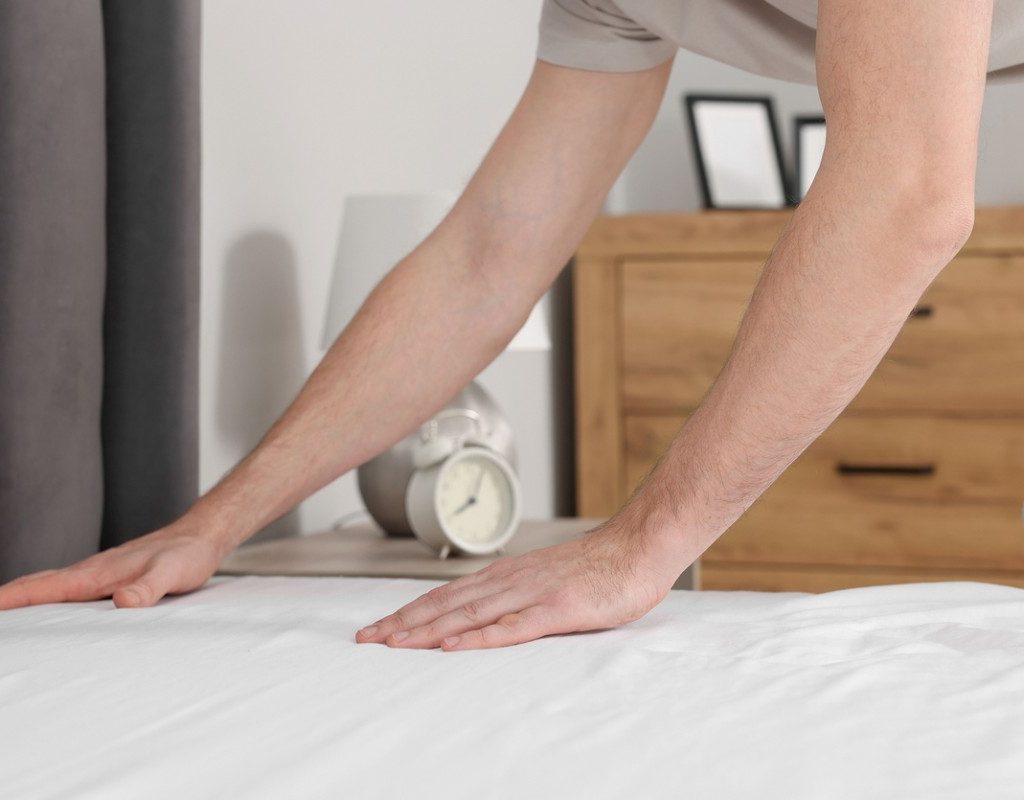
How often should you wash a weighted blanket?

You don’t have to wash your weighted blanket with the same frequency as you wash your sheets, and how often you wash your weighted blanket depends on how often you use it and your personal preference. As a general guideline, aim to wash it every one to two months to maintain cleanliness and freshness. However, if you notice any stains or odors, it’s best to wash it promptly to prevent them from setting in.

best white duvet cover
New Africa / Shutterstock

Tips for keeping your weighted blanket clean for longer

  • Use a removable duvet cover to protect your weighted blanket from spills, stains, and daily wear and tear. That way, you can wash the duvet cover regularly to maintain cleanliness without compromising the blanket’s filling.
  • Avoid eating or drinking while using your weighted blanket to prevent accidental spills or stains.
  • Clean any stains immediately to prevent setting.
  • Remove pet hair and dander regularly with a lint roller. This helps minimize pet odors from clinging to your blanket.
  • Put your weighted blanket away after every use.
  • Store your weighted blanket in a breathable fabric bag or container when not in use to protect it from dust and dirt buildup.

Weighted blankets are an amazing treat, and they’re a great way to improve your sleep and help with conditions like anxiety. Proper care and maintenance are essential for keeping your weighted blanket clean, fresh, and effective. By following these simple steps and guidelines, you can enjoy the soothing benefits of your weighted blanket for years to come. Remember to check the manufacturer’s instructions and handle your blanket with care to ensure optimal performance and longevity.

Editors' Recommendations

Veronica Sparks
Veronica Sparks is a writer from Milwaukee, Wisconsin who loves writing about gardening, home décor, and DIY life. She’s…
How to clean glass shower doors the right way (say goodbye to streaks)
The natural way to get a sparkling, clear shower door — without all the chemicals
Shower with a glass door

Glass shower doors add a touch of elegance to any bathroom, but they can quickly lose their sparkle because of soap scum, grime, and pesky streaks. Fear not! With the right cleaning techniques and a few simple ingredients, you can restore your glass shower door to its pristine condition. Let's explore effective methods for how to clean glass shower doors without leaving behind streaks.
What is the best thing to use to clean glass shower doors?

When it comes to cleaning glass shower doors, you have two primary options: DIY natural cleaners or commercial glass cleaners. DIY solutions are often cost-effective and environmentally friendly, while commercial cleaners may offer convenience and specialized formulas for tough stains.
White vinegar and dish soap for cutting grime
For a powerful yet natural cleaning solution, mix equal parts white vinegar and water in a spray bottle, adding a few drops of dish soap. Spray the solution onto the glass surface and let it sit for a few minutes to loosen the grime. Then, scrub gently with a sponge or microfiber cloth and rinse thoroughly with water. However, exercise caution when using vinegar on surfaces like natural stone, as it can cause damage.
Baking soda and dish soap instead of vinegar solution
If you prefer to avoid vinegar, a mixture of baking soda and dish soap can also effectively tackle grime on glass shower doors. Create a paste by mixing baking soda with a small amount of dish soap, then apply it to the glass using a sponge or cloth. Scrub gently in circular motions, focusing on areas with stubborn stains, before rinsing thoroughly.
Lemon and lemon oil to kick streaks to the curb
Harness the power of citrus to banish streaks from your glass shower doors. Simply cut a lemon in half and rub it directly onto the glass surface, focusing on areas with visible streaks. The acidic properties of the lemon help dissolve residue while leaving behind a fresh, citrusy scent. For added protection against future water marks, lightly coat the glass with lemon oil after cleaning. Your glass won't streak again for a long time!
Tips for keeping your glass shower doors clean and streak-free

Read more
How to remove stripped screws without any hassle
Unlock our best solutions for this common DIY woe
Single screw pointed up on a wood surface

Stripped screws can be a frustrating obstacle that can easily halt the progress of your DIY building or repair project. However, with the right methods and a bit of patience, you can tackle this problem effectively. Let's explore the various techniques for how to remove stripped screws, ranging from simple tricks to more advanced solutions for those severely stripped screws.
How to remove stripped screws: Initial methods to try
Here are a few simple methods to employ when the screws aren't too much of a problem.

Remove the screw with pliers
One of the simplest methods involves using a pair of pliers. Grip the head of the screw firmly with the pliers and slowly turn it counterclockwise. Apply steady pressure to prevent slipping and gradually loosen the screw from its position.
Use the rubber band method
If the screw head has enough grip left, place a rubber band over the head before inserting the screwdriver. The rubber band fills the gaps and provides extra friction, enhancing your grip on the screw. This method works particularly well for smaller screws like those on old wood furniture or screws with shallow stripping.
Try using a different screwdriver
Sometimes, the head of a stripped screw may still have one or two slots that can accommodate a different type or size of screwdriver. Experiment with various screwdrivers in your home toolkit, such as switching from a Phillips to a flathead screwdriver or adjusting the size of the screwdriver to fit the remaining slots.
Next steps: Take your removal method up a notch
Here, we have some more advanced options when the job isn't so simple.

Read more
This is how much it really costs to replace the windows in your home
From window type to material, the scope of your project will affect your window replacement costs
Man installing bottom of window trim

Replacing a window is a bigger project than many homeowners realize. With so many options to choose from, windows come in a variety of materials and styles, each affecting their overall cost. Today, we’re discussing the window replacement cost, so you can get an idea of what to expect for your next renovation.

How much does it cost to replace a single window on average?
The cost to replace a window can range from anywhere between $450 and $1500, with the average price of a window replacement costing $730, according to MarketWatch. Depending on the type of window, the material, and the location you live, window replacement prices can change based on the scope of your project.

Read more