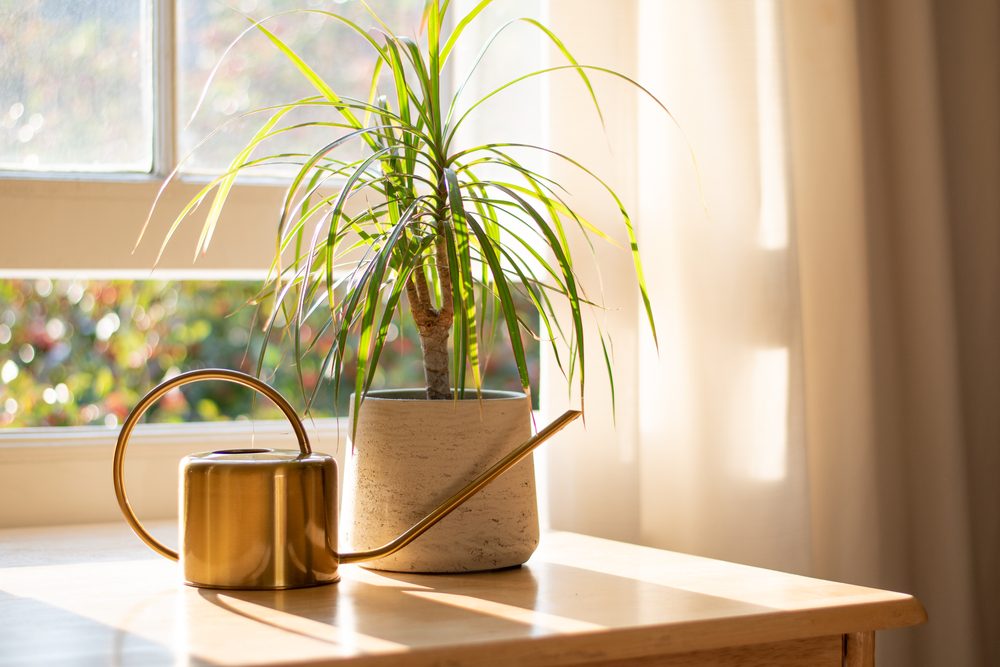
Dracaena marginata, commonly called dragon trees, are not only great purifiers, but they’re also super low-maintenance plants. To top it off, these guys are happy as both outdoor and indoor plants and they’re incredibly easy to prune. Let’s discuss some dragon tree pruning tips for a happy, thriving plant.
If you’re a plant parent, you know that having indoor plants isn’t just for aesthetics. Many plants have benefits like purifying your home’s air and increasing the humidity during dry winter months. Plus, keeping plants in the home is a surefire way to boost your mood. But you have to keep those plants happy and healthy in order to keep your lush indoor garden thriving.
Let’s dive into how to prune a dragon tree to ensure yours looks great and lives a long time.
Benefits of dragon tree pruning

Dragon trees grow fairly quickly and can become an unmanageable size before you know it. If left unpruned, they can reach up to 10 feet tall, which isn’t ideal for an indoor plant. By pruning back your Dracaena marginata, you can make sure it stays both beautiful and appropriately sized for your home.
Makes the plant fuller and bushier
Dragon trees are like the mythical Hydra snake that grew two more heads whenever one was cut off. Even if you cut off the whole head of your dragon tree, new shoots will grow where the cut was made. Instead of growing long but sparse leaves, pruning encourages new growth at the cutting point and makes the plant more voluminous in appearance.
Manages the height of the plant
Pruning your dragon tree takes significant height off of your plant without harming it in the process. If your plant is becoming too tall for your indoor space, snipping those canes will keep its size right where you want it.
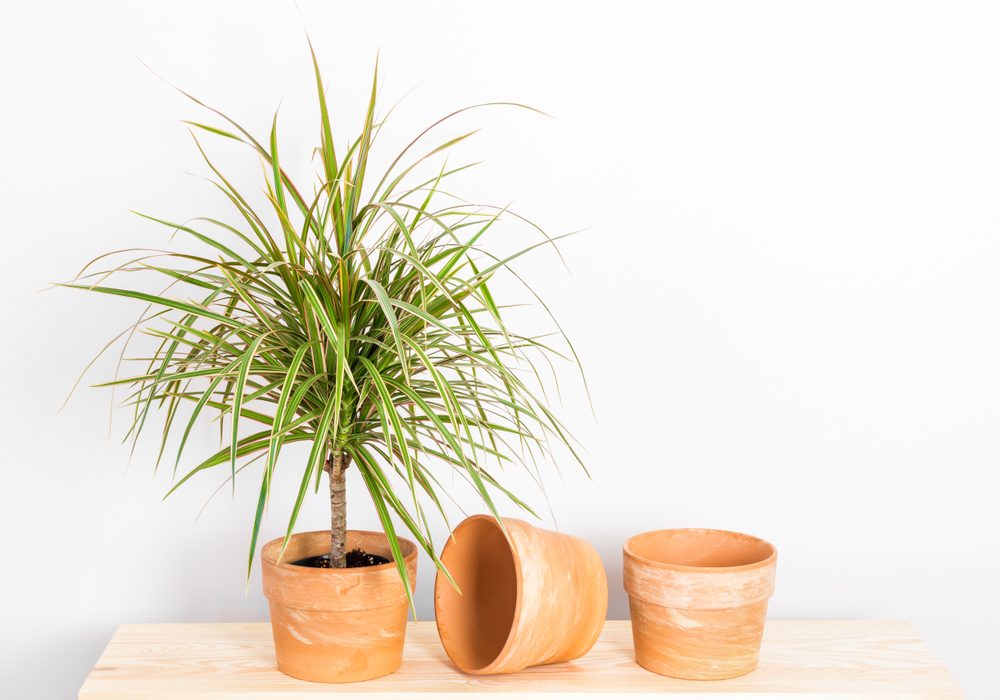
Snipped canes can propagate your dragon tree
What’s better than one dragon tree? The answer is, obviously, two or three dragon trees. When pruning your plant, use the snipped cane portions to grow even more gorgeous plants by propagating the cuttings. Simply plant the rooting end of the stem, the end that was pointed downward before you snipped it, into water or moistened soil. It will eventually grow roots and produce another gorgeous sprout.
When should you prune your dragon tree?
The best time to prune a dragon tree is during the active growing season, which typically occurs in spring or early summer. Pruning during this time allows the plant to recover and regrow more efficiently. Remember that each plant is unique, so it’s always a good idea to observe your dragon tree’s specific growth patterns and adjust your pruning schedule accordingly.
How to prune a dragon tree

So how, exactly, do you go about pruning this plant properly? If you follow these tips and tricks, you can prune your plant so that both the parent plant and the new, propagated clippings will flourish for a long time to come.
Make sure your pruning shears are clean and sharp
To keep your plant healthy, you need to make clean, straight cuts. A pair of high-quality, sharp shears are just the tools for the job. Not only do jagged, uneven cuts look less aesthetic, but uneven cuts put the plant at a higher risk of contracting diseases. Clean your garden knife or blade with a bleach and water solution to get rid of any bacteria. Then sharpen it to ensure a clean cut.
Cut the top off the Dracaena plant
While it may seem like a dramatic change to make, cutting off the top of the dragon tree may be just what it needs. As previously mentioned, new shoots will pop out of the remaining stem, making for a fuller plant that’s a more manageable height. Note that it will take a bit of time to see that new growth, so patience is key.
How to cut the stem of your dragon tree
To cut your dragon tree stem, snip it at an angle. This promotes new growth and also minimizes the risk of your plant contracting diseases.
Be careful not to over-prune
When pruning a dragon tree, moderation is key. While trimming helps maintain its shape and remove damaged leaves, overpruning can weaken the plant and hinder growth.
An appropriate amount of pruning involves removing only dead, yellowing, or overly long stems while leaving at least two-thirds of the foliage intact. Cutting back too much at once can stress the plant, leading to slow recovery, sparse growth, or even dieback. Additionally, excessive pruning reduces the plant’s ability to photosynthesize, which can result in a weaker, less vibrant tree.
To keep your dragon tree healthy, trim conservatively and allow ample time for new growth to develop between prunings.
How often should you prune your dragon tree?
Since dragon trees grow so quickly, it’s best to prune them every one or two years to keep their height manageable and their leaves full. Again, be sure to prune it only during the spring and summer months when the plant is actively growing. Avoid pruning your dragon tree in the dormant fall and winter seasons, as this can damage the plant and hinder further growth.
Dragon trees are dramatic, leafy plants that make a statement, whether they’re left to grow to their maximum height outdoors or pruned carefully inside. For new plant parents and veterans with a green thumb, these plants are easy to take care of and propagate. Though low maintenance, they do need some careful pruning, and with this guide, you’ll have a flourishing dragon tree and even more propagated plants on the way.


