
How to properly organize your bathroom storage cabinet – tips for success

The best method for getting your bathroom storage cabinet organized

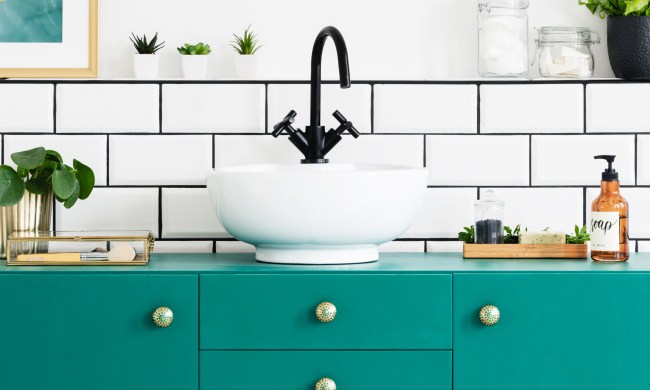
We all have that one bathroom storage cabinet that’s always a complete mess, right? That huge space underneath the sink behind cabinet doors is usually where we throw miscellaneous items, from hair ties and bobby pins to shaving cream and razors.

Recommended Videos

Difficulty

Easy

Duration

15 minutes

What You Need

  • Plastic trays

  • Garbage bag

  • Gloves (optional)

  • Sponge

  • Dish soap

  • Paper towels

When we inevitably need a Band-Aid or some floss, it can be difficult to find when everything is piled up in one big cabinet. To keep all your toiletries and other bathroom items stored neatly, here is how to properly organize your bathroom storage cabinet.

Bathroom with tub and vanity
Image used with permission by copyright holder

Clear (and maybe clean) out the entire cabinet

Step 1: Clear out the entire cabinet.

Don’t try to simply shift items around to make the cabinet look neat — that won’t do you any good and it will only go back to its original messy state because you still won’t know where things are. After this step, the cabinet should be empty.

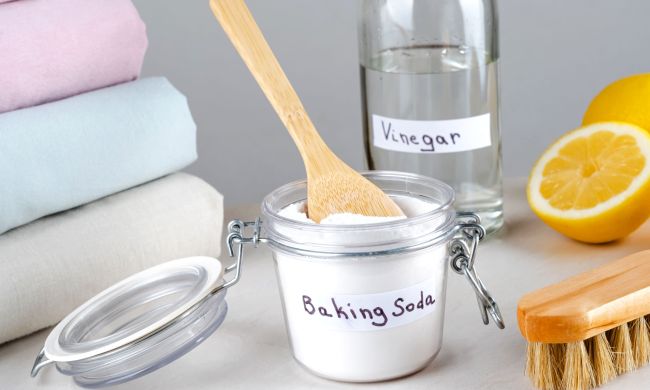
Step 2: If your cabinet is really messy, an optional step is to wear gloves and scrub down the cabinets and items with a sponge, dish soap, and water.

Step 3: Dry everything with a paper towel.

Bathroom accessories
Image used with permission by copyright holder

Get rid of what you don’t need

Step 1: Keep or trash.

Now that you have all the items in front of you, take a good look at them and see what you can throw out. If you haven’t used something in the past six months, such as a certain comb or perfume, it’s safe to say you can trash it or give it to someone else.

Step 2: Sort by category.

As you take the items out of the cabinet, you might want to start sorting them by category or frequency of use, but that’s optional. Ideally, when you place everything back, you’ll want your most-used items in the front and the least-used in the back.

Cosmetics and makeup
Image used with permission by copyright holder

Organize by size

Though the frequency-of-use method is preferred for organizing most storage spaces, especially drawers, your bathroom storage cabinet could benefit from size organization.

Step 1: Place large items in the cabinet.

We recommend taking the largest items, such as your hair dryer, a bottle of mouthwash or soap, and cleaning supplies, and placing them in the back of the cabinet so they don’t obstruct the view of the rest of your things.

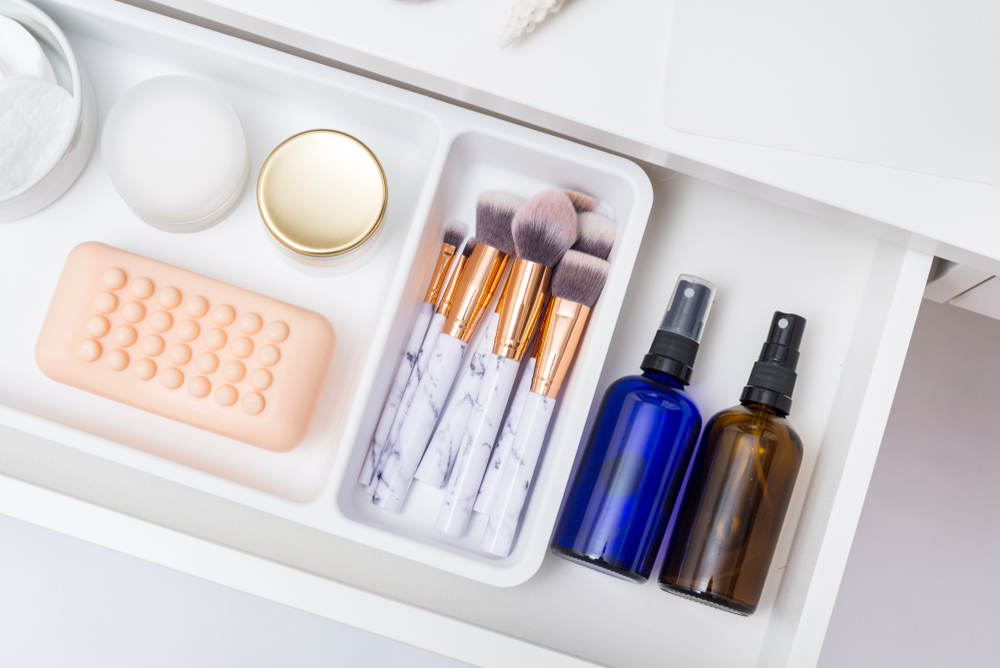
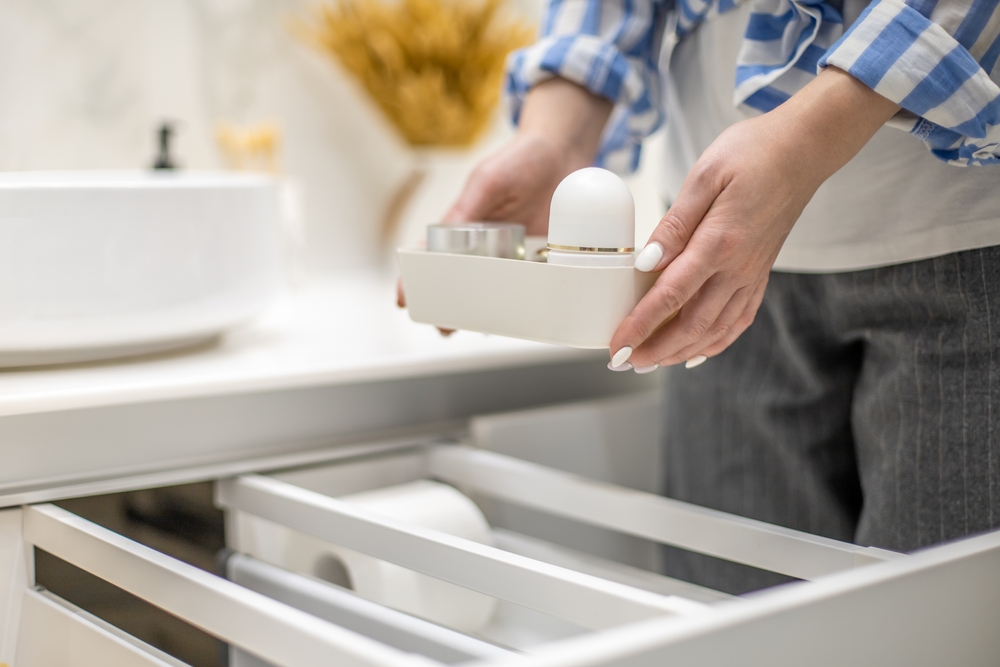
Step 2: Place small items in small trays.

Take out those small trays. We recommend using about four to six of these to separate different types of items. Take your smaller items and sort them into these trays to place in the front of the cabinet, and in front of your large items. Sort small items, such as hair accessories, body sprays, lotions, first aid, and more.

Person holding small tray of bathroom essentials
Image used with permission by copyright holder

File (don’t stack) items for easy access

Tip: Use the filing method.

As you place the items in your cabinet, don't stack them. When you stack things, they tend to fall over and create a mess, especially when you need something on the bottom. Instead, use the filing method of organizing. This means you’re placing items horizontally next to one another, rather than vertically on top of one another. This will make it easier for you to find things as well.

Congratulations! You’ve made it through our steps for how to properly organize a bathroom storage cabinet. The task can seem daunting when you have this gaping hole full of bathroom supplies to sort through. But once you get in the groove and follow our steps, you’ll have an organized bathroom storage cabinet in no time.

Editors' Recommendations

How to properly light your home with these lighting do’s and don’ts
These tips will help you get the perfect lighting for your space
Clean bedside table with plants and lamp

If your home design is lacking or just feels plain funky, it could be because of poor lighting. Lighting is an integral part of proper home design, and unfortunately, it’s often overlooked by homeowners. Proper lighting can make or break your aesthetic, so putting extra attention and detail into creating the perfect lighting for your space is crucial.

Thankfully, lighting a room to set the right tone for your design doesn’t have to be complicated. Here are our best tips on how to properly light your home.

Read more
How to properly clean grout in your kitchen and bathroom
Clean grout like a pro with the tips from this guide
Kitchen subway tile backsplash with dark grout

Cleaning grout can be a tedious task, but it's essential for maintaining a clean and pristine appearance in your kitchen and bathroom. Over time, grout can accumulate dirt, grime, and stains, making it look dingy and unattractive. However, with the right tools and techniques, you can restore your grout to its former glory and keep it looking fresh for years to come. Here's how to clean grout the right way so that it looks like new.

What you'll need
Before you begin cleaning your grout, it's important to gather the necessary supplies. You'll need:

Read more
How to fold a fitted sheet with no aggravation
Folding a fitted sheet is easier than you think
neatly folded and stacked linens

Folding fitted sheets might seem like a daunting task, but mastering this skill can save you from wrinkled and messy bedding while also keeping your linen closet neat and tidy. Learning how to fold a fitted sheet is a valuable life skill that can make your daily chores more manageable and your home more organized.

Step-by-step directions
In this guide, we will take you through a step-by-step process that will finally leave you with neatly folded fitted sheets every time.
1. Lay the fitted sheet on a flat surface
To begin, find a flat surface where you can spread out your fitted sheet. This could be your bed, a kitchen table, or a handy folding area in your lovely laundry room. The key is to ensure you have enough space to work with the sheet comfortably. Lay the fitted sheet with the elastic side facing up, as this will make the folding process much smoother.
2. Gather the corners together
The next step is to gather the corners of the fitted sheet together. Start by slipping your hands into the back of the sheet's long side corners. Then, give the sheet a good shake to straighten it out. Slowly move each hand down the short edge until you reach the next corner. Once you've reached a corner, pick it up and tuck it into the other two corners you previously worked with. The goal is to have all the corner seams fully inside each other, creating a neat bundle in your hands.
3. Make a rectangle with your sheet
Now that you have all the corners together, move your right hand over your left hand, so all the corners are on your left hand. You will be left with two straight edges. Lay the sheet back on your flat surface with the elastic still facing up. Take a moment to smooth out any wrinkles or folds to ensure your sheet forms a clean rectangle.
4. Do the three-way folds
With your sheet in the shape of a rectangle, it's time to perform the three-way folds. Start by folding one-third of the sheet over toward the center. Then, fold the other third over the first fold. You should now have a narrower rectangle. Finally, fold the narrow rectangle into thirds once again. This will result in a compact square of easy-to-store linen sets.

Read more