The exterior of your home is the first place guests access when they’re visiting, so it needs to be safe and easy to traverse. That’s why having adequate outdoor lighting is imperative. Additionally, if you’re selling your home, a stylish, modern outdoor lighting solution gives prospective buyers a great first impression of the property. With a just few lighting updates, you can give your home an immediate facelift and make it more inviting for guests and prospective buyers alike. Here’s how to install outdoor lighting.
Can I install outdoor lighting myself?
Adding a lighting concept to your outdoor space doesn’t necessarily require a wealth of DIY skills. It does, however, require some knowledge of and comfort with electrical components. There are three main types of electrical systems for landscape lighting, and the method you choose determines the skill level required for the project.
- Line voltage systems run at 120 volts, and the lights require as much electricity as your home’s appliances. This system needs to be hard-wired to the electrical system in your home and may require the use of a certified electrician.
- Low voltage systems require the use of a transformer to reduce the voltage to 12 volts, and the transformer can connect to your standard outdoor GFCI outlet. This energy-efficient system is DIY friendly, so all you need is some basic electrical wiring skills.
- Solar light systems are by far the easiest landscape lighting systems to install. The lights generate power from a photovoltaic cell that soaks up solar energy, so no wiring is necessary.
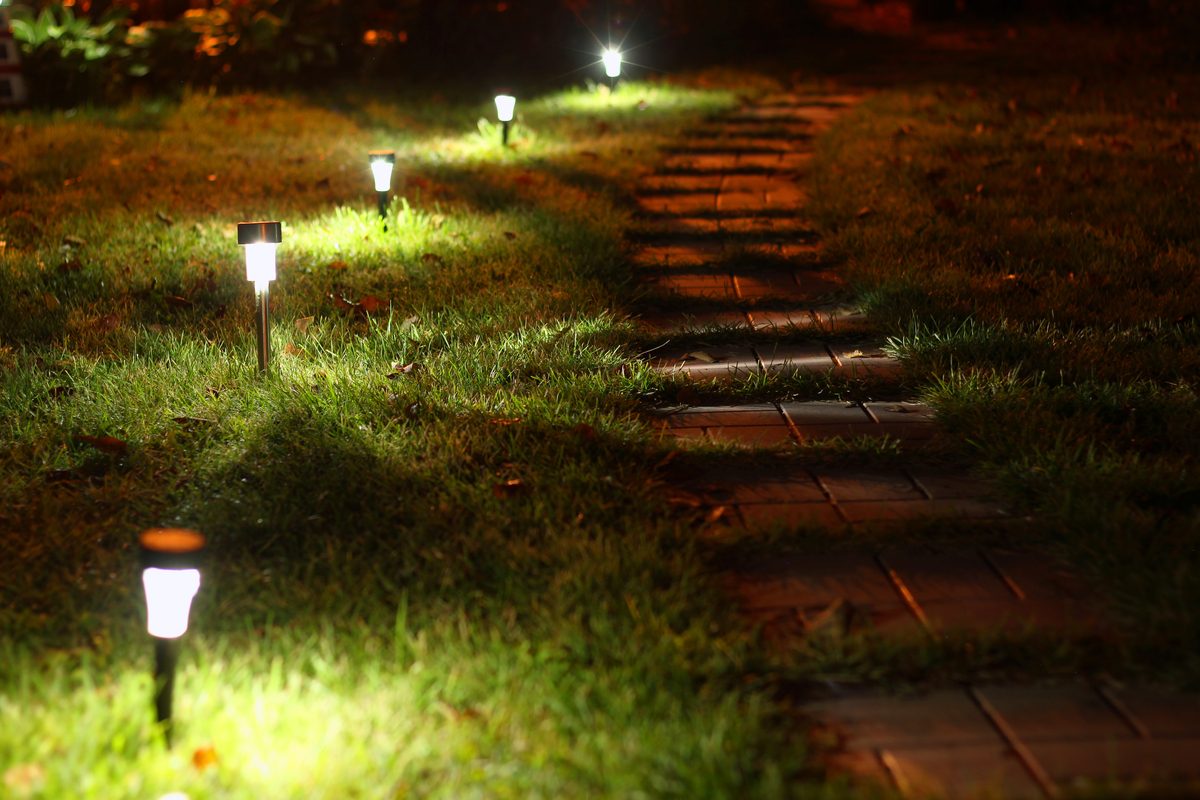
Choose lights that work best for your walkway
Deciding on the types of lights you’ll be using is actually a pretty fun step, since this is where the customization comes in. In addition to determining whether you’ll use solar lights or a low voltage system, think about how you want to arrange the lights.
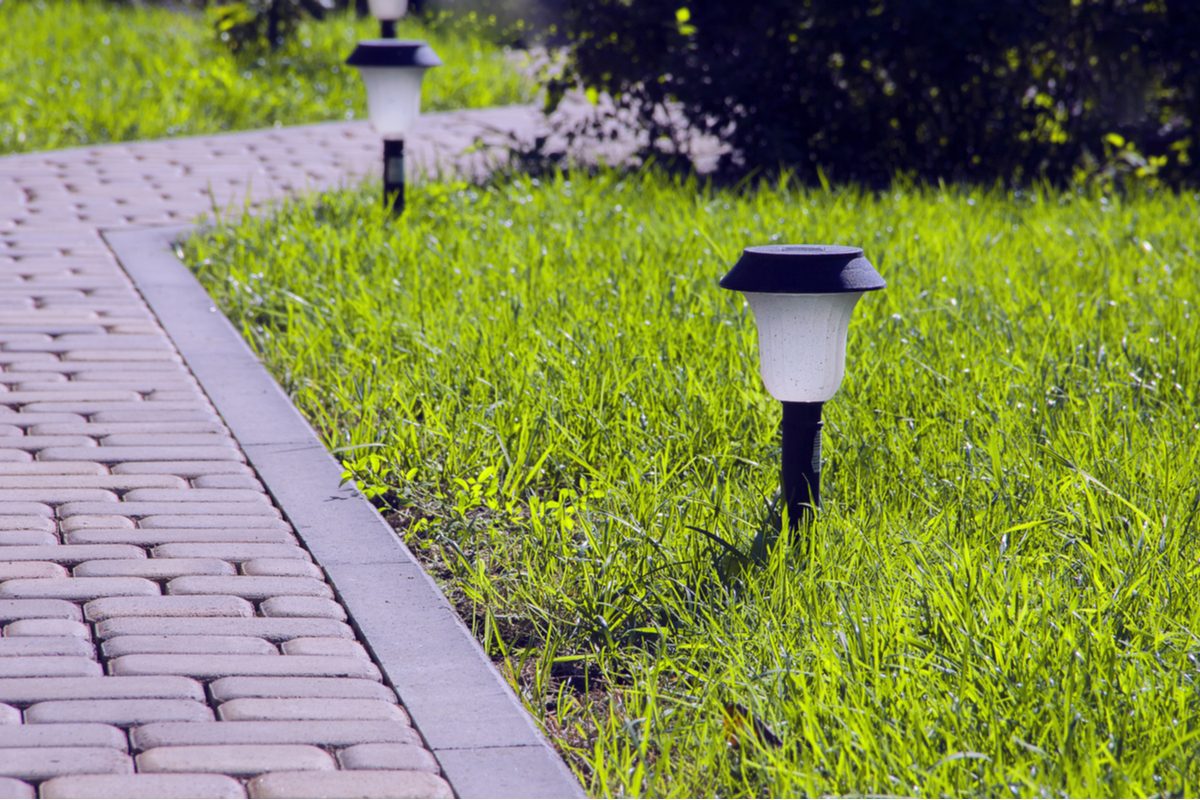
- Path lights are placed in intervals along your walkway to illuminate it.
- Uplights shine upwards to highlight staircases, decorative pieces, or archways.
How to install outdoor lighting
Ready to flex your DIY muscles? Here’s a simple guide to installing a low-voltage outdoor lighting system.
Collect your materials
If you purchase a low-voltage lighting system, it should include most of the items you need. Double-check that your kit includes:
- 100-300 watt transformer
- 10-gauge main wire
- Wire connectors
- Light fixtures
You’ll also need the following tools and materials to mount the transformer and wire the light fixtures:
- Wooden post for mounting (if you’re not mounting on a structure)
- Wood screws (if mounting on a wood surface)
- Power drill
- Shovel
- Tape measure
Locate the nearest power source
The nearest source of power will likely be an outdoor GFCI outlet. You’ll need to mount the transformer either on the side of the home’s structure or on a wooden post.
Mount the transformer
Using a power drill and appropriate hardware for the mounting surface, secure the transformer to the exterior wall or wood post.
Place and stake light fixtures along the walkway
Assemble your light fixtures according to the manufacturer’s instructions. Using a tape measure, space the path light fixtures equally along the path. Be sure they look evenly placed and will provide enough light. Once you’re satisfied with the location of the fixtures, stake them into the ground.
How do you wire outdoor lighting?
What you’ll need
- Wire strippers
- Wire cutters
- 4-in-1 screwdriver
- Brass barrel connectors
- Heat shrink tubing
- Propane torch
What you’ll do
- Strip the end of the two conductors at the end of the 10-gauge wire and connect them to the transformer’s terminals according to the manufacturer’s instructions. Keep the transformer unplugged for now.
- Take your 10-gauge wire and run it along the path of lights from the transformer all the way to the last path light. Make sure to leave about 12 to 18 inches of wire slack at each fixture to ensure you’re able to move the light if you need to.
- Take the fixture wires and use a wire stripper to remove an inch off the end of the insulation.
- Cut the 10 gauge wire you’ve run along the path, pull to separate the conductors on it, and strip the two ends of those wires as well.
- Take brass barrel connectors and attach them to both conductors of the main wire and tighten the screws.
- Slip the heat shrink tubing over the brass barrel connectors before attaching the connector to the fixture wires and tightening their screws.
- Use a propane torch to carefully heat up the shrink tubing until it encloses tightly around the brass barrel connectors.
- Repeat the wiring steps for all light fixtures.
- Plug the transformer into the power source, according to the manufacturer’s instructions, and test your new path lights.
- To bury the wire that runs along the path, use a flat or blunt-end shovel to dig a narrow trench along the path. The trench only needs to be wide enough to fit the wire, but it should be roughly six inches deep.
- Push the wire down into the trench and bury it.
Depending on the system, installing outdoor path lights can be quite complex. While a bit more labor-intensive, low voltage systems will give your outdoor space the style and illumination it deserves. For those energy and labor-conscious renovators, consider implementing a solar system or calling in a professional for help.


