Think back to the first time you opened your grill. It was shiny and beckoned for some fantastic food. You could probably hear the birds singing and your friends talking excitedly behind you. Fast forward a year or two, and now what happens when you open it? Grime and grease everywhere.
Your grill is salvageable, don’t worry. You’ll need to take a few different steps if you haven’t done it in a while (or ever), but you can bring your grill back to life. Make sure you follow up with routine maintenance, and you may find yourself reliving those first glory days once again.
Why clean your grill
It’s more than just the look. Real Simple states that stuck-on grease can be a magnet for bacteria, making your grill a harbor for disease-causing organisms — not exactly how you want to flavor your meat. If that’s not enough, built-up carbon can cause the grill to heat unevenly, ruining your char and potentially your machine altogether.
You’ll need to divide up your maintenance between seasonal and after every grilling session. This helps you stay on top of maintenance and ensure your grill is ready to go whenever the mood strikes you.
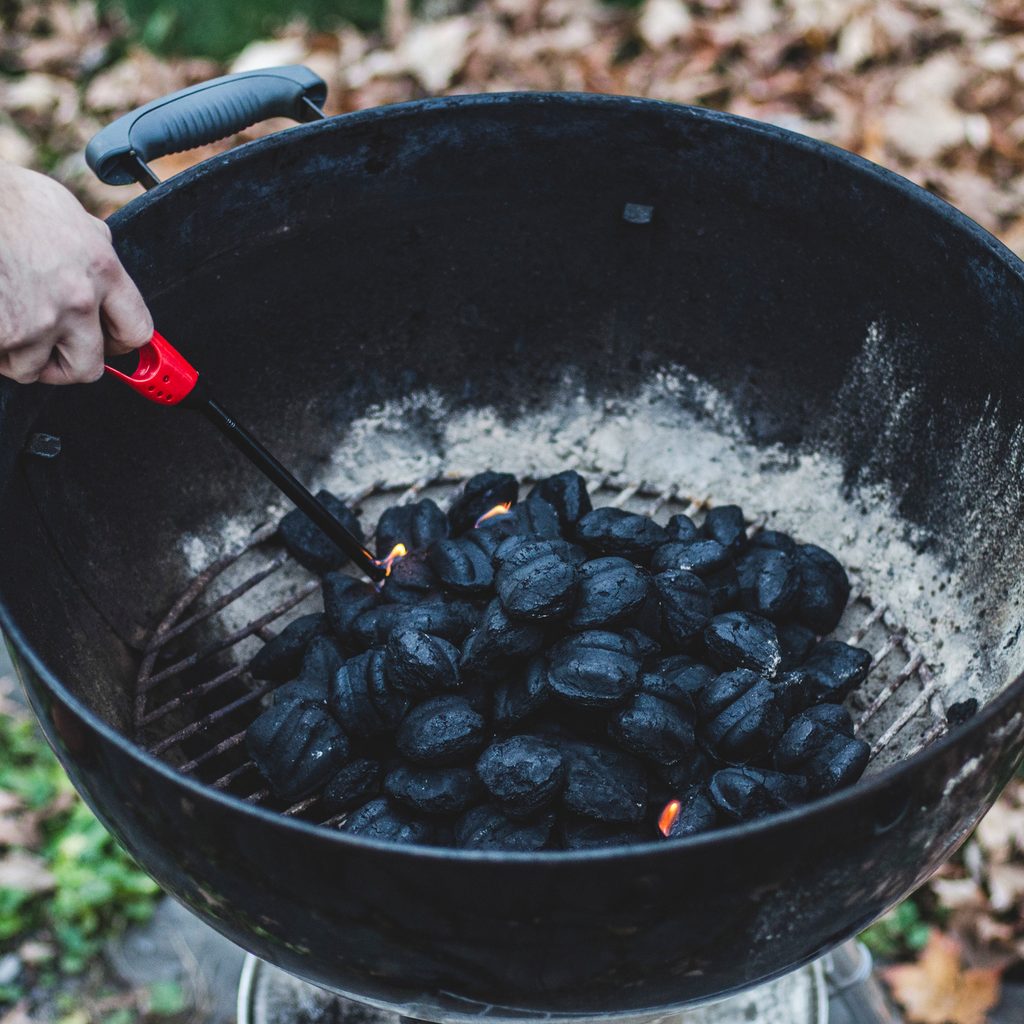
How to clean a charcoal grill
Charcoal grills are straightforward and have fewer parts to think about, which is good. They’re often susceptible to carbon buildup and bacteria, which is terrible. Here’s how to approach your charcoal grill.
Before and After Grilling Season
This is where you take care of the big stuff. The key to this entire process is getting the right tools and the proper heat, says The Spruce Eats.
What you’ll need:
- Grill brush
- Bucket
- Soapy water
Follow these steps:
- If it’s before the season, simply fill a bucket of soapy water and set your grill grates inside to soak while you handle the rest.
- Spray your grill down with your hose and wipe out any residue or dust with a paper towel or utility towel. Allow it to dry.
- Wipe down the outside, as well, ensuring you’ve gotten all the dirt and grime.
- Take your grill brush and scrub the grates until you’ve gotten any stuck food, grease, and debris off. Allow the entire thing to dry and replace the cover.
- If it’s after grilling season, scrub the grates at peak heat once you’ve finished cooking your food. Heat can help remove any buildup. Once the grates are cooled completely, empty your charcoal and follow the above steps.
- Store your grill with the cover on out of the elements and away from moisture on the ground.
After Each Grilling Session
It can be a bummer to clean your grill immediately, but if you keep up with it, it gets easier.
What you’ll need:
- Grill brush
- Paper towel
- Vegetable oil
Follow these steps:
- Brush off your grilling grates as best you can while the grill is hot.
- Once the grill has cooled, remove any charcoal bricks and wipe down any grease splatters.
- Take your paper towel and rub vegetable oil onto the grates in a very light coating to help keep the grates in top shape and ready for cooking.
- Replace your grill cover and put it away.
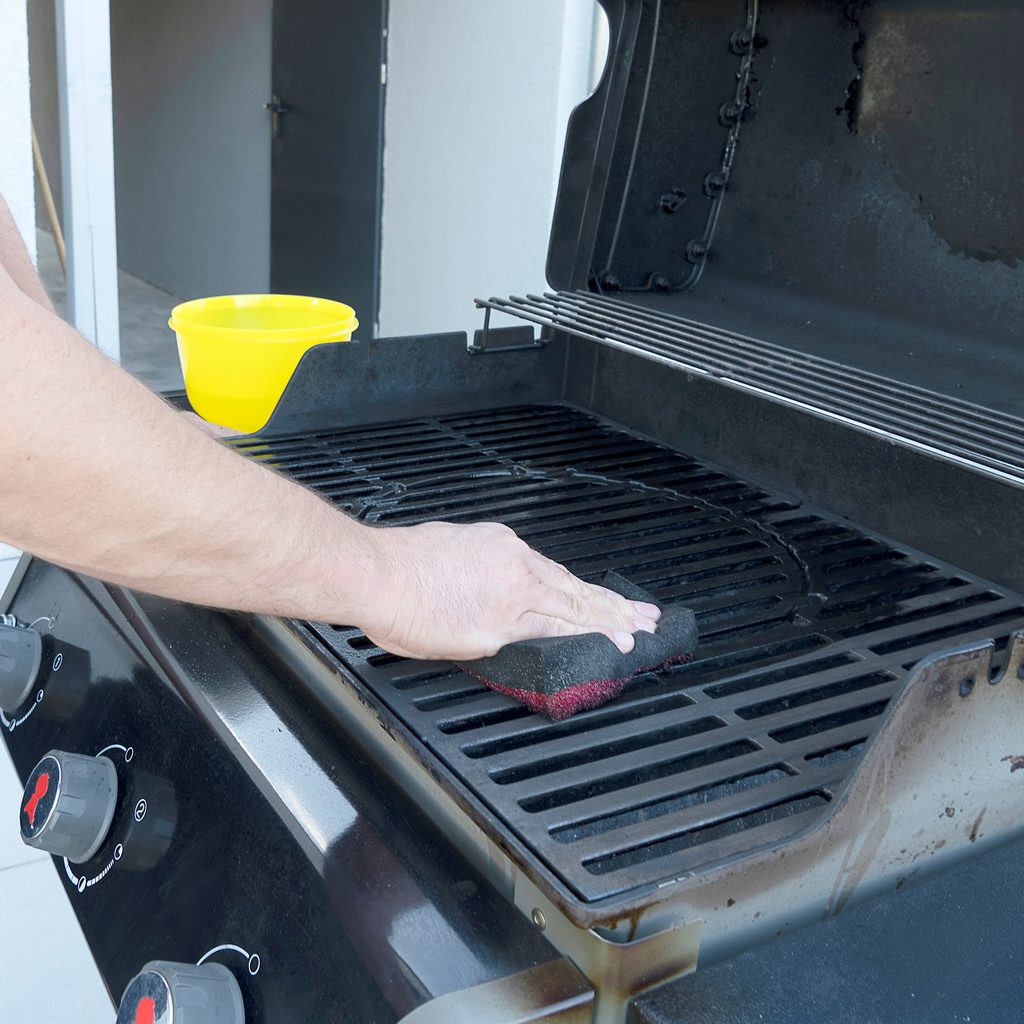
Gas grill
A gas grill has a few more movable parts that need maintenance, says The Kitchn. Here’s how to approach your gas grill for maintenance.
Before and After Grilling Season
Take these steps to ensure that your grill is ready to go and ages well.
What you’ll need:
- Grill brush
- Dry wire brush
- Soapy water
- Bucket
Follow these steps:
- Preheat the grill for about 15 minutes on high, then turn it off either at the propane tank itself or at the line.
- Dip your wire brush into water and scrub the grates while they’re still hot. Be careful because this may cause hot steam.
- Allow the grill to cool and remove the grates. Put them in a bucket of soapy water to soak while you take care of the rest.
- Take off the burners and remove any blockages with a wire brush of some kind. Make sure you brush side to side to ensure you don’t push blockages further down the pipe.
- Run soapy water through the burner valves to help remove blockages and buildup.
- Wipe down the inside of the grill with soapy water and dry it using paper towels or a utility towel. Replace the burners.
- Clean stainless steel with a specially formulated cleaner. Clean painted steel or porcelain with soap and water.
- If it’s the end of the grilling season, remove the propane tank to store outside away from direct sun with your grill inside. If your grill stays outside, you can keep the propane tank attached, but replace the cover.
After Each Grilling Session:
Again, doing a little bit of work after each grilling session can go a long way to keeping your grill clean.
What you’ll need:
- Grill brush
- Paper towel
- Vegetable oil
Follow these steps:
- While the grill is hot, scrub the grates with your wire brush.
- Once it’s cooled down, rub a thin layer of vegetable oil onto the grates with the paper towel to help ensure the grates are in good condition for each use.
- Remove the heat deflectors over the burners and gently clean them with soap and water. Put them back once they’ve dried.
- Clean the outside of the grill of any splatters or drips to keep it in good condition.
- Replace the cover and store safely.
Keeping your grill in good condition
Both for long-term storage and after each use, it’s essential to follow through with cleaning your grill. The heat and grease from food can quickly become a breeding ground for bacteria and other organisms, and no, heat doesn’t always sanitize them.
If you’ve got a gas grill, you may not even be heating to full potential if your grill is super dirty, so follow through with these steps. It’s always easier to clean a grill a little bit at regular intervals than it is to scrub off years’ worth of stuck-on grease.
And who knows? You may end up grilling your best steak yet with nothing to interfere with those perfect grill marks. Restore your grill and re-crown yourself as the reigning monarch of the grill.


