Fairy gardens are a fun, creative project suitable for any person (children and adults alike!) to take on. While you can put a simple fairy garden together in no time, you can also collect all the supplies to craft a carefully constructed, complex themed fairy garden. From planning to observing the finished product and everything in between, building a fairy garden can be quite the task. Let’s have a look at some features you might include in your fairy garden.
Picking a theme
At their most basic, a fairy garden consists of plants and some miniature objects in a container. But beyond that, your imagination is the limit. A prairie themed garden might have various lush grasses, while a zen fairy garden could include bonsai trees and neatly raked sand. A ski mountain-inspired garden would hopefully be home to small evergreens and a desert fairy garden home to succulents. Any nature scene can be transformed into a beautiful fairy garden!
Thinking of needed supplies
First, you’ll need a container. Glass bowls, terra cotta pots, and buckets are just a few ideas for containers to use, though any vessel that can have drainage holes is suitable. Eventually, this container will be full of soil – for a forest-like feel, choose a composted soil or mulch mix. Alternatively, you can just construct your fairy garden atop a nice patch of grass.
Any decision on which plants to use is largely dependent on whether your fairy garden will stay inside or outside, and whether it will be in full or partial sun. Do research on small plants that grow well in the conditions relevant to your fairy garden. Peat moss is great for any fairy garden.
However, Martha Stewart states, “some gardeners are rejecting peat-moss-based mixes due to the fact that harvesting and using peat moss releases carbon dioxide, the major greenhouse gas causing climate change. Instead of peat moss, try composted leaf mold, pine bark, or coir to retain moisture in the mix.”
Some suggestions for other compact plants are:
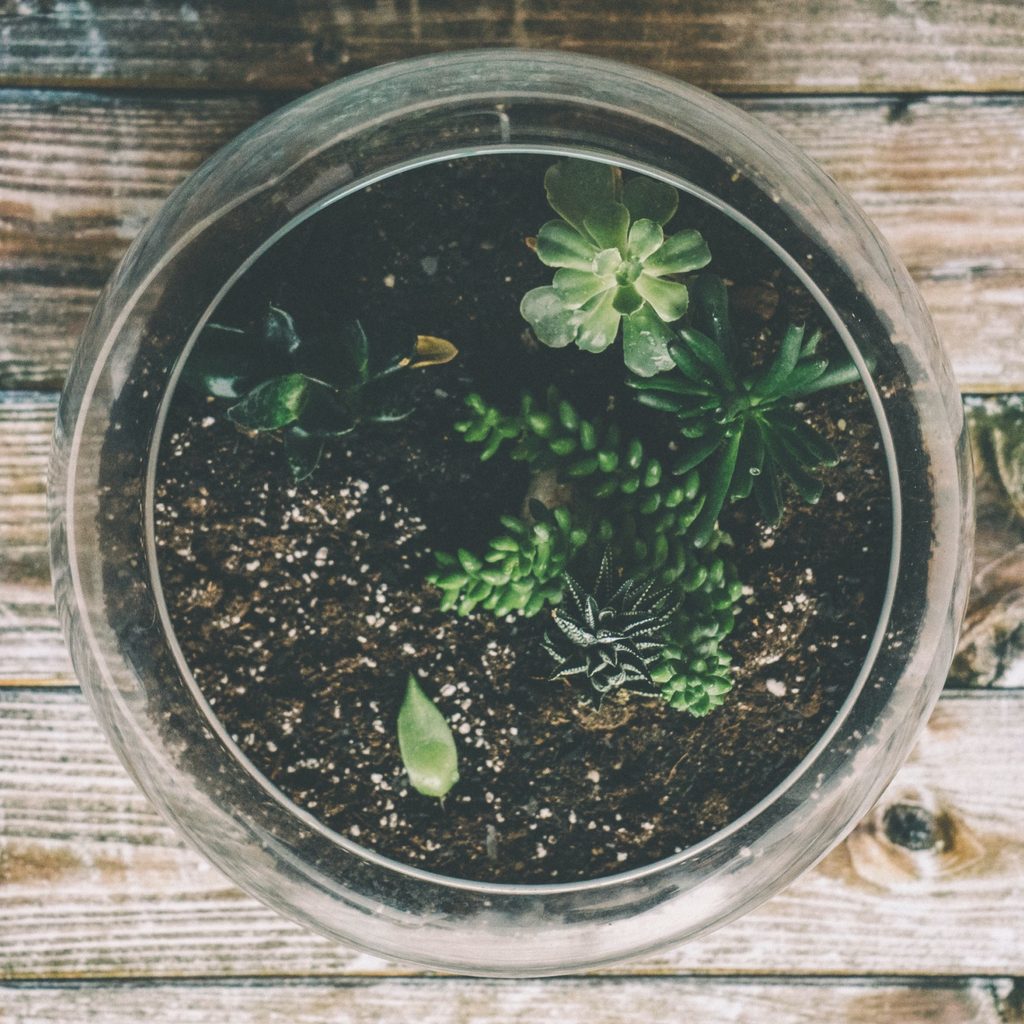
- Succulents – drought-resistant, fleshy plants in shades of red, purple, and green
- Herbs (thyme, rosemary, sage) – shades of green, aromatic, and interestingly textured
- Ferns – shades of green, look like small trees
- African violets – pink, red or white small flowers
- Wood sorrel – pink and purple leaves and yellow flowers
- Ripple peperomia – burgundy or green small plant with large leaves
- Creeping speedwell (for ground cover) – sprawling yellow leaves
- Baby tears (for ground cover) – sprawling bright green leaves
Always look for dwarf varieties of plants if you don’t want them to outgrow their container. No matter the plants you choose, be sure not to overcrowd your fairy garden, especially since you will be adding other decor.
For decorations, you can either make your own or dive into the world of miniature figurines. Stones make for good paths and you can assemble ladders from twigs. You could add structures like cottages, treehouses, and birdhouses. Smaller details like trellises, buckets, toadstools, and birdbaths can also be included. You can build or craft many of those items from wood, glue, nails, and modeling clay, and many prefabricated miniature decorations are available for sale online and at craft stores.
Putting it all together
Before arranging your diorama, fill your container with soil or sand. You’ll likely want to put in a layer of gravel before adding in soil to further encourage good drainage. Fill the container with soil nearly to its brim, then add accessories as you like.
To get an idea of what a completed fairy garden looks like, consider a summer forest cottage theme. Peat moss and baby’s tears serve as ground cover in a round pot. Dwarf pine and cypress trees surround a quaint cottage with a ladder leading up to the roof. Miniature daisies and lavender are spread amongst the scene. Animals – including a skunk and a deer – are hidden throughout the forest, and a fairy peeks out from behind a tree. Country Living lists several pictures showcasing these unique gardens.
Enjoying your garden
A fairy garden can be a time-consuming project, but the outcome is rewarding. The preparations required for it can keep kids busy, as they let their creativity take the wheel in coming up with a design. Your child can even make a fairy garden a unique place that represents them.
Once you’ve done all that work, you can truly admire what you have made! Your completed fairy garden is likely gorgeous, and your child will feel a sense of accomplishment and pride from completing the task. Feel free to share photos or bring family and friends to see the fairy garden in person.


