It is now possible to build a multipurpose entertainment center. However, between the two types – standard and floating – floating entertainment centers are becoming increasingly more popular. Whether it’s because of their modern, minimalist vibe, or the practicality of having a furniture piece that doesn’t take up any floor space, more and more people are adding these simple pieces to their home decor.

What is a floating entertainment center?
A floating entertainment center is essentially a console that can be wall-mounted and doesn’t take up any floor space — thereby earning the “floating” part of its name. There are many benefits of adding a floating entertainment center to your home:
- Floating entertainment centers are space savers. They eliminate the hassle of finding the perfect place to fit a rather large piece of furniture because they can be easily attached to most any wall.
- If you have children in your household, floating entertainment centers are thought to be safer than standard units because they are more out-of-reach of little hands and therefore less likely to be accidentally tipped over.
- Floating entertainment centers are considered to be more stylish and modern than standard units. Lovers of minimalist style appreciate not only their looks, but also their space-saving practicality, particularly if space is at a premium in your home.
There are literally thousands of floating entertainment centers available at local shops and online retailers with styles to suit every taste, every budget, and every need. But for some, there’s nothing quite like the satisfaction of building something from scratch and seeing it put to good use each and every day. We’ll show you how to DIY a homemade entertainment center you can be proud of, even if you’ve never built anything before!

How to build an entertainment center
So you’re not a carpenter. That doesn’t mean you can’t build a homemade entertainment center using a few simple supplies and far less time than you might think! We’ll show you how to do it, step by step.
This minimalist design is so easy even a beginner can do it. Here’s what you need to get started:
- 2 pieces of oak — 12 x 48 inches
- 4 pieces of oak — 12 x 8 inches
- 6 L brackets
- Wood glue
- Wood screws
- Nails
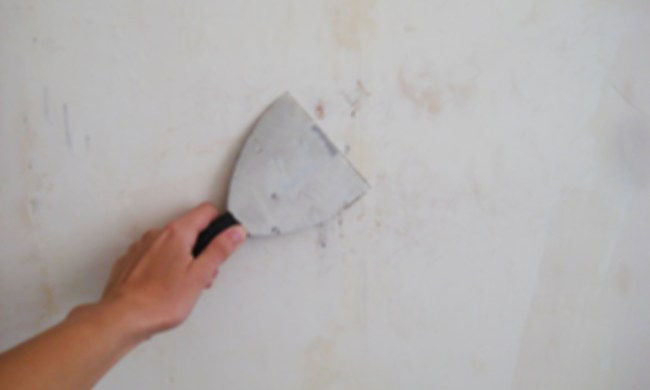
Note: When choosing a work area, keep in mind that wood glue can be pretty messy.
Now, let’s get started:
- Align the pieces by placing two 8-inch pieces on the ends and two 8-inch pieces in the middle; secure together with wood glue. Use something heavy (or clamps if you have them) to weigh everything down and hold in place.
- Once the glue has hardened, it’s time to install the brackets. You’ll want to make sure your piece is sturdy, so use a total of six brackets (that’s two per section). Be sure your screws are small enough to hold securely without piercing through the other side of the wood.
- Now it’s time to nail everything together. Using long wood nails, we recommend doing four on each side and two for each middle piece for a nice, strong hold.
- If you like the look of natural wood, you can install as is, or now would be the time to paint it if you desire! Always use a level and strong brackets when you mount anything on the wall to ensure it is absolutely straight and securely affixed.
That’s it, you’re done. Do you see how easy it was to build an entertainment center? This one is perfect for holding DVDs, knick knacks, books, and photos, or as a console beneath your wall-mounted TV. And best of all? It won’t take up even a single inch of precious floor space!