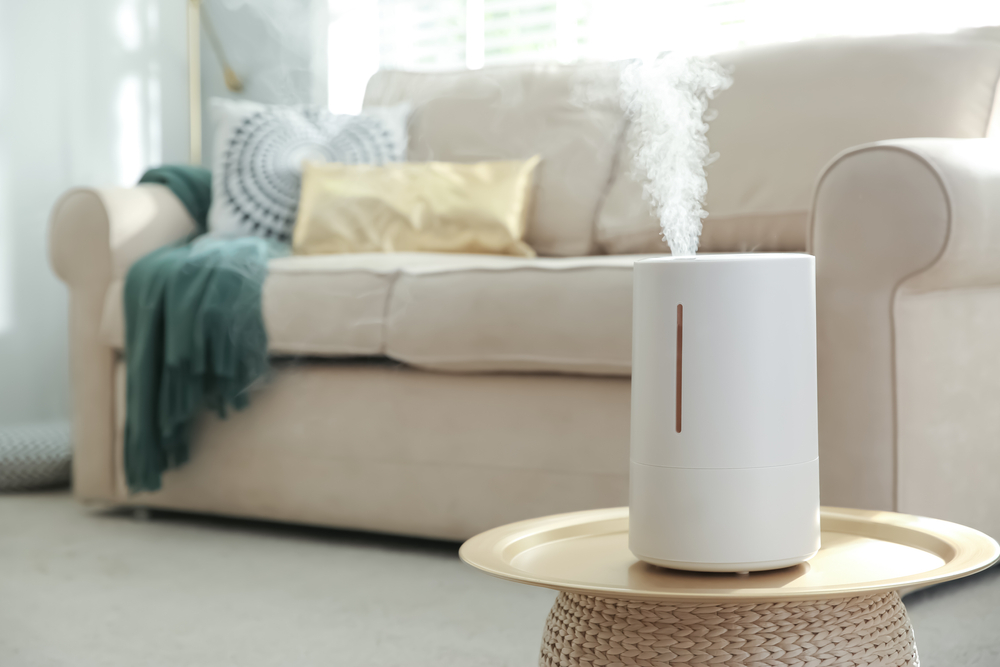
If you live in a hot and arid climate, or if your winters tend to strip the air of its moisture, you probably get a lot of use out of your humidifier. While the relief of that moistened air can help cure your dry throat and even keep seasonal allergy symptoms in check, the added humidity in the air isn’t always free of toxins and allergens. Dirty humidifiers make for dirty air, so we’re going to review when and how you should clean your humidifier so that you can breathe cleanly with confidence.
Why clean your humidifier?
Water is a breeding ground for bacteria and mold, so a machine full of standing water can circulate these growths into the air. Cleaning your humidifier properly and regularly can reduce the risk of bacteria and mold growth to keep you and your family breathing safely. Proper cleaning also rids your humidifier’s components of mineral build-ups, keeping your machine running smoothly for longer.
How to clean a humidifier: Daily upkeep
While it’s not necessary to give your humidifier a deep clean or disinfect every day, there are some steps you should take on a daily basis that will keep your machine in good working order and help to fight off harmful bacteria.
What you’ll need:
- A clean, dry microfiber cloth
Instructions:
- Shut off and unplug your humidifier.
- Empty basin and tank of water.
- Using the dry microfiber cloth, wipe down all areas and components, including the basin, the tank, and even the air vents, to soak up all water droplets.
- Reassemble the unit, plug it back in, and turn it back on.
How to clean a humidifier: Weekly maintenance
Experts recommend that you disinfect your humidifier at least once per week (if you’re using the machine regularly) to eradicate any bacteria, mold, or mildew growth before it disperses into the air.
What you’ll need:
- 4 tbsp white vinegar or 1 tbsp chlorine bleach
- 1 gallon distilled water, warmed
- A small toothbrush or nylon brush
- A clean, dry microfiber cloth
Instructions:
- Shut off and unplug your humidifier.
- Empty the tank and reservoir.
- Check your humidifier’s manual to determine if you can use bleach to clean the machine’s components.
- If so, mix 1 tbsp of chlorine bleach with 1 gallon of warm water. If the manufacturer advises against using bleach, mix 4 tbsp of white vinegar with 1 gallon of warm water.
- Pour your solution into the humidifier’s water tank.
- Shake the tank around to ensure the solution reaches all the internal components.
- Replace the tank and allow it to drain into the reservoir.
- Let the solution sit in your humidifier for 15-30 minutes.
- Pour out the solution.
- Use a small brush to clean the crevices and components to rid your humidifier of mineral buildups and deposits.
- Rinse both the tank and the reservoir with clean water until the smell of bleach or vinegar is no longer lingering.
- Use your microfiber cloth to thoroughly dry the tank, reservoir, and any other wet components.
- Reassemble the unit, plug it in, and turn it on.
Tips for using and cleaning humidifiers
In order to prolong your machine’s life and keep your air clean, review these tips for using and cleaning your machine.
Check the manufacturing manual
Before using harsh chemicals like bleach, be sure to check the manufacturing manual. Depending on the model you have, the manufacturer may advise against using certain cleaning agents and, instead, have specific cleaning instructions for your machine.
Never leave water sitting
If you’re not using your humidifier, empty the tank and reservoir. Standing water promotes bacteria growth, which will make its way into the air when you use the machine next.
Use distilled water
Tap water contains added minerals that are good for your body but problematic for your humidifier. As the water evaporates, the minerals remain, creating a film on the machine’s components. This film can build up into hard deposits that could eventually block water flow or damage the humidifier. Using distilled water reduces the presence of these minerals, keeping your humidifier in good working order.
Be sure all pieces are dry before storing them away
When the dry season comes to an end, you’ll likely store your humidifier away until it’s time to use it again next year. Before you pack it up, however, be sure to empty the water and use a dry, microfiber cloth to remove any lingering droplets.
Humidifiers are easy and convenient ways to add some moisture back into the air during dry seasons. Humid air won’t do you much good if it’s filled with irritating allergens and bacteria, so make sure your machine is clean and disinfected at all times. With daily upkeep and weekly maintenance, you can rest assured knowing your humidified air is clean and safe for the whole family.