Let’s face it: cleaning the oven is not a fun task. It’s one of those cleaning tasks we forget about or avoid for months at a time. If only our ovens could clean themselves, we wouldn’t have to worry about all the grime and buildup from past meals coating the racks. Even self-cleaning ovens require you to scrub baked-on food and grease with a sponge and water before starting the cleaning cycle.
That being said, manually cleaning your oven doesn’t have to be a stressful task. If you’re looking for a quick and simple solution to clean your oven in just a few hours, we’ve got you covered: Take a look at our tips for how to clean your oven without any harsh chemicals.
Choose an eco-friendly option for your appliance

Using a chemical-free and all-natural cleaning solution is better for your health and safety. Family meals go into your oven, so the last thing you want is for your food to become contaminated with harsh cleaning chemicals. Chemical oven cleaners are safe as long as you follow the instructions precisely and burn off any lingering toxins. However, we say it’s better to be safe than sorry, so opt for natural cleaning products.
Eco-friendly cleaning solutions provide peace of mind, knowing that your food won’t contain microplastics, lye, or phosphates. In fact, one of the most dangerous ingredients in oven cleaners is lye, a compound made of sodium hydroxide or potassium hydroxide, which is highly corrosive and can burn your skin and eyes.
Instead of using traditional oven cleaners, choose green options, like the Meliora cleaning scrub, which is tough on stains and buildup but gentle on your skin. Additionally, there are no harsh chemicals, and the solution is dye and paraben-free!
How to make your own oven cleaner at home
Instead of purchasing a new oven cleaner, you can make your own using a few simple ingredients you might already have.
What you’ll need:
- 1/2 cup dish soap
- 1/4 cup white vinegar
- 1 cup baking soda
- 1/4 cup water
- Bowl
- Sponge or brush
Create your mixture
First, mix your baking soda and water in a bowl to create a thin paste. Next, slowly add in the vinegar and dish soap. As you stir in the vinegar, you’ll notice the solution begin to foam as the vinegar reacts to the baking soda.
Scrub the mixture onto the oven door and interior
Next, remove the oven racks and spread the foamy paste onto the door and interior using a brush or sponge. Be sure to leave a little dollop of the cleaner on tough stains that you can scrub in later.
Let it sit
Once your oven is coated with the mixture, let it sit for about four to six hours. During this time, the baking soda and vinegar begin to soak into any tough, stuck-on stains. In addition, the alkaline mixture of the baking soda will break up any acidic grease build-up.
While your solution rests, head to the sink to clean your oven racks.
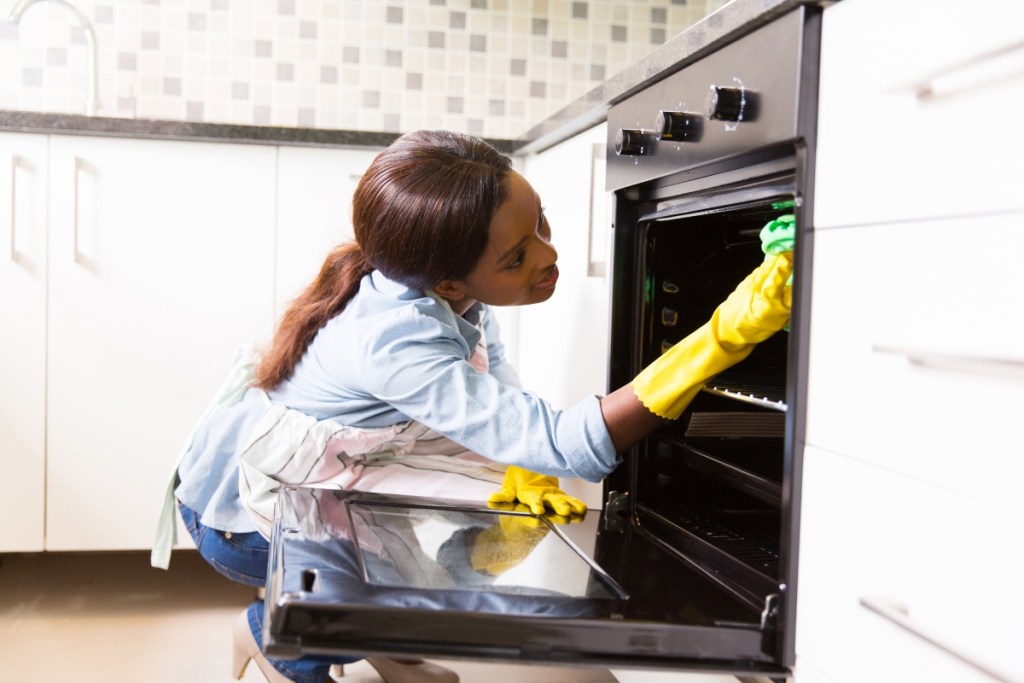
Clean it up
After the solution has rested in the oven for a few hours, use a damp cloth to wipe away the residue. You’ll notice that most of your stains are lifted. If you have any particularly rough patches, you may need to use a scrub brush and more of your solution to clear away the messes. As a final touch, rinse and reuse the damp cloth to wipe down the open once more, ensuring all cleaning remnants are gone. Then, you’ll be left with a shiny, ultra-clean oven.
Wash your racks with soap and water
While you wait for your solution to soak into the stains in your oven, you can begin washing your racks. If you have the space in your sink or tub, fill it with warm water and pour in a mixture of one part vinegar to one part dish soap. Begin scrubbing the racks with a sponge or scrub brush until they’re squeaky clean. To make this process easier, allow the racks to soak for an hour or two in the soapy water to help break up any grime. Then, scrub and rinse with warm water.
How to clean oven exteriors

Cleaning oven exteriors, including glass doors, knobs, and overhead ranges, requires a few simple steps. These areas can get grimy over time, and you want all the areas where you prepare food to be clean and sanitary. Here’s how to clean the most common difficult-to-clean oven areas.
Glass door cleaning
Start by wiping down the glass door with a mixture of water and vinegar or a glass cleaner. Use a soft cloth to avoid scratching. If there’s burnt-on grime that won’t come off with these solutions, try making a thick paste with baking soda and water and letting it sit on the glass for 20 to 30 minutes. Then wipe the paste away, rinse the window with a clean, wet microfiber cloth, and buff the glass to dry it.
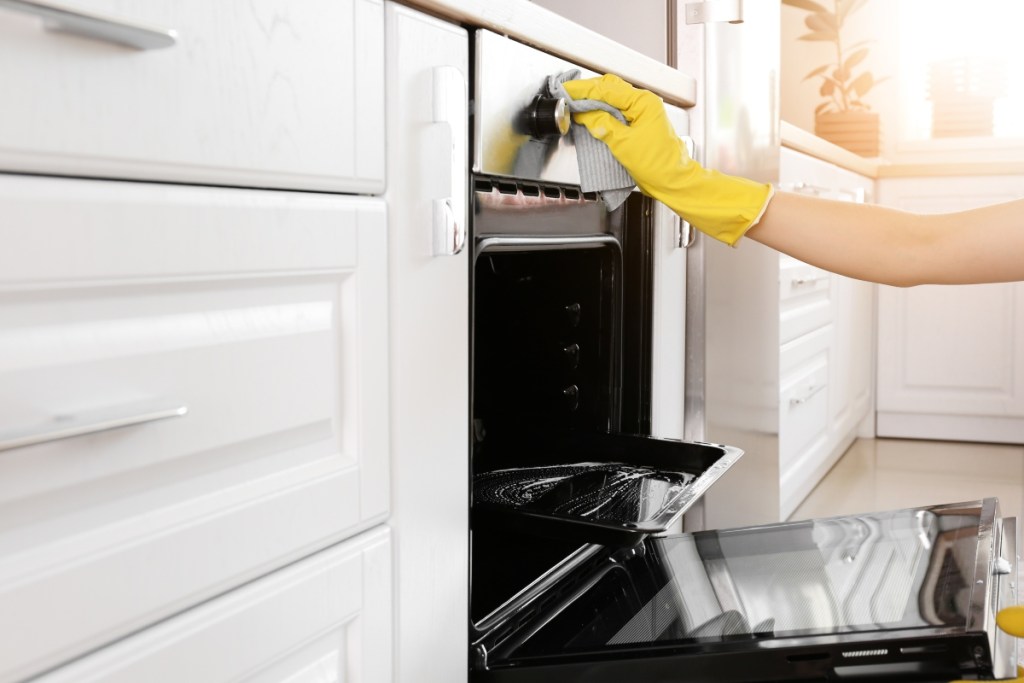
Knob cleaning
Your oven knobs get grimy from messy fingers, splashes, and dust in the kitchen. To clean them, first remove them if possible. You don’t want to spray cleaners directly onto the knobs since the liquid could interfere with the oven’s electrical components. Soak the removed knobs in warm soapy water and scrub them gently with a sponge. Wipe the area around the removed knobs with a damp microfiber cloth.
Overhead range
We don’t notice this area very often, but when we do, it can sometimes harbor dust, grime, and even dead bugs! Wipe the overhead range with a degreaser or a solution of baking soda and water, using a soft cloth to remove any buildup. Finish by drying all surfaces thoroughly to prevent streaks and spots.
These eco-friendly oven cleaning solutions are just as effective as harsh, chemical cleaners, and they will ensure you and your family are safe from toxins. You certainly don’t need to deep clean your oven every day, but when you do, why not use a product that does most of the work for you? By soaking your oven and racks in vinegar, baking soda, and warm water, you can wipe away stains in no time.