If you have to spend longer than 15 – 20 seconds searching for lipstick, it’s time to declutter your makeup collection. Some people have extensive makeup collections that they can’t live without, while others have a few staple items that they use when they have to. Regardless of the size of your makeup bag, odds are it could benefit from a little decluttering.
The upside
Looking at the pile of odds and ends in front of you may feel stressful and a little overwhelming. That’s understandable. If you need a dose of motivation to dive into this project, keep these few things in mind:
- You will find products that you loved but have forgotten about.
- Clean spaces can reduce anxiety and enhance focus.
- Organizing prevents you from using expired products which can cause infections.
Long story short, a little work organization can go a long way.
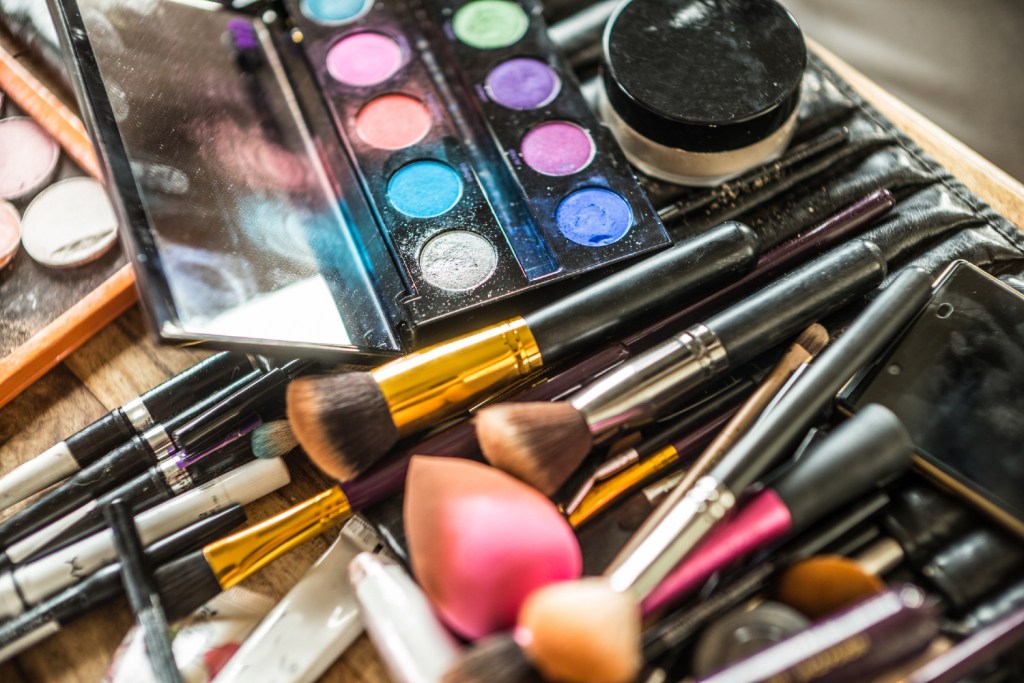
Take everything makeup-related out of your drawers, bags, and any other random places, like the center console of your car. With everything out on a table or the floor, you can take stock of your entire collection. This is a good time to consider what products you use the most and the least. Do you have an abundance of lipsticks but most are unused? Do you only have one eyeshadow palette that’s just about empty? Reflecting on these things will help you make more informed decisions in the future when you’re shopping for new products.
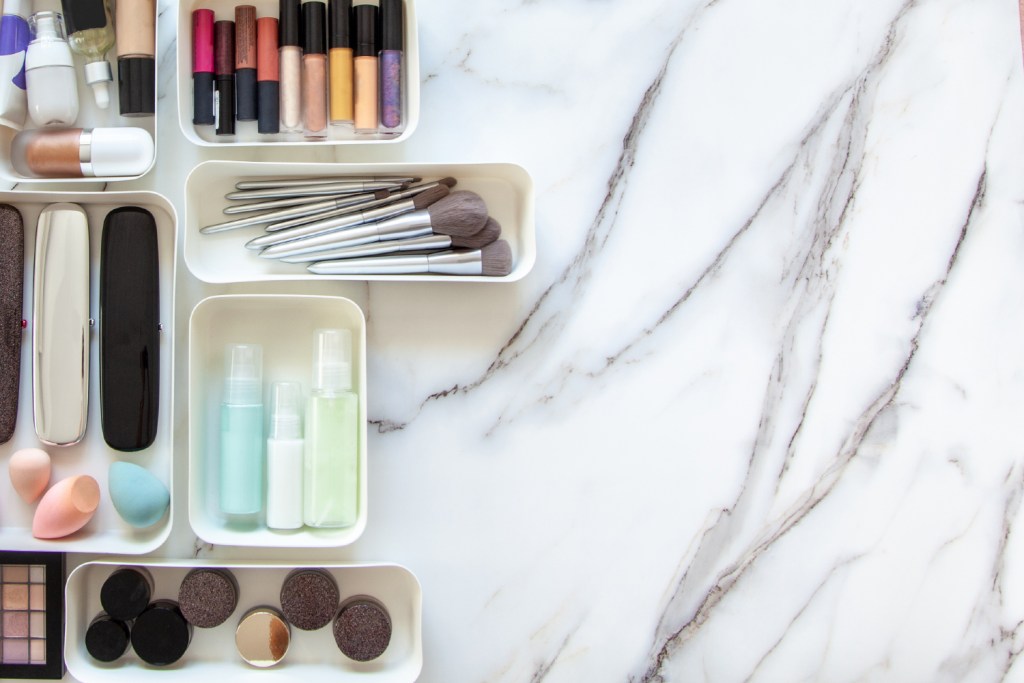
Put everything into piles and organize them by product. Keep foundations and concealers together, mascaras in a separate pile, lipsticks in another, and so on and so forth. Next, pick through each pile and separate them into three more categories: expired, rarely used, and unused.
Step three
Here is the easiest step: Throw away all expired items. Some products have an expiration date printed on them. Others may have a PAO (period after opening) date, so you’ll have to remember when you first used the product and decide from there whether it’s usable or not. If you don’t remember when you bought it, it’s better to be safe than sorry and toss it out. If there’s no date on the packaging, some applications, like BEEP, allow you to scan the barcode of some items and see the expiration date and other product details. If all else fails, smell it. If it looks or smells weird, throw it out.
As a general rule, each makeup product has an approximate shelf life:
- Powder — 2 years
- Eyeshadow — 2 years
- Lip products — 1 to 2 years
- Eye pencil — 1 year
- Foundation — 2 years
- Mascara and liquid eyeliner — 3 to 6 months
- Concealer —1 year
Step four
Often, makeup piles fall into the “lightly used” category much more often than the “unused” one. That being said, there are likely a few free samples laying around that are still in the packaging. If you recently purchased it, don’t worry about getting rid of it quite yet. However, if it’s been sitting in your makeup bag for six months or more, it’s time to part ways. Many second-hand shops don’t accept makeup or cosmetic products because of sanitary reasons, but you can always gift them to people or sell them for cash depending on their age and condition.
Step five
The hardest part is determining what to do with the items that you rarely use. When deciding their usefulness, ask yourself these questions:
- Will I finish or use this product before it expires?
- Do I really love this?
- Do I need this product for special occasions or events?
If you answer no to these questions, toss it. This is also the time to throw out any duplicates, especially if the older one is close to expiring. If you have several lipsticks or foundations in the same shade, consider how much you wear them. If you wear that shade constantly, you can probably keep most of them. If not, get rid of them.
Step six
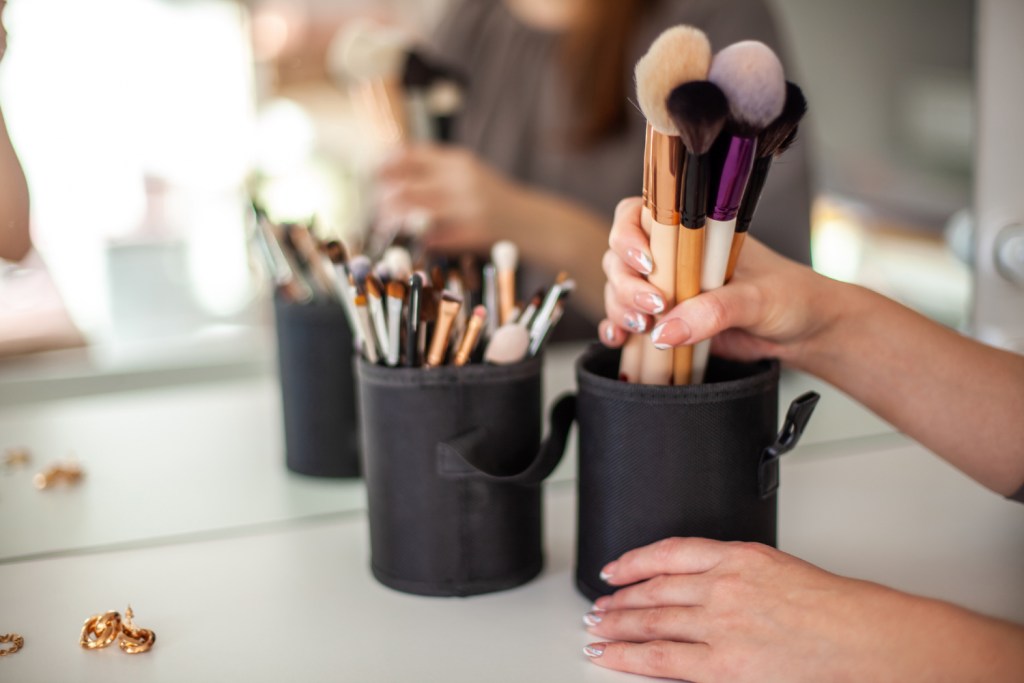
Now it’s time to repeat the process with your makeup tools. Brushes, sponges, cotton swabs, and more can all harbor bacteria and cause infection. If the tool is older than six months old, it probably needs to be replaced or at least deep cleaned. Once all your products are organized, wipe down the makeup bag, vacuum the inside to get rid of any dust and debris, then replace your products.
Old makeup and tools can harbor bacteria and cause infection, so taking the time to declutter your bag every now and again is a big part of keeping your skin healthy. Organizing is often stressful, but with this step-by-step guide, you can tidy up your makeup drawer, bag, or case, and you won’t have to spend time rifling through your bag looking for that one lipstick shade.