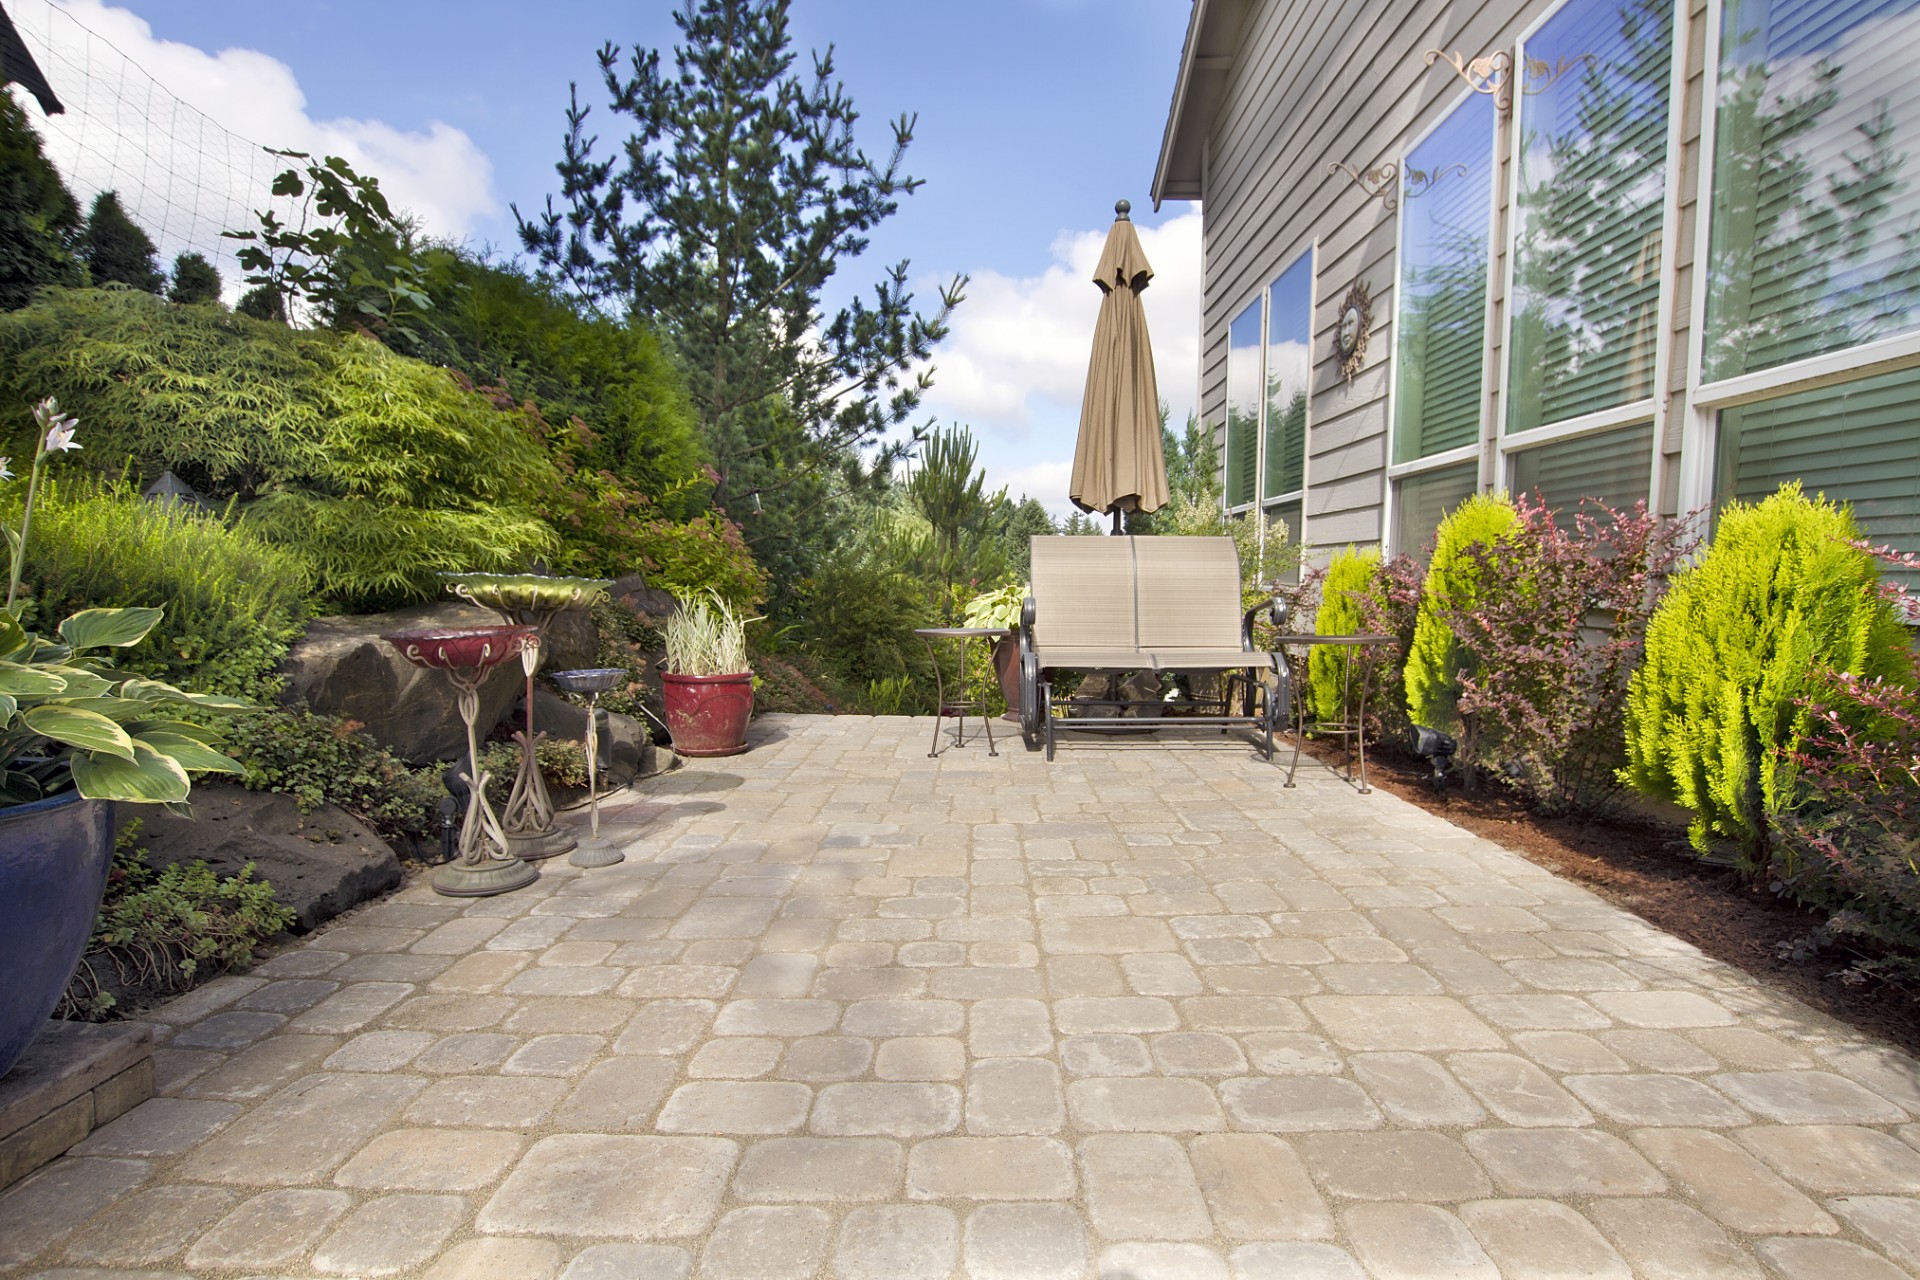
Patio pavers are a DIYer’s best friend. Whether they create an outdoor walkway, patio, pool deck, or backyard fire pit area, they hold up well under any weather condition and require little maintenance. They’re also super durable and can handle the high foot traffic of your entertaining spaces. All in all, when laid correctly, your concrete, stone, travertine, and brick pavers can transform your outdoor space into the oasis of your dreams.
If you’re considering installing patio pavers, the fall is the prime time to do it. The weather is cooler so you won’t overheat, and the ground is firm but not frozen. Then, come springtime, you’ll be ready to host dinner parties, cocktail hours, and kids’ birthday parties on your brand new patio.
Tools and materials
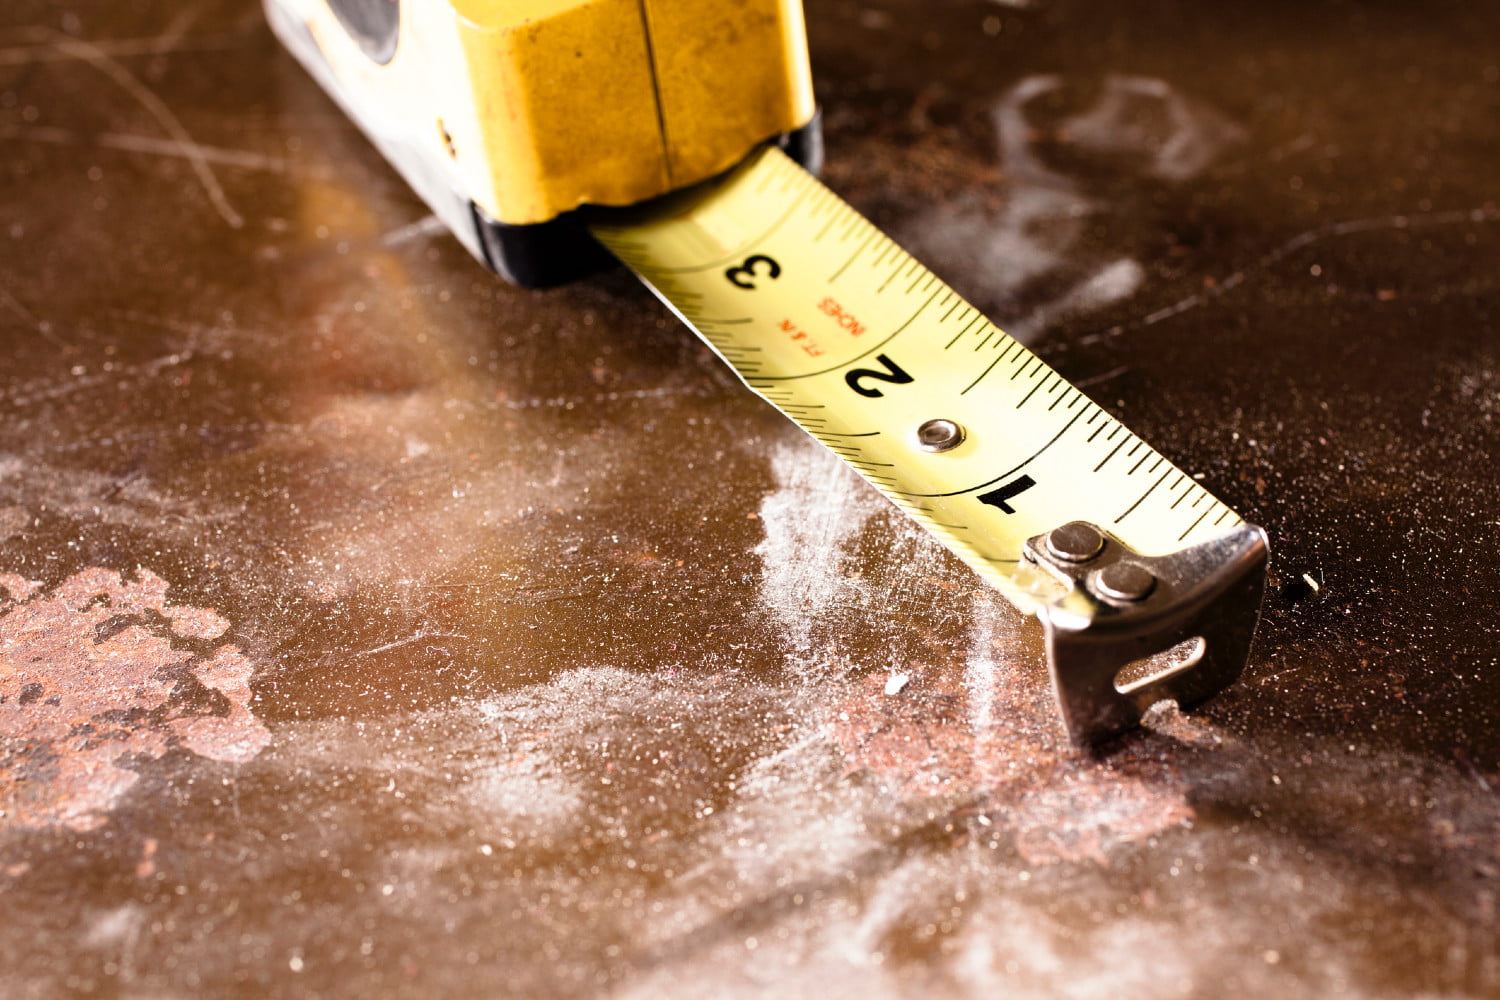
Building a paver patio is a DIY-friendly job, but to do it correctly, you need to have high-quality tools that ensure the project looks clean and professional. If you don’t have the budget to buy items like a concrete saw or plate compactor, you can rent one from a big box store like Home Depot or your local hardware store. Use the tape measure to measure the patio area before purchasing all of these items. With the scope of your project in mind, you’ll have a better idea of how many pavers, stones, and studs you’ll need for your job.
When picking the right pavers for the job, we recommend shopping around a little before purchasing the materials. There’s quite a big selection available, with pieces in a wide range of colors, textures, and styles. It’s crucial to choose carefully and ensure the patio matches your design plans and overall aesthetic. If possible, see the choices in person at your local home improvement store so you know the exact color and texture you’ll receive. If you choose to purchase your materials online, request a sample before purchasing.
As you prepare for this project, make sure you have all of these tools on hand:
Materials
- Pavers of your choice
- Gravel/Paver base
- Edging stones
- Framing studs
- Plastic edging
Tools
- Shovel
- Protective eyewear
- Concrete saw
- Push broom
- Conduit
- Landscaping rake
- Plate compactor
- Level
- Tape measure

Getting started
When building a patio, start by marking the area with stakes and attach a mason line around the perimeter. Dig an area deep enough to hold a six-inch layer of gravel, a one-inch layer of sand, and a one-inch paver. Clear out any grass, plants, and soil in the area to prevent weeds from cropping up between the pavers.
Next up
Once the area is level and dug to the appropriate depth, it’s time to lay the paver base.
- Using your rake, spread the material evenly over the entire surface and about four inches deep, then use a plate compactor to compress the material down.
- Place the conduit on top to level the area.
- Begin laying the sand evenly on top of the base, using a 2×4 to spread and level it.
Time for the pavers
Once the area is completely level and dry, you’re ready to lay the pavers.
- Start in a corner of the patio and place the pavers one by one, level and close together. If you need to cut any pavers to fit, use the concrete saw (always use protective eyewear when doing so).
- Install any edging or edging stone around the entire perimeter and spread a layer of paver sand over the surface.
- Use the broom to fill any gaps and cracks, then brush any excess off the patio.
As you put the pieces in place, don’t step on the pavers to secure them into the base or the pavers will end up at different heights. Instead, wait until all the pieces are installed then adjust the heights with the plate compactor. Congratulations! Your patio (or walkway) is complete!
Finally, place any outdoor furniture, planters, decor, and outdoor rugs on your brand new patio and crack open a cold beverage. You definitely deserve it.
Now is the perfect time to tackle that outdoor patio you’ve been dreaming about. As a bonus, this outdoor entertaining space may even add some value to your home. It’s a relatively easy DIY project if you have the tools, materials, and patience. Doing the job yourself also saves you a ton of money, and, if you follow these step-by-step directions, it will still look professionally done.