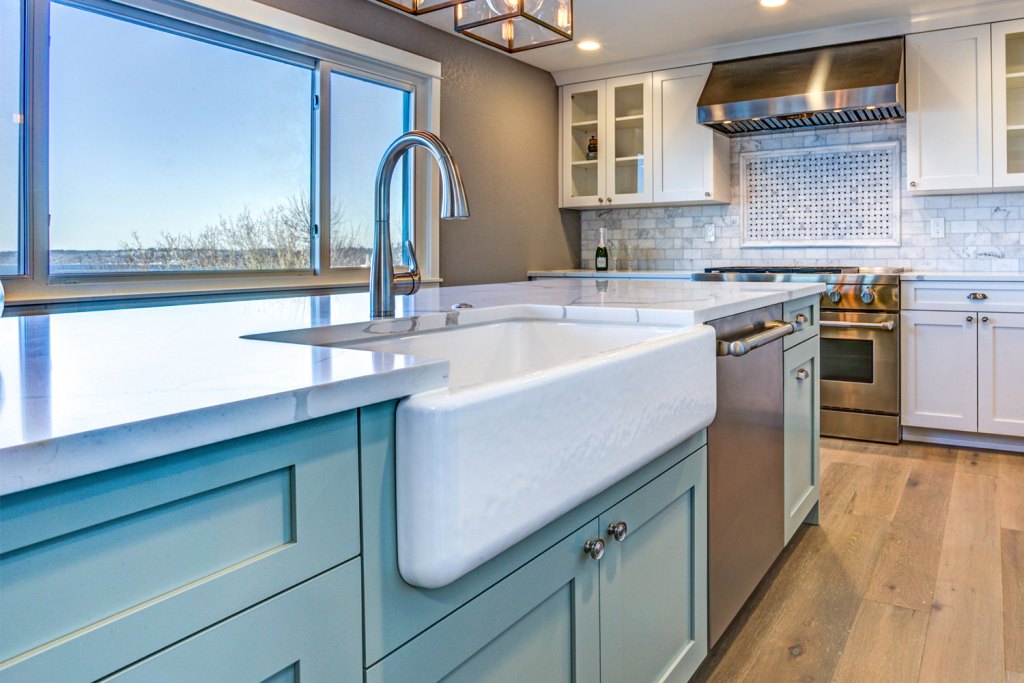
A farmhouse kitchen is a gorgeous addition to any home. It’s charming, uses natural woods and other materials, and it generally gives the room a simple, fresh look. One key element to a farmhouse kitchen is the farmhouse sink. Defined by their exposed front surface and large single basins, these trendy sinks aren’t just aesthetic, they’re also functional for soaking and washing large items. We’re going to walk you through how to install a farmhouse sink so you can decide if the project is one you can DIY.

Can you install a farmhouse sink in the existing countertop?
One thing about farmhouse sinks is that there are three different ways they can be installed in relation to the countertop:
- Top-mounted sink – sits on top of the counter
- Flush-mounted sink – mounted flush with the top of the counter
- Undermount sink – installed under the countertop
A top-mounted sink can be installed on an existing countertop, but with the other two mounting methods, you’ll need custom countertops to fit your new sink.
Do farmhouse sinks require special cabinets?
Since the front side of the sink is exposed, you need a cabinet that opens up to fit the sink. You could cut out the existing cabinet front to fit the front of the sink, and some sinks come with a template to measure and cut it to the right size and shape.
Is it hard to install a farmhouse sink?
Admittedly, installing a farmhouse sink isn’t the easiest of DIY projects. Not only is the sink big, bulky, and incredibly heavy (typically around 200 pounds), installing it requires a certain amount of skill with regard to:
- Plumbing
- Sawing
- Lifting heavy objects
Installing it yourself requires some advanced skill and DIY tools, like a jigsaw or hack saw, a drill, and pipe cutters. Can you install your own farmhouse sink? If you’ve got the skill and the tools on hand, you certainly can.

How to install a farmhouse sink in 5 steps
If you’re ready to take on the advanced challenge of installing a farmhouse sink, here’s what you’ll need for a top-mount farmhouse sink installation:
- Tape measure
- Wood glue
- Painter’s tape
- Marker
- Jigsaw
- Scissors
- Sandpaper
- Sealant
- Utility knife
- Electric screwdriver
- Pliers
- Safety goggles
Measure and assess the sink space
Prior to purchasing your sink, make sure your countertop is flat and doesn’t have a curved, no-drip edge.
Measure the width of your sink’s base cabinet and make sure it’s wide enough to fit your sink.
Measure the space from the top of the cabinet’s door rail to the top of the cabinet to figure out the appropriate apron height for the sink you’ll purchase. Remember to add 1.5 inches to account for the countertop height if the countertops are already removed.
Remove the old sink and false drawer fronts
If you’re installing the sink in a countertop that did not hold a sink previously, you’ll need to use the manufacturer’s outline template of the sink to cut out the shape of the sink with a laminate jigsaw blade.
If you’re replacing an old sink, shut the water off and disconnect plumbing to the old sink, including the garbage disposal. Remove the sink clips that fasten the sink to the cabinet underneath. Then, cut the sealant around the rim of the sink on the countertop with a utility knife. Lift the old sink free.
Before you remove the false drawer fronts, use an electric screwdriver to take the cabinet doors off to prevent damage. Then, pull off the false drawer fronts.
Use the sink manufacturer’s template to trace the outline of the front of the sink onto your cabinet. Remove the template and cut out the outline with a jigsaw. Sand down the cut edges if they’re rough.
Add supports for under the sink
Since farmhouse sinks are heavy, particularly when filled with water, you’ll need to add supports to the inside of the cabinet for the sink to sit on. Use thick wooden boards as supports and follow the installation instructions for how far down to place them inside the cabinet. It’s a good idea to use both wood glue and screws to fasten the support boards to the inside of the cabinet.
Set the sink in the countertop
Protect the surfaces of the cabinet from being damaged during the setting process by applying painter’s tape.
Apply wood glue to the areas on the cabinet that will touch the sink so that it resists moisture.
Apply beads of silicone around the sink’s cutout to seal it, and wipe away excess after lowering the sink into place.
You may need a second set of hands to lift the heavy sink and place it inside of the countertop. Be sure you’re not forcing the sink into a space that’s too tight; otherwise, it could damage the countertop. It should be a tight fit, but if you can’t get it in, recheck your measurements and use a jigsaw to trim any areas that weren’t properly measured.
Install the included sink clips underneath the sink according to the installation instructions. Then, apply the silicone sealant around the sink’s edge and wipe away the excess before it dries.
Connect all required plumbing and fixtures
Once the sink is set and all sealants are dry, connect all plumbing components under the sink. Then, install the faucet and any other fixtures.
While it’s a demanding process, you can install that new farmhouse sink with enough skill, tools, and time. With your sink area shiny and new, this single kitchen upgrade will make the whole room feel fresh, clean, and modern. Use this guide to safely and properly install the farmhouse sink of your dreams.


