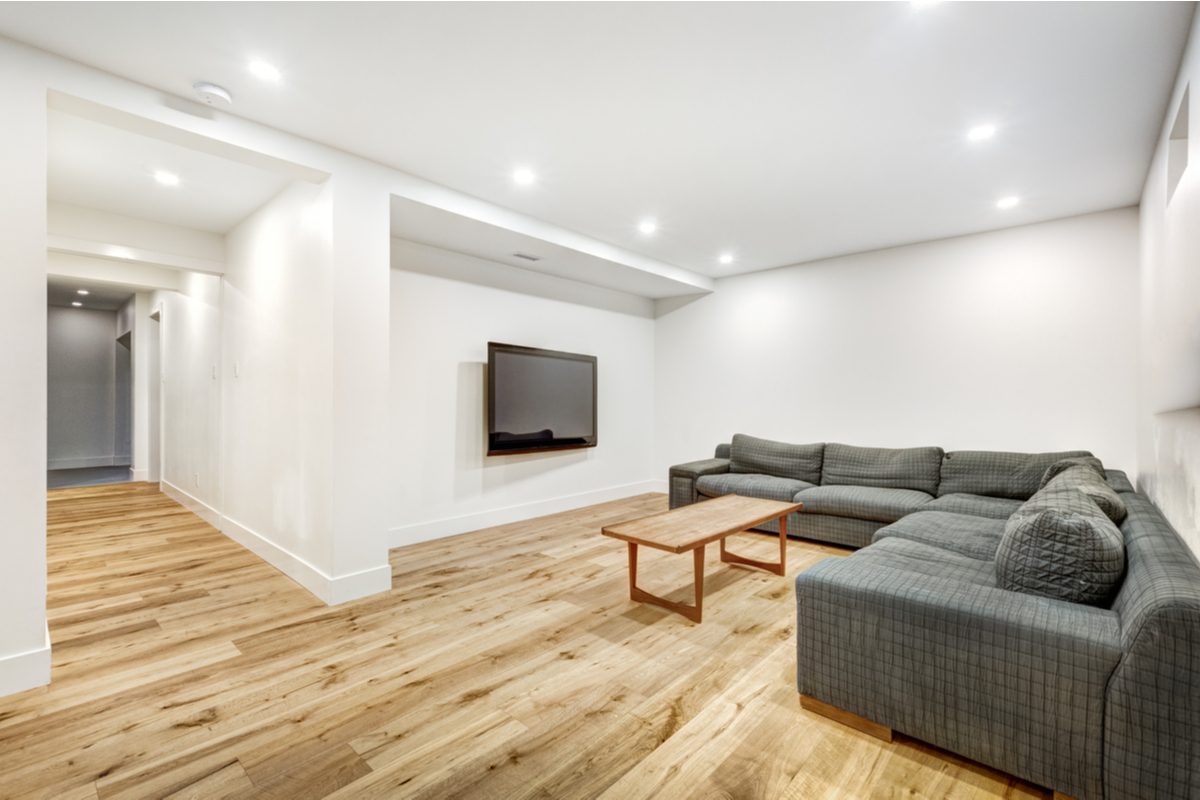
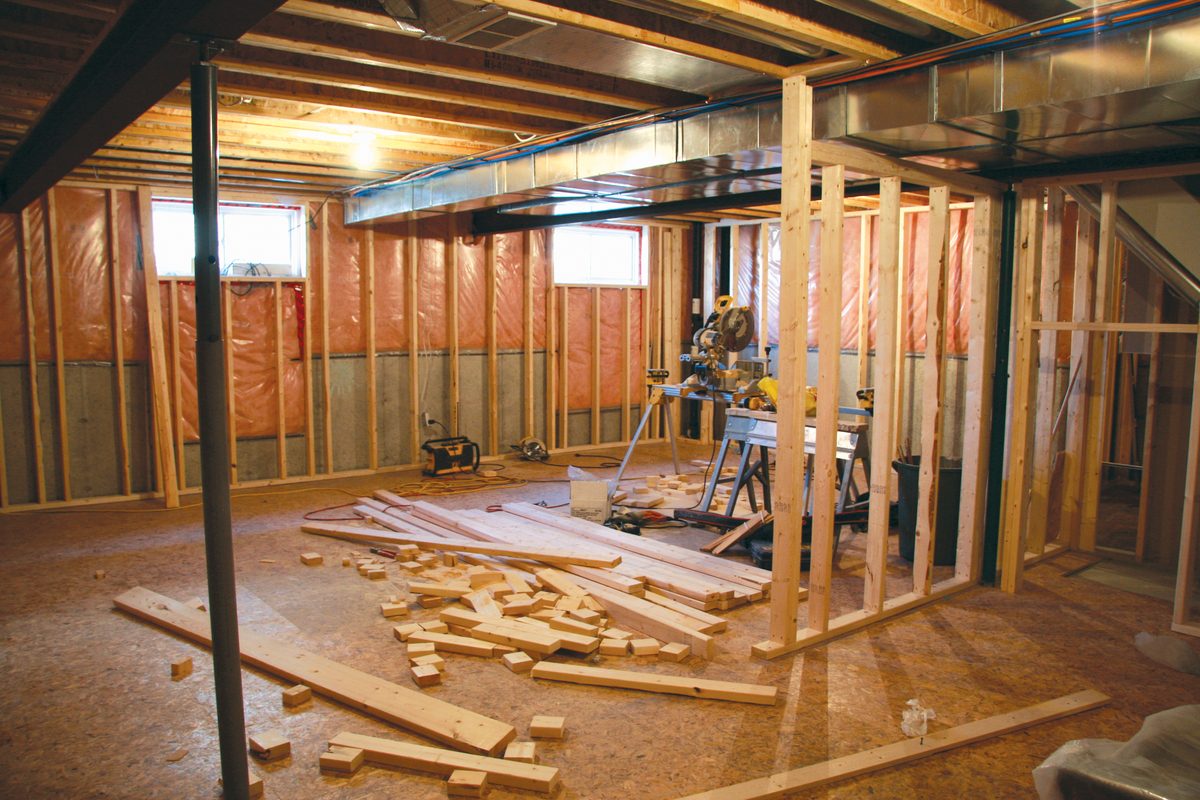
Having a finished basement is a dream for most homeowners. Sprucing up your basement creates more living space for your family to spread out to work, play, and rest. A finished basement also increases the value of your home, which is always a plus. If you plan to do a lot of your basement remodel on your own, you’ll need to start by framing your basement walls so that drywall can be placed over those ugly cement walls. Putting up a partition wall to separate the living space is common in basement updates, but one thing any basement remodel will require is the framing of the space’s exterior walls. We’ll walk you through everything you need to know.
What type of wood should I use for framing a basement?
Pieces of 2 x 4-inch lumber work well for framing basement walls, and you’ll most likely need at least 8 feet of length for most basements.
Use pressure-treated lumber for the soleplate since it’s going to be flush against a concrete floor. This prevents the wood from rotting when it’s exposed to the moisture that seeps through the concrete.
Do you need a vapor barrier when framing a basement?
In most cases, building codes require you to put up a vapor barrier if you’re attaching wood framing to the exterior concrete walls. A vapor barrier is typically either plastic or foil sheeting that prevents moisture from seeping in from the outside. Once your concrete sealant has dried, put up the vapor barrier.
How do you frame a concrete basement wall?
Finally, it’s time to start creating the wall frames for your basement’s concrete walls. You’ll move through the project with four general steps:
- Take all measurements before cutting boards.
- Fasten the soleplate to the floor.
- Assemble the frame on the floor.
- Lift the assembled frame against the concrete, and install it.
Measuring and cutting boards for your frame
What you’ll need:
- Measuring tape
- Marker or pencil
- Chalk line
- 2 x 4-inch pressure-treated soleplate
- 2 x 4-inch boards
- Circular saw
What you’ll do:
- Measure 4.5 inches off of the concrete wall at each end and mark it. This will leave enough room for the width of the 3.25-inch sole plate with an extra inch or more to spare in case the walls are a bit bowed.
- Use a chalk line to create a straight line between your two measurements.
- Place the soleplate between the line you created and the concrete wall.
- Measure and note the length of the studs between the bottom of the floor joists and the top of the soleplate. Make sure to subtract 3.25 inches from that measurement to account for each of the top and bottom plates.
- Measure and mark the length of the studs onto the boards that will sit vertically against the concrete wall. Be sure to measure any gaps for doors or windows on the concrete wall.
- Use a circular saw to cut boards to the measured size.
- Measure and mark the stud locations on the two boards that will serve as the top plate and bottom plate. Studs are 16 inches apart, and each one is 1.5 inches thick, so be sure to account for the stud thickness in your measurements. Again, leave gaps for doors and windows.
Installing the soleplate
What you’ll need:
- Drill and 1/2-inch drill bit
- Concrete anchors
- Construction adhesive
- Caulk gun
- 2 x 4-inch pressure-treated soleplate
What you’ll do:
- Drill 1/2-inch holes into the soleplate where it will be fastened to the concrete floor.
- Use a caulk gun to apply adhesive to the floor between the concrete wall and where you just measured your line with the chalk line.
- Place the soleplate onto the adhesive evenly so that the chalk line is on the outside of the board.
- Drill the concrete anchors into the soleplate in the holes you previously drilled.
Assembling the wall frame
What you’ll need:
- 2 x 4-inch boards with measured marks
- Framing nailer
- Framing nails
What you’ll do:
- Lay out the boards that were measured and cut, and use the stick framing method to create the wall frame on the floor first. You’ll lift the frame against the wall once it’s assembled.
- Align the ends of the vertical boards to the measurements made previously on the top and bottom plates for the studs.
- Use a framing nailer and nails to fasten the vertical boards to the top and bottom plates.
Installing the assembled frame
What you’ll need:
- Assembled wall frame
- Hammer
- Framing nailer
- Framing nails
- Shims
What you’ll do:
- Lift the frame against the wall, and gently use a hammer to fit the frame tightly between the floor joists above and the bottom plate installed below.
- Use a framing nailer and nails to fasten the bottom plate of the frame to the soleplate that’s anchored to the concrete floor.
- If any portions of the frame are fitting loosely between the joists and the soleplate, use shims between the floor joists and the top plate to tighten the frame’s fit.
- Use a framing nailer to fasten the top plate to the floor joists on the ceiling. If you used any shims to tighten the frame, you’ll fasten the top plate to the shim.
You’re now well on your way to having beautiful walls in place of those shabby concrete ones. Once the wall frame is in place, you can move on to insulating the walls, putting up drywall, painting, and finally decorating your newly renovated basement space.