If you’re germinating your vegetable garden or flower bed indoors, you’ll eventually need to transplant them to their rightful place outside in your garden’s soil. Transplanting is an exciting time for avid gardeners, but it’s also a time to use caution to keep your little seedlings strong and healthy. As you prepare for the big move, stick with us to learn more about the tips and tricks you should keep in mind so your garden grows and flourishes all summer long.
Which vegetable plants can be transplanted outdoors?
Some types of plants, like root vegetables, corn, beans, and squash, will not fare well when transplanted. Instead, sow those seeds directly into the soil during their respective planting seasons. Other plants, like tomatoes, broccoli, peppers, and leafy greens, actually flourish more when they have a jump-start indoors, particularly if your region’s climate offers a shorter growing season.
When should you transplant seedlings?
For cool-weather plants like leafy greens, transplant them earlier in the growing season before the temperature gets too hot. For warm-weather plants like corn, peppers, squash, or tomatoes, you can move them later as to not expose them to any late frosts. These warm-weather plants thrive as long as overnight temperatures don’t fall below 60 degrees F, so don’t transplant them outside until balmy nights are the norm.
Spotting the signs that it’s time for a move
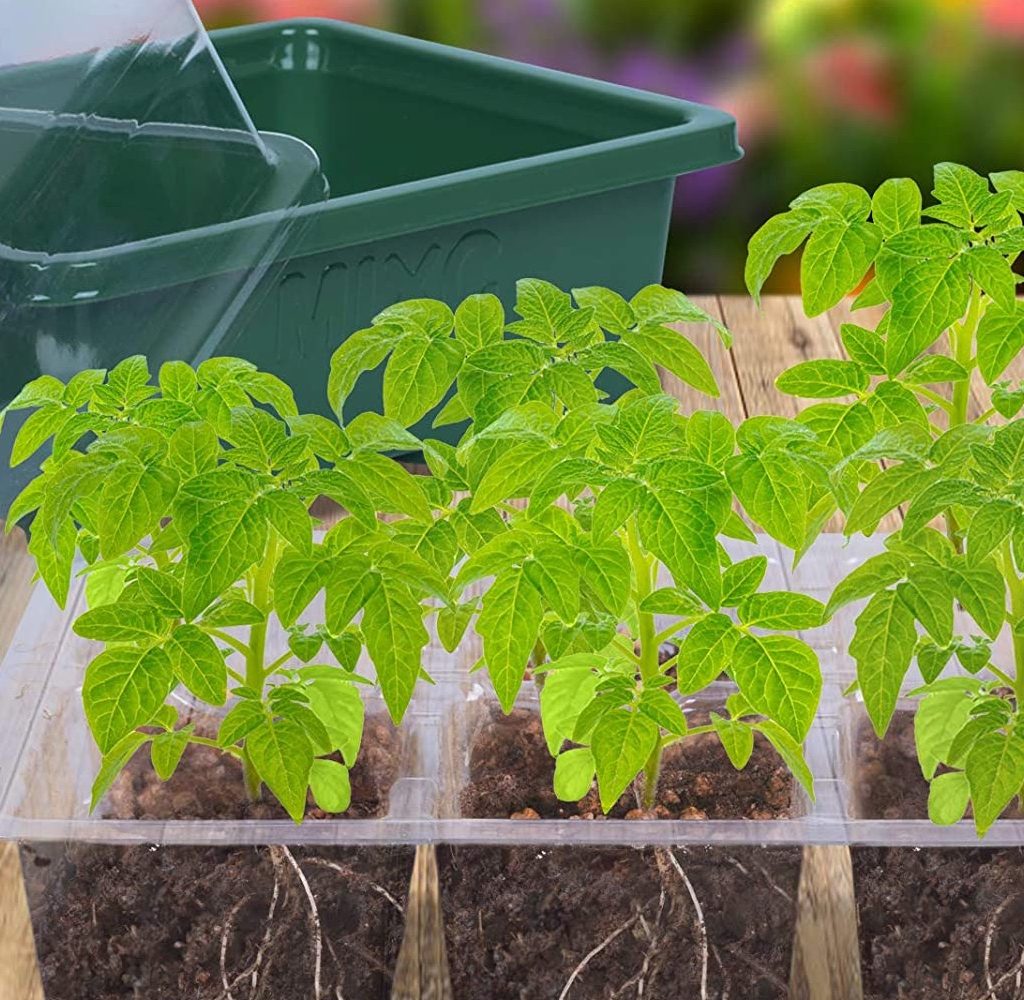
When a plant’s true leaves emerge, it’s finally time to transplant them outside. When you first plant the seeds inside, small leaves, called cotyledons, are the first to pop out. Cotyledons feed the seeds of the plant until true leaves emerge, which then take over the feeding process through photosynthesis. The arrival of true leaves is an indicator that the seedling will receive adequate nutrients when planted outdoors.
What is “hardening off” and is it necessary?
When planted indoors, the seedlings become accustomed to the gentle, sheltered conditions. Once it’s time to transplant them outdoors, they can become shocked at the drastic change in climate, temperature, and harsh conditions like wind and rain. This shock can weaken your plants and possibly kill them.
The process of “hardening off” your indoor plants takes about a week to complete, but it’s a crucial part of acclimating your seedlings to the harsher conditions outside. To prepare them for the transplant, place your plants outside in an area that’s shaded and fairly protected from gusts of wind. Keep them there only a few hours before bringing them back indoors. For the next several days, gradually keep your plants outdoors for longer hours in increasingly sunny and windy conditions to slowly acclimate them to the great outdoors.
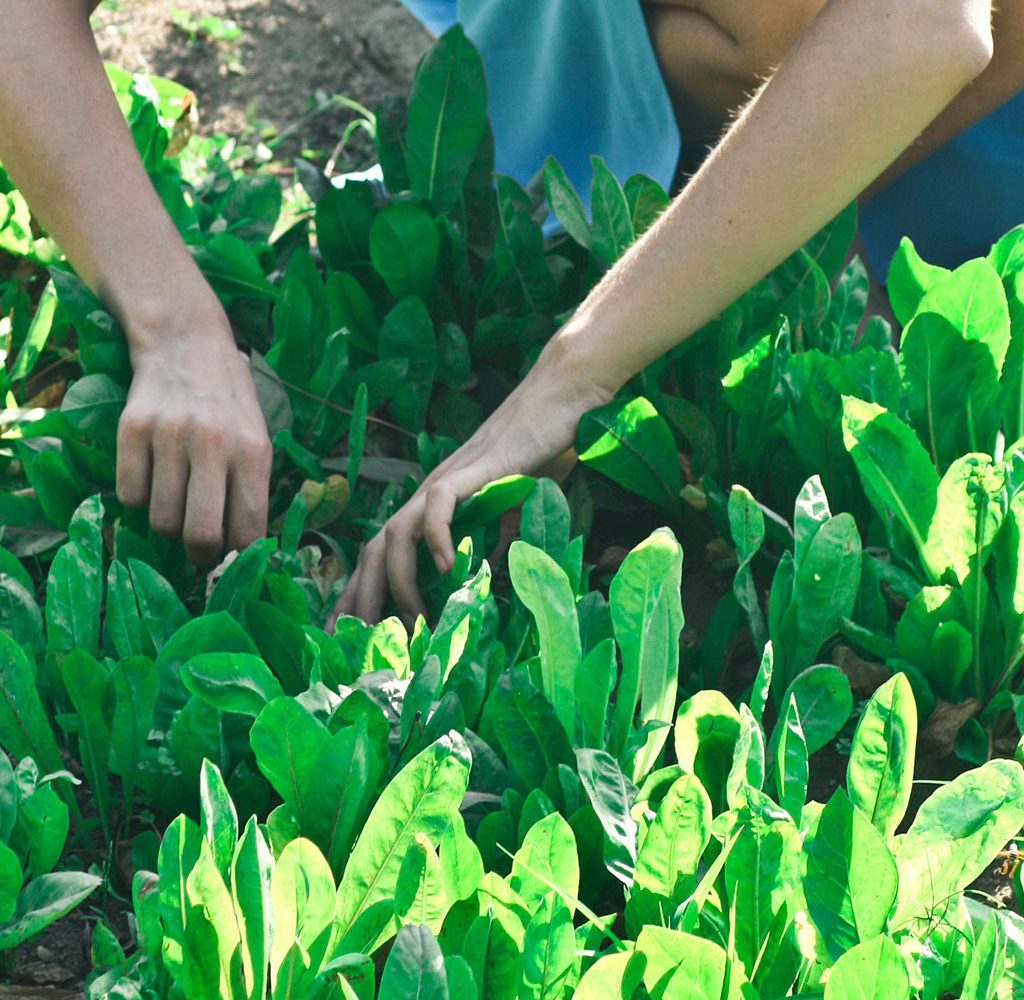
Dos and don’ts for transplanting seedlings
Your seedlings are certainly precious to you, but they are also vulnerable and can become weak if the transplanting process is not performed carefully. Rushed or improper transplanting can result in stunted growth, less fruit yield, or even the death of the plant.
Do:
- Harden off your seedlings. They’ll be stronger and more capable of handling the transition outdoors.
- Prep your outdoor soil. Weed your garden, loosen the soil, aerate it, and add some organic draining helpers like wood pieces or rocks.
- Water seedlings thoroughly after transplanting. Make sure your newly transplanted seedlings are given all the love and care they need after the rough transition.
- Watch the weather forecast. Be aware of incoming inclement weather so you can adequately protect your transplants from hot or freezing conditions.
- Lay mulch if the climate is very dry. Mulch locks moisture in your soil and prevents it from evaporating.
- Take protective measures. If a heatwave, cold weather, or late frost is coming, act quickly to protect your seedlings. Use sheets, plastic covers, or cloches to protect your plants from frost, and water often and keep them in a shady area to secure them during a heatwave.
Don’t:
- Overwater or fertilize the last week indoors. Skip watering and fertilizing for several days before transplanting to help the hardening-off process.
- Allow outdoor soil to dry out after transplanting. Once transplanted, your plants may still have trouble, even after the hardening-off process. Keep them well watered to mitigate any shock.
- Walk on your soil after you’ve transplanted. This will compact the soil and make it difficult for roots to grow and for water and air to penetrate the soil.
Starting seeds indoors is a great way to get a jump-start on the season and ensure that your plants are strong, resilient, and fruitful throughout the growing season. Transplanting your indoor plants to your outdoor garden is a tricky process, but if you remember the tips and practices we’ve discussed, your precious seedlings are sure to champion their way through the tough transition.


