
Lawn care for beginners: What everyone needs to know

Owning a home comes with a lot of responsibility. The inside of the house requires a ton of upkeep, but the yard needs care and attention as well. Your lawn says a lot about your home and is often the first impression of your property. The first impression of your house is called curb appeal when it comes time to sell your home, but while you’re living there, your lawn is a reflection of the rest of your property. There are so many lawn care products out there, and it can quickly become overwhelming if you’re new to the lawn care game. So, where do you even begin when it comes to lawn care? If you are new to lawn care, worry not; we have compiled everything you need to know right here so you can have the lawn that all of your neighbors will envy.

Mowing

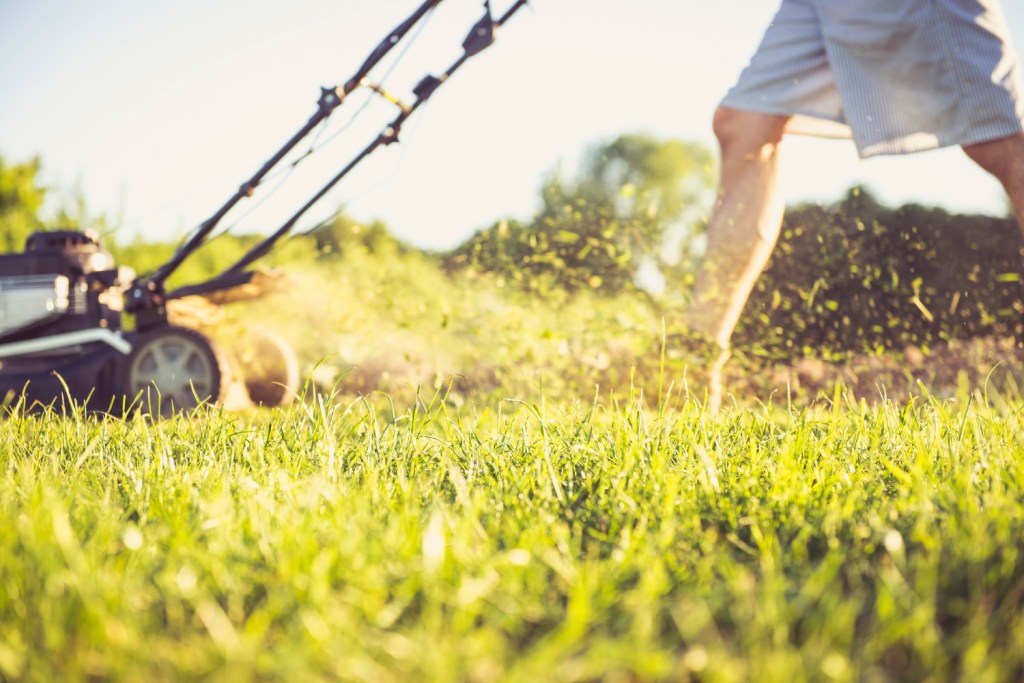
Mowing is probably the first thing that comes to mind when lawn care is mentioned. It may seem that mowing is the easiest part of lawn care, but there is a right way and wrong way to do it. Mowing your lawn correctly is key to keeping your grass healthy and lush. Mowing with sharp blades is crucial; dull blades don’t cut your grass, they tear it, which is not only unsightly; it is unhealthy as well. If your blades are dull, you can have them sharpened at your local home improvement store.

Related Videos

Mowing your grass at the right height is also imperative. It is tempting to cut your grass short, so you don’t have to do it as often, but cutting the grass too short can harm your lawn and impact future growth. You should aim to mow your grass to a moderate height, which means only remove one-third of the grass’ height each time you mow. You should also plan on mowing every five to seven days, which helps reduce the stress you put on the lawn.

The time that you mow your lawn also plays a role in overall grass health. Avoid mowing too early in the morning when there is dew on the grass or any time the grass is wet. We grass is weighed down by the water, whereas dry grass stands upright and, therefore, ready to be cut.

Fertilizing

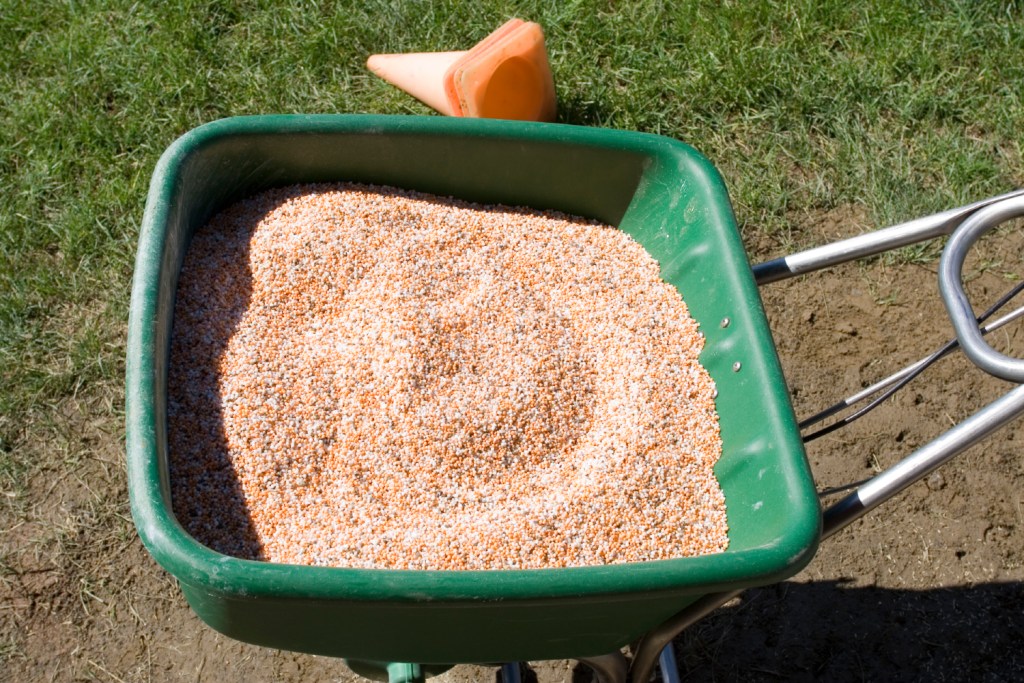
Water and sun can only do so much for your lawn. Sometimes your grass needs a little help from fertilizer to give it some extra nutrients. The problem is, a trip to the local hardware store will provide you with so many options for fertilizer it can be overwhelming. Many of the products you will find in the lawn care aisle will promise lush and healthy grass, but none of them will do any good if you don’t use it properly. The first step in properly using lawn fertilizer is to check the pH of your soil. You can get a pH test from your local hardware store, and this test will tell you where to start. If your soil is too basic, use fertilizers that are acidic to balance out the pH. If your soil is too acidic, a lime-based treatment will benefit your soil.

The next step to properly fertilizing is to only do it when needed, which is usually twice a year. As a general rule, cool-climate grasses should be fertilized in the spring or summer, and warm-season grasses should be fertilized in the fall or winter. If you don’t want to use chemicals on your lawn, consider using compost to help feed and insulate your grass. Compost is packed with nutrients that your lawn needs and is eco-friendly.

Watering

Watering is another part of lawn care that seems simple and self-explanatory but is actually more of a science than you may realize. Watering correctly entails more than turning on the sprinklers once the grass starts to look dry. The fact is, once the grass looks dry and brown, it is too late. The key to lawn watering is keeping the grass hydrated to ensure that it doesn’t get too thirsty or too bogged down. Starting at the beginning of the season, only water your lawn once or twice per week to avoid oversaturating the grass. You should water in the very early morning so the water has time to get to the roots of the grass before the sunlight peaks. Watering late in the day causes the water to evaporate before it even gets to the roots of the grass. Watering at night can cause your grass to get oversaturated which can breed fungus and diseases.

Aeration and Seeding

person wearing foot aerators

If you follow the steps above, you will have a healthy, green lawn. If you want to go above and beyond, so you have the best yard in town, aeration, and seeding are the next steps. Many people have never aerated their lawn, but it is a step that is well worth the work. Aerating either pulls small nuggets of soil out of the grass (plug aerating) or pokes holes into the lawn (spike aerating). Both methods reduce thatching and introduce oxygen into the grass. This process allows moisture, air, and nutrients to get down into the roots and basically gives your grass some breathing room. It is best to aerate when the grass is moist but not wet (like early in the morning). Aeration should be done once or twice a year for best results.

Once you have aerated your lawn, the soil will be in prime condition for seeding. Seeding treatments fill in bald patches and give your lawn a lush and vibrant appearance. Use a seed mix that matches the type of grass that you already have for a uniform look.

Editors' Recommendations

Can you paint in high humidity? What you need to know
Painting in humid weather: How to make sure your paint job is still gorgeous
the best white acrylic paint

If you're planning a painting project and you're concerned about humidity levels while you paint, you've come to the right place. Since paint needs to dry properly to have a beautiful and smooth-looking result, moisture in the air is certainly an issue. So, is painting in humid weather possible? While the answer to that question is yes, we're going to discuss some of the concerns and tips for dealing with humidity and painting indoors or outdoors.

How does humidity affect your paint job?
Moisture in the air means that there's moisture on the surface you're about to paint. A damp surface is not ideal for painting, and you will find that your overall result doesn't look as great as you'd hoped. Let's dig into the specifics of how high humidity negatively impacts your paint job.
Moisture could lead to mold growth
When you're dealing with high humidity, surfaces tend to dry slowly. When you're painting indoors, for example, you always want to wash your walls before slapping down a coat of paint, so high humidity could slow down the drying process. If your walls are damp when you start to paint, this could lead to mold growing between the wall and the paint. The mold will eventually grow through the new layer of paint, and you will need to clean the area and paint again.
Paint will struggle to dry
For a coat of most paint types to dry, the water in the paint needs to evaporate more quickly than the solvents. In high humidity, the water struggles to evaporate, making for a gunky, gel-like layer of paint. Eventually, when the humidity level falls, you'll find that this type of consistency will dry with a wavy texture since it has not been set properly, and you won't be satisfied with the result.
Wood surfaces could swell
As you may know, moisture on wood causes it to swell. If you're painting wood when there's a lot of moisture in the air, the wood could start to swell a bit after you've put on a coat of paint. This swelling could cause cracks or chips in your coat of paint which will eventually lead to the surface needing to be repainted.
Paint may not adhere to metal surfaces
Painting metal objects can be difficult enough, since paint doesn't adhere to them as easily as it does to wood. Humidity can worsen this, so if you're trying to paint something metal, it might be best to leave that for a drier day.

Read more
6 kinds of perennials that bloom all summer for a gorgeous garden all season
Hostas, Lily of the valley, Blue lupine and more, these perennials will brighten your garden all summer
Close up of white and pink phlox flowers.

Gardening is a lot of work, but it can be well worth it if you do a little homework before you start digging. If you want your flower beds and garden to bloom for longer than a few weeks, you can't just plant seeds without care and expect month-long results. In fact, many perennial plants, those that you do not need to replant every year, have relatively short flowering seasons, leaving your garden looking a little bare for a good portion of the summer. And after all that work, there is nothing worse than looking at a bare garden.

So how do you get your garden to look gorgeous all summer? We’ve pulled together a list of perennials that will boast beautiful blossoms throughout the entire summer and return year after year with an abundance of color and fragrance. For a more interesting-looking flower bed, be sure to incorporate a variety of heights, a cohesive color scheme, and flowering plants that thrive in varying amounts of sunlight. Check out the recommendations below to build long-lasting floral arrangements you can enjoy for months on end.
Perennials by height
Tall Perennials
Tall perennial plants prevent your garden from looking too uniform and crowded. Be sure to place them in the back or in an area where they won't block other plants.  A few of our favorites include:

Read more
How to propagate prayer plants for a flourishing indoor garden
These tips to propagate prayer plants will help yours thrive
how to grow prayer plant in pot

Being a plant parent leads to a satisfying life. Prayer plants, in particular, are great indoor plants to take on as plant babies. They are easy to care for, give the room a splash of life and color, and they're even beneficial to your health. They're also an indoor plant that can be propagated and multiplied easily. We'll discuss the best way to propagate prayer plants so you can enjoy watching new plant babies grow and flourish in your home.

Are prayer plants easy to propagate?
There are many types of indoor plants that you can propagate over and over again to create your own indoor jungle, and some plant varieties are more difficult to propagate than others. When compared to other plants, the process for propagating prayer plants is incredibly easy and requires minimal time and effort.
Can you propagate a prayer plant in water?
While there are a few methods for propagating a prayer plant, including soil propagation, water propagation, root division, and propagating from seed, the easiest method is, by far, water propagation. It requires fewer materials than other methods, demands the least amount of effort on your part, and is a much simpler process that's less messy than soil propagation.

Read more