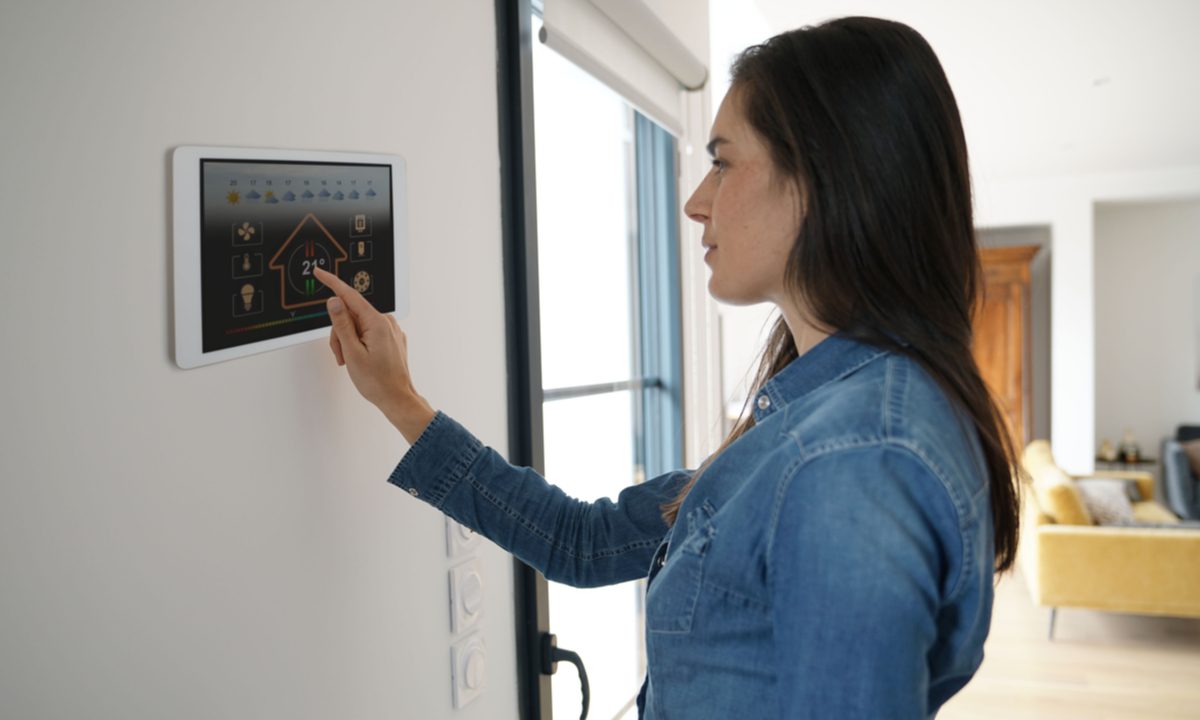
Technology has come a long way when it comes to home automation. If you've invested in a smart doorbell, a home security system, smart lighting, or even a smart speaker like HomePod or Alexa, you know how convenient smart technology is for your home.
If you're considering upgrading your thermostat with modern technology, a programmable thermostat will give you more than just convenience. It could significantly lower your energy bill. We'll walk you through how to install a programmable thermostat so you can start saving big.
Can I just install a smart thermostat?
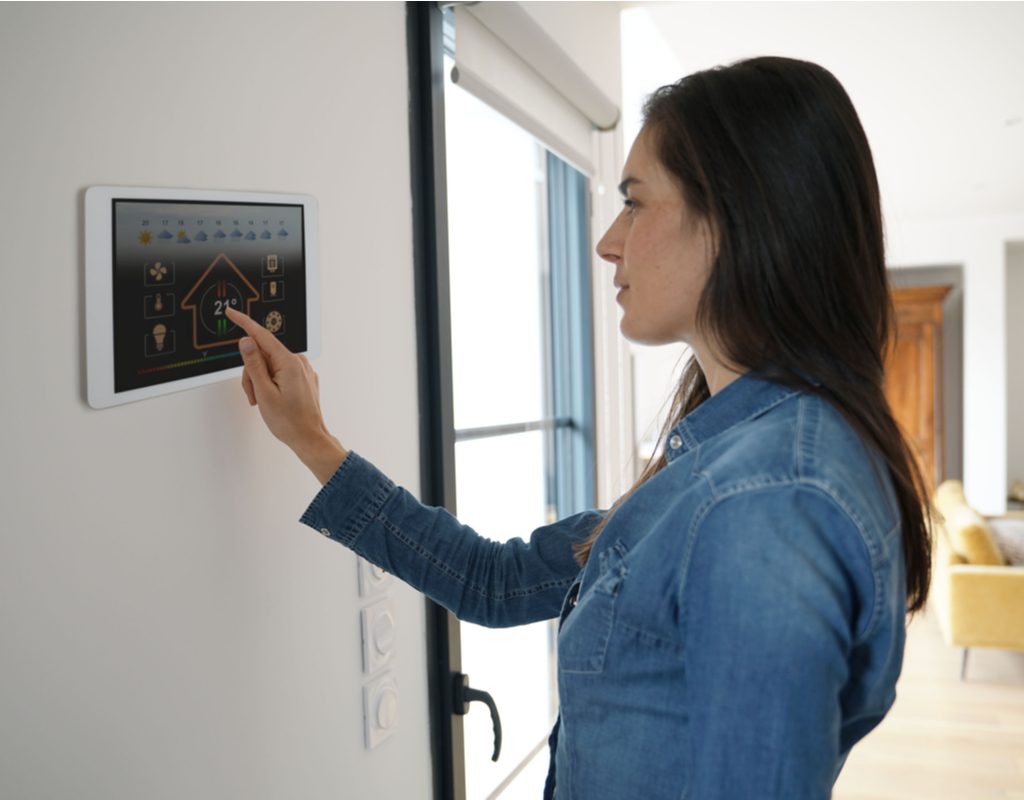
You may be wondering if a smart thermostat is a better choice for you. Some people think programmable thermostats and smart thermostats are two names for the same product. That's not exactly true, though. While a smart thermostat is programmable, a programmable thermostat doesn't necessarily have smart technology. Here's the difference between the two terms.
- Programmable thermostats allow you to put your home's temperature on a schedule. You can program it to increase the temperature at certain times of the day when you're at home. It can also be set to decrease during times when you don't need as much warmth, like when you're at work or sleeping.
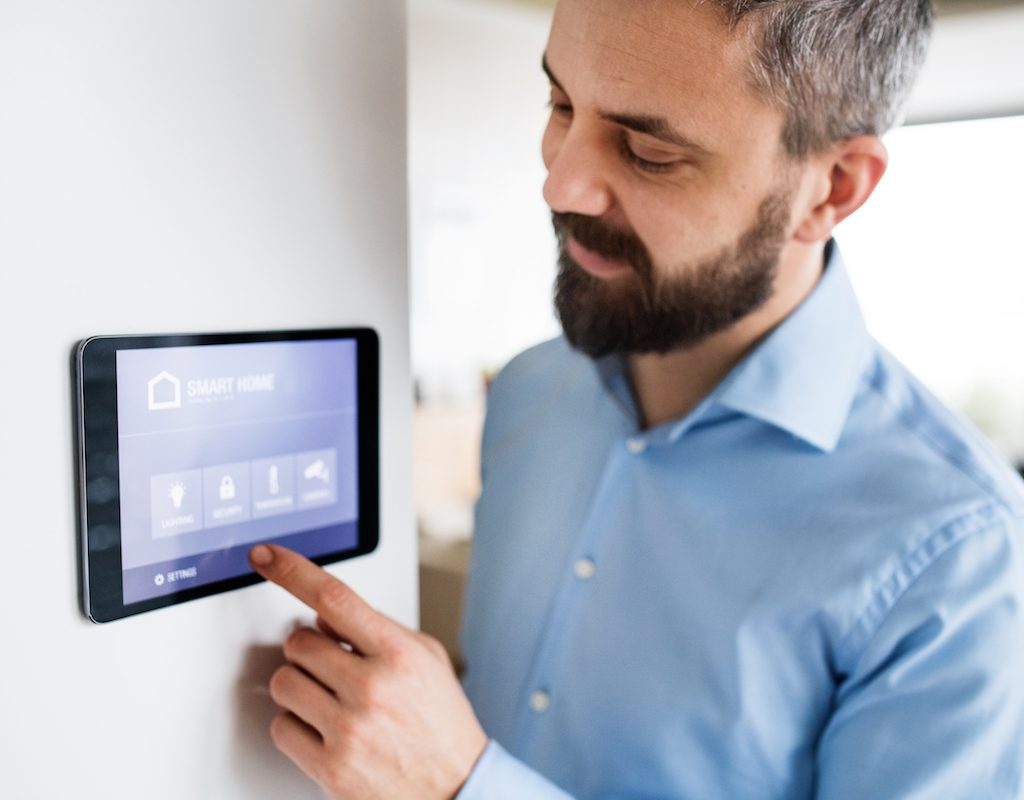
- Smart thermostats take these abilities a step further and learn your HVAC needs over time. With their intuitive capabilities, they can automatically adjust based on your schedule and behaviors. They're connected to an app on your phone, so you can manually adjust temperatures from anywhere, and they can automatically adjust when you leave the home unexpectedly.
How much does it cost to install a programmable thermostat?
Your new programmable thermostat itself will cost between $20 and $150. A smart thermostat could cost anywhere between $150 and $300. Hiring an electrician to upgrade your thermostat will cost up to $100 per hour for labor and generally take between one and three hours. The time for an installation could be even more if you're installing the thermostat in a brand new location, as opposed to replacing an existing thermostat.
Can I install a new thermostat myself?
If you want to install your new thermostat in a brand a new location, extensive electrical knowledge is required. You'll need to run wiring to the new location, and it will need to meet building codes. If this is the case, it's best to enlist the help of a professional electrician.
Is it hard to replace a programmable thermostat?
If you're replacing an existing thermostat, the process for installation is a bit simpler. You'll still need some DIY skill as well as basic knowledge of electrical wiring, but the process shouldn't take more than an hour or two. Here's how to install a programmable thermostat, step-by-step:
How to remove the old thermostat
Step 1: Turn off the power to your HVAC system at the breaker box. This should turn the power off to the thermostat as well.
Step 2: Remove the old thermostat's cover and use a screwdriver to remove the screws holding the old thermostat to the wall plate. You'll see a number of wires once removed.
Step 3: Note or label which wires are connected to which screws on the old thermostat, as these wires will connect similarly to the new thermostat. The screws are typically labeled with a letter.
Step 4: Remove the wires from the old thermostat screws, but clip a clothespin to the last one before removing it. This will prevent the wires from falling back into the wall.
How to install a programmable thermostat on the wall
Step 1: Remove the cover of the new thermostat from its base.
Step 2: Place the base on the wall and feed the wires through the appropriate openings.
Step 3: Use your level to be sure the base is evenly placed and level.
Step 4: Once leveled, use a pencil to mark the wall where the screw holes are on the base.
Step 5: Set the base aside and use an electric drill to drill holes where you marked the screw locations.
Step 6: Your new thermostat should include plastic screw anchors. Insert these into the wall and tap on them until they're flush with the surface of the wall.
Step 7: Replace the thermostat base against the wall, and feed the wires through the appropriate openings again before screwing the base into place.
How to wire and secure your new programmable thermostat
Step 1: Wrap each wire underneath the appropriate screw, according to your notes or labels.
Step 2: Use a screwdriver to tighten each screw around each wire.
Step 3: Before securing the thermostat unit to the mounted base, be sure new batteries are put in and the reset button is pushed to refresh the programming.
Step 4: Attach the thermostat to the base according to the manufacturer's instructions. Typically, it snaps in place easily.
Step 5: Restore power at the breaker box and test both the heat and air conditioning on your new thermostat.
Step 6: Now you can set programming and schedules on your new thermostat according to the product's manual.
Replacing an old thermostat with a new programmable or smart one is both easy and beneficial to your lifestyle. Not only will your monthly energy bill likely drop, but you'll live more comfortably in your home without having to manually adjust your home's temperature all the time.