Making your home comfortable isn't always an easy feat. When you're trying to cool down a hot space, you don't want to spend a fortune getting the room to a livable temperature.
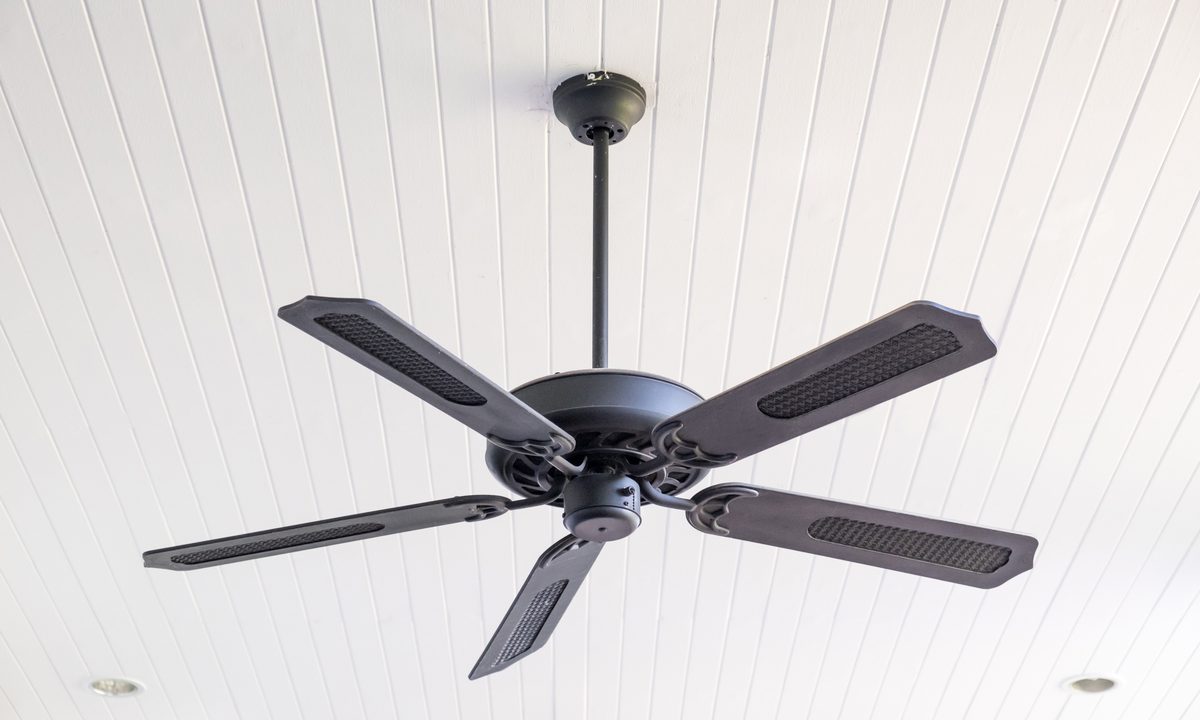
That's why ceiling fans make great additions to any room in the home. They circulate cool air in a hot space and even circulate warm air in a chilly space, making the room more comfortable without dramatically hiking up energy costs. Here's how to install a ceiling fan in four easy steps.

Can I install a ceiling fan myself?
Installing a fan on the ceiling may seem daunting, but it's actually a simple process. Particularly if you're replacing an old fan or an existing light fixture, the job doesn't require a professional electrician because the wiring is already there. If you've got basic electrical DIY skills, you can get the project completed on your own in just a few hours.
Do you need an electrician to install a ceiling fan?
If you're installing a ceiling fan where no previous wiring is present, that's where the issues come into play. You'll need the help of a licensed electrician to ensure your safety and to comply with building codes.
Can I install a ceiling fan where a light fixture is?
One factor to consider when replacing a light fixture with a ceiling fan is that the electrical box for the light fixture may not be built to hold the weight of a ceiling fan. Fans are much heavier than light fixtures, so you'll likely need to purchase a new electrical box that was designed to anchor a ceiling fan.

Step 1: Prepare to install your fan
Safety is the top priority when it comes to DIY projects, particularly when you're working with electrical components. Shut off power at the breaker box to the existing fan or light fixture, and use a circuit tester to ensure that no electricity is present in the wires at the installation site.
After removing the old fan or fixture, be sure the existing electrical box is fan-rated and will support the extra weight. If it's not, you'll need to install an appropriate box as well as a fan brace between two ceiling joists. A ceiling fan that's not supported well poses an enormous risk to anyone in the room, particularly when the fan is on.
Step 2: Mount your ceiling fan
Once the old fan or light fixture is removed, the existing wiring from the previous fixture should be poking out of the hole in the ceiling. Install the new fan's mounting bracket by threading the existing wires through it and using the provided mounting screws to secure it to the electrical box.
For the most efficient operation, your new fan should sit roughly 9 feet above the floor. If your ceiling is vaulted, a downrod will help lower the fan unit. If you're using a downrod, place the fan's canopy on the downrod and then thread the fan's wires through it. Secure it to the fan's base, or motor housing, with the provided pins and screws. Now is a good time to trim off any excess wire using a wire cutter. Then, attach the downrod to the mounting bracket on the ceiling using the hanger ball on the downrod.
Step 3: Wire your new fan
Once the downrod is securely fitted into the bracket, you can connect the wires in the ceiling to the fan's wiring. Your new fan should come with wire caps that help connect the wires. Be sure to check both the fan's installation manual and the labels on the ceiling wires so that you're connecting the wires in the fan to the appropriate wires in the ceiling. You may need to use a wire stripper to expose wires before connecting them.
Wires that need to be connected include:
- A hot wire (often black), which connects to the home's supply wire
- A ground wire (often green), which connects with the home's copper ground wire
- A neutral wire (often white), which connects with the home's neutral wire
If your fan is equipped with lights, it will include a striped or blue wire that will also need to be connected with the home's supply wire.
Gather any hanging wires and insert them into the ceiling's junction box before moving the fan's canopy up and attaching it to the mounting bracket with the provided screws.
Step 4: Assemble the rest of your ceiling fan
If your new fan includes blades that are "easy mount," this next step shouldn't be too difficult. Install the fan blades according to the manufacturer's installation instructions, which typically involves screwing a blade mount into the motor housing unit and either screwing or snapping fan blades into place on the mount.
Assembling the lighting components according to the manufacturer's instructions is also fairly straightforward. The fan will typically include a fixture for the light bulbs that attaches to the blade mount. Then, simply attach light shades, if included, and light bulbs.
Restore power to the ceiling fan at the breaker box, and switch on the unit to be sure the fan and lights are working properly.
Your new fan will help regulate the temperature in your space and provide good ventilation. The good news is installing a new ceiling fan isn't a tough job, and you can get your space feeling cool or cozy after just a few hours of mild labor.