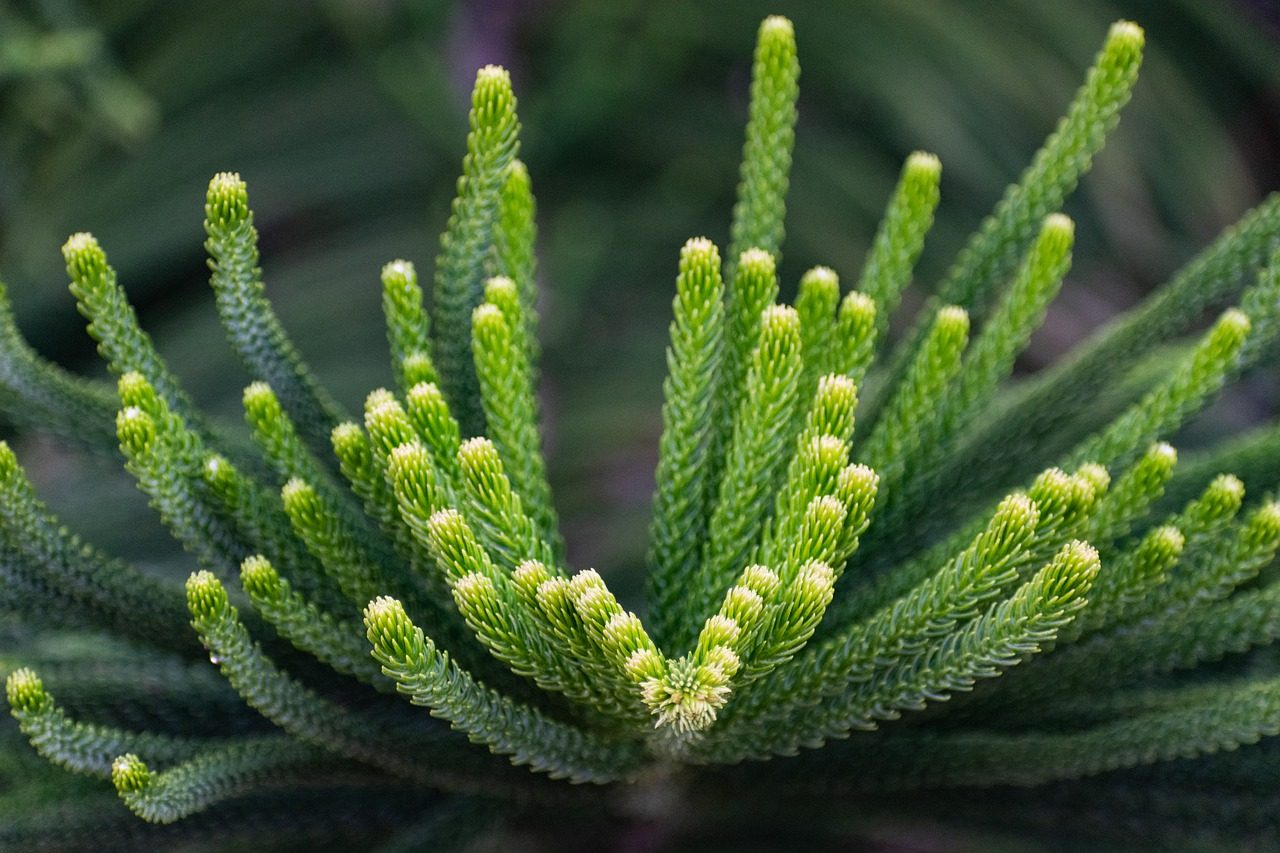
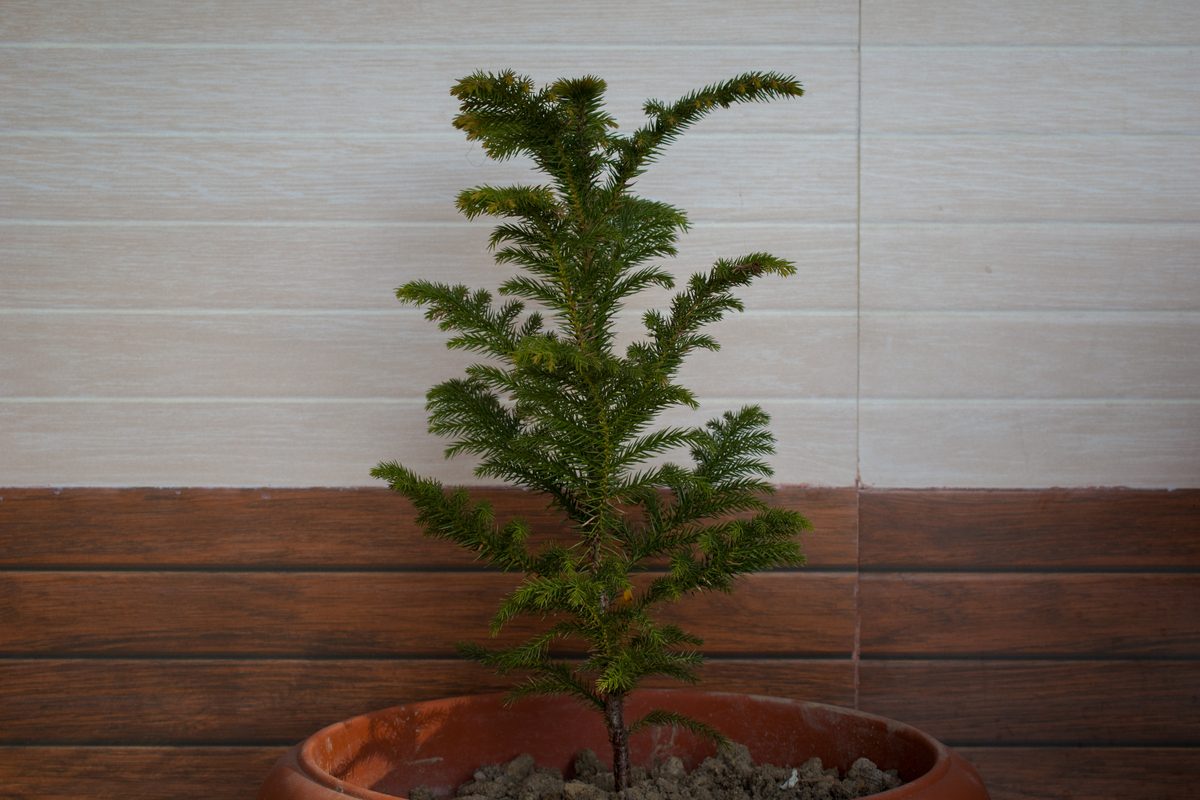
Indoor plants are known to spruce up a room by bringing a bit of nature indoors, and it’s particularly pleasant having houseplants during those cold, bare months. The holiday season brings in a few traditional indoor plants like poinsettias and mistletoe, but another fun Christmas house plant that’s beloved by families is the Norfolk Island pine. While perfect as a miniature Christmas tree, it’s actually a great addition to your indoor garden all year round. We’ll discuss how to care for and grow a Norfolk Island pine so you can enjoy it for years to come.
Is Norfolk Island pine an indoor plant?
The great thing about Norfolk Island pines is that they can be grown either indoors or outdoors. Since it’s a tropical plant, though, it does require specific temperatures and humidity levels to flourish. (So if you live in a colder climate, it’s definitely a plant that should be grown indoors.) While it’s a slow-growing plant (particularly when grown indoors), it’s also a plant that has been known to live up to 150 years.
How to care for and grow a Norfolk Island pine
Choosing the right soil for your Norfolk Island pine
The optimal soil type for an indoor Norfolk Island pine is one that is sandy and porous. The plant benefits from higher levels of acidity, so a potting mix that’s peat-based is a great choice since the peat will break down over time and acidify the soil. Be sure both the soil and the pot are well-draining, so the plant’s roots don’t succumb to root rot.
When and how much should you water a Norfolk Island pine?
Norfolk Island pines don’t need frequent watering and should actually dry out a bit between watering sessions. They can tolerate slight droughts so they shouldn’t need to be watered more than once every week or two. When you do water the soil, be sure to soak it thoroughly until the water freely escapes from the drainage holes.
Do Norfolk Island pines need sun?
The Norfolk Island pine just loves full, direct sunlight. While it enjoys high light, the plant can actually still survive in low-light conditions for lengthy periods of time. In fact, they’re known to survive months with minimal light, so Norfolk Island pines are perfect indoors for the winter.
Make sure conditions are optimum
Since they’re tropical plants, Norfolk Island pines need fairly warm and humid conditions to flourish. Preferred temperatures are between 65 and 75 degrees F, but they can survive small bouts of temperatures slightly outside of their preferred range. Note that they won’t tolerate temperatures below 35 degrees and will die fairly quickly in the cold.
If your indoor space tends to be dry, particularly during winter months when forced heat pulls all the moisture out of the air, there are some things you can do to increase the humidity levels around your plant:
- Install a humidifier
- Mist the plant on a regular basis
- Place planter on a tray of water and pebbles
Fertilizing your Norfolk Island pine
Feeding your Norfolk Island pine with a mild liquid fertilizer will help this slow-grower along beautifully. Be sure you’re only fertilizing during the growing season between March and September, when light conditions are highest. Don’t over-fertilize, though, as the plant will typically benefit from only a couple of fertilizer feedings per year.
Common Norfolk Island pine problems to watch out for
While they’re typically resilient during low-light and drought conditions, your Norfolk Island pine isn’t indestructible. The condition of its needles can typically give you a good idea of what your plant needs by way of light and water. Here are some common issues your plant may face and how to address them.
Brown needles
If you start seeing needles that are brown in color, your plant may be in distress. Brown needles are typically a result of improper watering or exposure to extreme temperatures. Evaluate the temperature in the room and determine if it regularly falls below or above ideal temperatures. Then, check the moisture level of the plant to determine if it’s too dry or too wet before adjusting your watering schedule.
Yellow needles
Yellowing needles are typically an indication that your pine isn’t getting the light levels it needs. Move your plant to a brighter location and see if its appearance improves.
Falling needles
When Norfolk Island pine needles die and fall off the plant, the two most likely culprits are that it’s being watered too frequently or it’s been in low-light conditions for too long. If the soil is dry, you’re probably not overwatering it, so try moving your plant to a brighter location that gives more direct sunlight.
Stretching or leggy growth
When the plant doesn’t get enough light, it starts to take on a leggy appearance as it grows and may even start to stretch toward an available light source. Since the plant’s growth rate should slow down during low-light periods, the culprit may be that you’re feeding it with too much fertilizer. Reduce your fertilizing sessions and try turning your plant occasionally so all sides of it get the same amount of light exposure and the lopsided stretching ceases.
While great as an ornamental Christmas tree, a Norfolk Island pine is an indoor plant that will bring joy all year round. Since it’s low-maintenance, it won’t require a lot of care, and its inclusion in indoor decorating schemes brings a whimsical, comforting feel. When it comes to this tropical, tree-like plant, it’s not just great for the holidays.


