Imagine laying your head on a surface that’s about 17,000 times dirtier than a toilet seat. How about covering yourself with something that’s about 25,000 times dirtier than a bathroom door knob? Sounds like a nightmare, right?
Well, every night you may just be crawling into bed with a cesspool of germs. Many experts recommend washing your sheets once a week. However, even when you wash your linens as recommended, millions of bacteria accumulate. According to statistics published by Amerisleep, 3 million colony-forming units per square inch cover your pillow after a week without washing it. That’s 17,442 times more than you’d find on the average toilet seat. Do you typically go more than a week without washing your sheets? The average week-old sheet has 5 million colony-forming units per share inch.
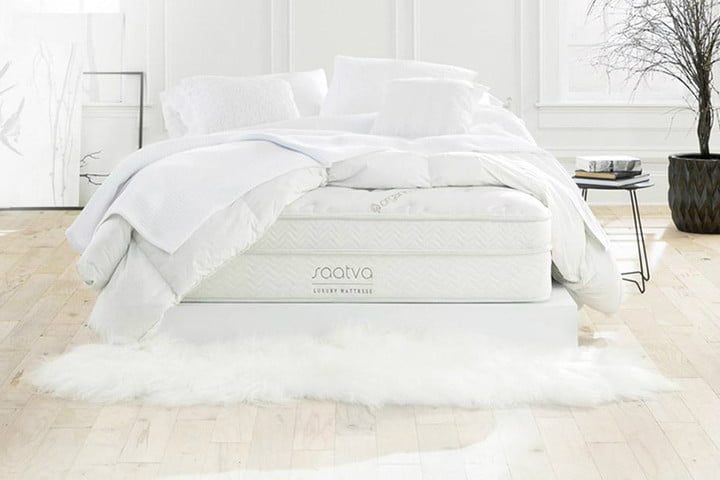
If our week-old sheets and pillow cases are that gross, just imagine the amount of funk on our mattresses. With all of the dust, sweat, saliva, and other gross stuff that gets on mattresses, they are covered in all sorts of yuck.
You should deep clean your mattress at least once every six months. But, if you get the chance to clean it more frequently (say, once every three months), it will only serve to make your sleeping quarters more sanitary. We’ve created a quick guide on how to clean a mattress the right way.
What you’ll need
- A vacuum with a hose attachment
- Baking soda
- Water
- Spray bottle
- A cloth or rag
- Dish soap
- Vinegar (optional)
- Hydrogen peroxide (optional)
How to clean a mattress
Step 1: Prepare your mattress. Remove all blankets, sheets, pillows, and mattress covers and pads from your mattress. Wash your bedding items. If you have a washable mattress cover, place it in the washing machine per the care instructions.
Step 2: Vacuum your mattress. Using a vacuum with powerful suction (check out our recommendations for the best vacuums here), vacuum your mattress with the hose attachment. Use the upholstery attachment to grab up dust and pet hair. If you have a mattress with stitching, it’s a good idea to use the crevice tool to get all of the particles from the stitched areas.
Step 3: Remove stains. See any spots on your mattress? Many mattresses, especially older ones, collect a lot of stains from sweat, food and drink, blood, and other sources. Even though it’s tempting to use harsh cleaners like chlorine bleach or ammonia, it’s best to avoid those cleaners and stick to cleaners that won’t damage your mattress.
Some stains are more stubborn than others. So, you can try a few different options to get those stains out.
- Try a mix of dish soap and cold water. According to mattress retailer Sleep City, you should use cold water instead of warm water to remove stains from you mattress. Cold water will help lift the stain out instead of cooking it into your mattress.
- Try an old classic stain remover like club soda and salt or lemon juice and salt.
- Try a mixture of 1 part hydrogen peroxide and 3 parts cold water.
- Remember making volcanoes in science class? Well, Sleep City recommends using that same fizzy baking soda and vinegar mixture to remove mattress stains. First, try spraying vinegar on the stain, then sprinkle baking soda over the vinegar. Let that sit for about 10 minutes, and then clean up the mixture with a sponge or vacuum.
- Beautryrest Sleep Gallery recommends a “big guns” recipe for some stubborn stains. To make it, mix a dash of hydrogen peroxide, a squirt of liquid dish soap, and a sprinkle of baking soda with water in a spray bottle.
- If you have a memory foam mattress, do not use any liquids or cleaners on the actual interior foam. We contacted Tempur-Pedic customer service and asked what cleaners they recommend for cleaning the foam. They said to avoid cleaners and use only a dry cloth.
Step 4: Refresh your mattress by sprinkling baking soda all over the surface of it. To make sure you get the entire surface, it helps to put on a glove and use your hand to spread the baking soda. For a queen mattress, you’ll probably need to use the majority of a 16 oz. box. After you’ve covered the mattress in baking soda, let it sit for at least a few hours. If possible, allow it to sit overnight.
Step 5: Vacuum your mattress again. Using your vacuum’s hose attachment, vacuum up all of the baking soda from your mattress. Use the most powerful setting on your vacuum cleaner, and use the crevice attachment to get in between the stitching.
Step 6: Air out your mattress. Open the curtains or blinds in your room, and allow as much sun in as possible. Allow the mattress get some light and air for a few hours. This will help your mattress dry completely. Dark and damp areas can breed more bacteria.
Step 7: Make your bed. Replace your mattress cover (if applicable). Replace your sheets and bedding, and enjoy your fresh and clean mattress.
Tips:
- Consumer Reports recommends purchasing additional layers of protection, like covers and pads, to help keep your mattress clean and protected.
- Do not use chemicals on the interior foam of a Tempur-Pedic or memory foam mattress. Wash the exterior mattress cover and contact the manufacturer for additional cleaning instructions.
- Do not use harsh cleaners like chlorine bleach, as they can damage your mattress.
How do you know which mattress to buy? These are the best, according to health experts.


