Outdated tiles and bland colors can make your bathroom look dingy and unappealing. If you decide that the floor or backsplash needs some TLC during your next remodel, you might be biting your nails and stressing about the cost of brand new tiles.
Thankfully, there’s an easier solution than ripping up all of your old ceramic floors. Painting your bathroom tiles is an easy way to elevate the look of the room without making a large dent in your budget. As long as you have the right tools and keep a few tips in mind, you can transform your bathroom with simple and stylish painted tile.
What you’ll need
Before you dive into painting, you’ll need a few tools for the trade:
- Cleaning supplies
- Rust-Oleum base coat
- Rust-Oleum top coat
- Painter’s tape
- Rollers
Prep the space
Prepping your space will ensure that you end up with clean, crisp lines after painting. Tile isn’t as easy to paint as wood or drywall, so it’s especially important to take your time to set everything up correctly. While you’re preparing the area, be sure to protect cabinetry and plumbing fixtures (sinks, toilets, showers) to avoid accidentally splattering or smudging paint onto them.
Before you pick up the paintbrush, clean your space to remove any dirt or dust. Whether you’re painting tile on the wall or the ceramic tiles on the floors, ensure your canvas is clean. Use any traditional household cleaner for this step, and if you have any tough stains or scuff marks that could impede painting, use a sander with 180 grit sandpaper to buff it out.
Next, lay painter’s tape across the baseboards to provide clean lines for painting. If you want the grout lines to show, use thin strips of painter’s tape to protect them and maintain the neutral grout boundary between each tile.
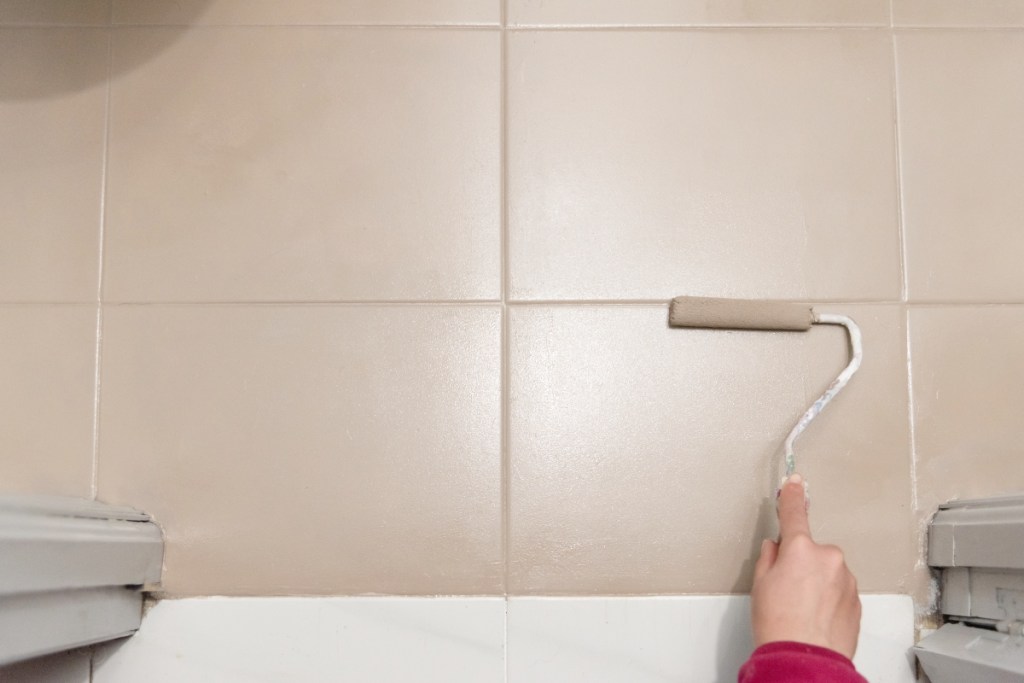
Put down a base coat
Start with a base coat of the color you want for your new tiles. We recommend using Rust-Oleum paint, as it’s a long-lasting paint specifically made for ceramic tiles.
As you begin painting, start in the furthest corner of the room and work your way towards the door to avoid stepping in any paint. Depending on the color of your old tiles and the color of your base coat, you may need to apply two to three coats for full coverage.
Once your base coat is complete, wait at least six hours before applying your topcoat. We recommend allowing the paint to dry overnight to ensure everything is set before moving on.
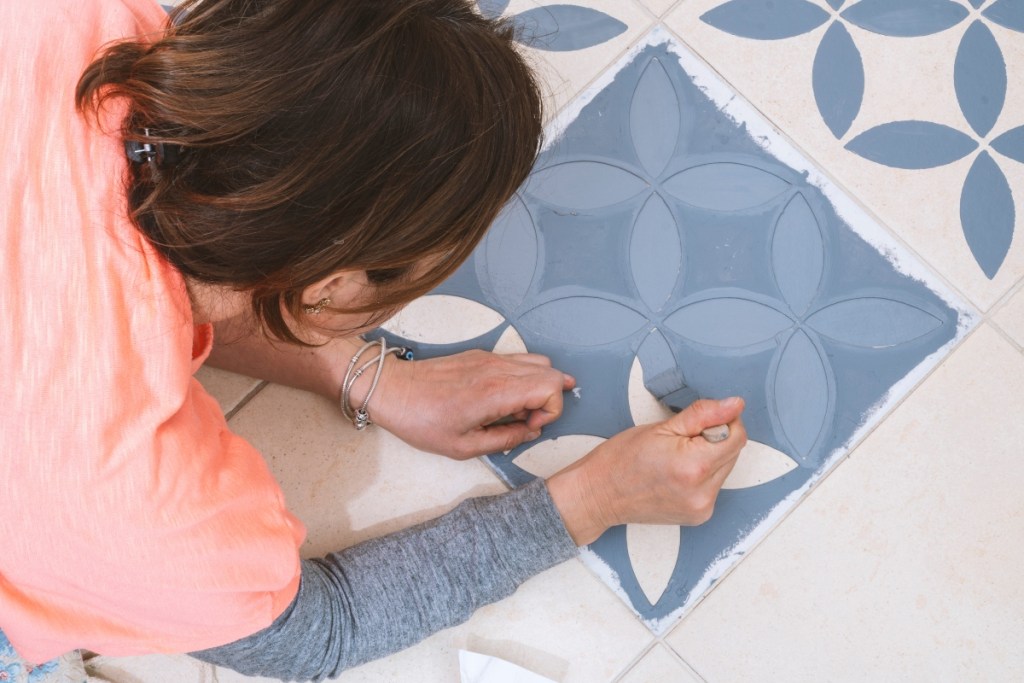
Use a stencil for a sleek design
If you want to get more creative with your tile flooring, use stencils to create a funky design. Apply the primary base color as explained above, then use your stencil to fill the pattern with a different color to make the pattern pop.
Be sure to allow everything to dry for at least six hours before moving on to the topcoat.
Paint your topcoat
Topcoats seal the floor by curing the paint beneath. This protects the color and makes it easier to clean your floors once the remodel is complete. We recommend using an accompanying Rust-Oleum topcoat, which is available in matte, glossy, and semi-glossy finishes.
Additionally, unlike topcoats from other brands, one coat of the Rust-Oleum is enough to cover your tiles effectively. There’s no need to continuously reapply coats for the perfect finish.
Allow it to cure
Allow at least twenty-four hours for the topcoat to cure before walking on the new floor. This is especially important if you live in a humid area where it takes a little longer to dry. After a day, the floor will be ready for foot traffic! Full cure time is between seven to ten days, so avoid cleaning the floors again for about a week. After that, you can clean your newly painted ceramic tile flooring with any mild soap and non-abrasive cleaner.
Painting your ceramic tile floors can invite more sophistication into your home without requiring a demolition project. There’s no need to spend hundreds of dollars replacing old tile, especially if it is still in great condition. Instead, bring your floors to life with your favorite colors and patterns for the chicest bathroom on the block.