Most people spend a ton of time in their kitchen. Whether you are actually cooking or not, the kitchen tends to be the gathering place in the home. Homework, family meetings, snacks, meals, arts and crafts, and more are all kitchen activities. Because of the amount of time spent in the kitchen, it can be tough to keep your kitchen organized. Kitchen counters tend to be cluttered with mail, backpacks, food supplies, cookware, etc., and the table sometimes ends up being nothing more than a big shelf. If you want to be able to see your kitchen table again in no time, check out the kitchen storage and organization ideas below.
Where to Start
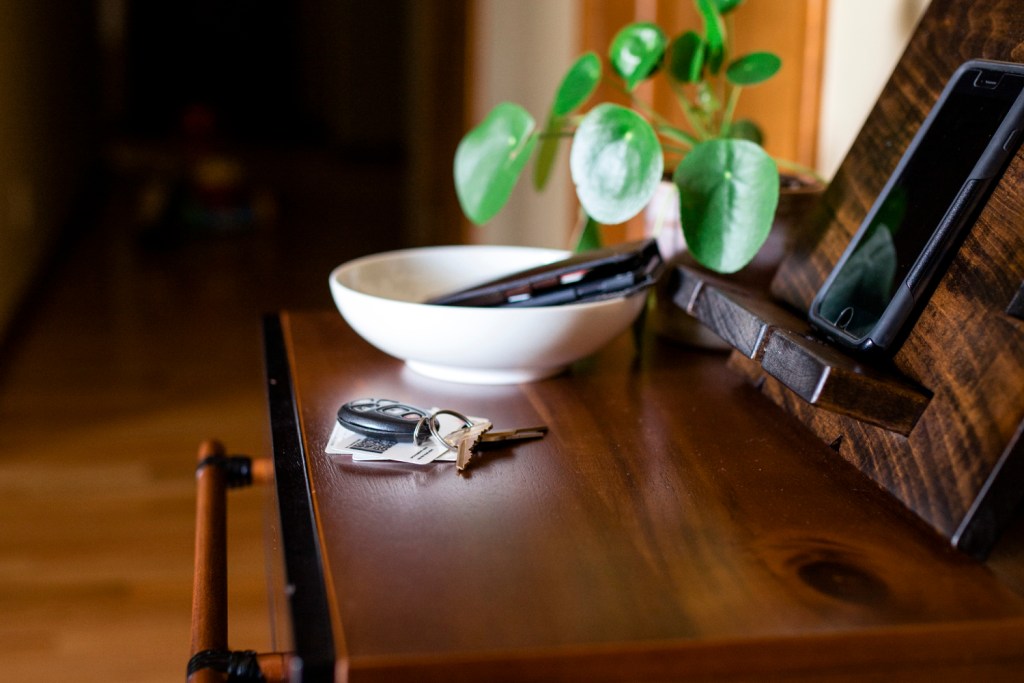
The first step in organizing your kitchen is to really think about the functions of your kitchen. As stated above, kitchens have way more functions than just cooking and eating, which is fine. You just need to be aware of all of the functions of your kitchen and whether they are working for you or not. For example, if your kitchen counters tend to be the place that keys, wallets, and mail land, consider adding a few bowls for keys or trays for mail, so the items have a place to go and aren’t just scattered about. If you have a place where these items would be better suited like on a table in the entryway, try it out. If the new home for these items ends up working out, you have eliminated a whole function of your kitchen and, thus, eliminated some clutter.
The Next Steps
Once you figure out what functions of your kitchen need to stay in your kitchen, you can begin the organization process. This doesn’t mean just buying a bunch of containers and calling it done. Sometimes, storage containers just create more clutter. Begin by creating usable counter space and clearing your kitchen table. Keeping your counters clear is a crucial step for two reasons: first, you need the space to carry out cooking activities. Second, seeing a clear space is a mental booster. The clean area is more calming than a cluttered space and will remove any stress that you would otherwise feel when entering the room.
The easy part of this process is moving the stuff from your counters that don’t belong there to the places that it does belong. After that, it is time to tackle small appliances, some of which you may use daily. You can keep coffee makers and other small machines that you use every day on the countertop if you have the room. Place other small appliances like waffle makers or vacuum sealers in a cupboard or pantry and only take them out when you need them. As a general rule of thumb, the more you use an item, the easier it should be to get to. Now is the time to purge items that are broken, too old, duplicates, or you haven’t used in more than a year. Any things you want to get rid of that are in decent shape can be donated. Throw all of the other stuff in the trash. It will feel good later, trust us.
Storage Solutions
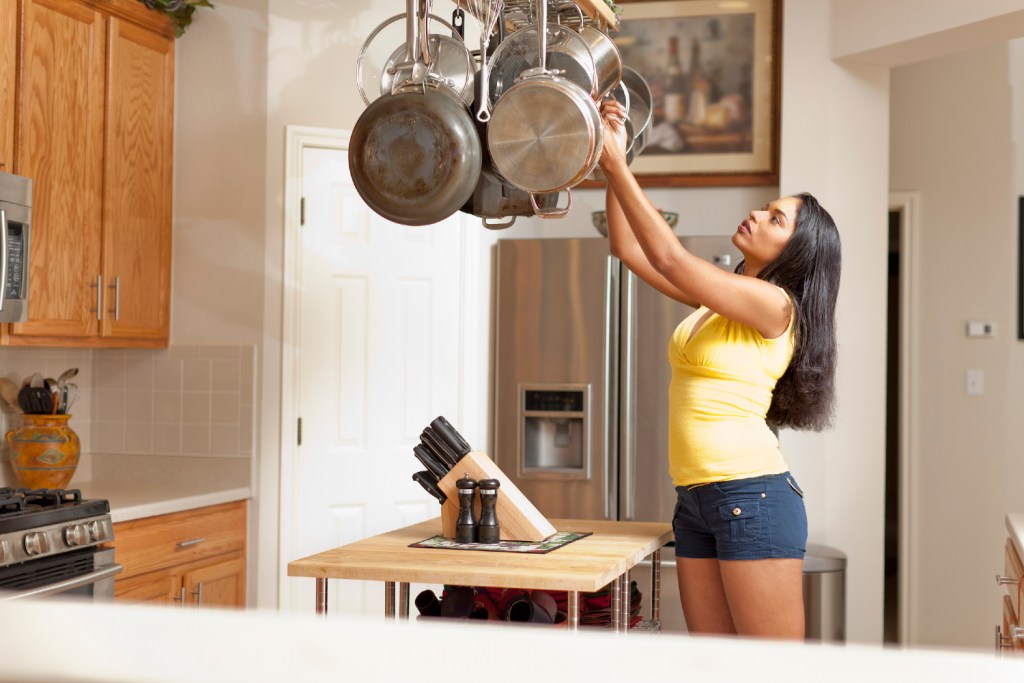
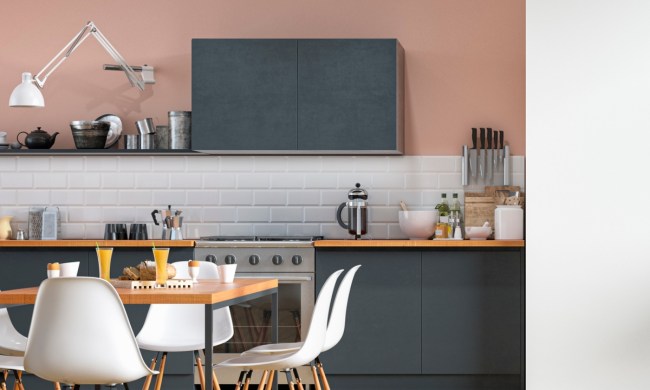
Once you have completed the steps above, it is time to consider storage solutions. Tools that you use all of the time like knives and pots and pans should be organized and easy to get to. Consider hanging pots and pans on rails, racks, or hooks from the ceiling. Knives and other metal utensils, including spice canisters, can be hung on magnetic strips on the wall above the stove or your work area. Knives can be stored in a knife block as well. Also, consider hanging a few shelves to store cookbooks, spices, and frequently used small appliances. You can also purchase decorative utensil holders that will keep commonly used items all in one organized place.
Rolling kitchen carts are a handy addition if you have the room because they are portable and can create extra “counter” space. You can also use rolling carts as cutting boards or prep areas when cooking. Some of them even have shelves and drawers for additional storage.
Cupboards and Drawers
Once you clean up the countertops, you can focus on organizing your drawers and cabinets. Keep in mind that the goal here is to easily access the items you need, not make the cupboard beautiful. It is also a good idea to start with one specific cabinet or drawer, finish it, and then move on to the next one. Tackling the whole kitchen at once is overwhelming and can be counterproductive.
Begin by removing everything from the cupboard or drawer and cleaning the actual space. Using the vacuum wand attachment in drawers and cabinets is a time-saving tip – once cleared of debris, you can simply wipe them out with ease. If items you pull out are dusty or dirty, consider filling your sink with warm soapy water and use a cloth to wipe and clean things as you go. Again, it would be best if you also were getting rid of old and broken items at this point.
Once you have completed the steps above, sort the items into categories of use every day, often used and used seldomly. Place items you use daily and often in the easy to get to drawers and cupboards, and the things you seldomly use in the harder to reach cabinets. It is a good idea to also organize items by their function like food prep, cooking, baking, dishes, utensils, etc.
Once you have done this, you can look into storage options for the things in the drawers and cabinets. Adding shelving to cupboards is an excellent way to add extra space so that items aren’t stacked on top of one another. Using silverware trays inside drawers is a great way to keep things separate, so you don’t have a jumbled mess. If you have a ton of water bottles or travel coffee mugs, you can find organizers that hang on the backs of doors and conveniently hold these items.
For Tupperware, consider square containers rather than round because they take up less space. Keep lids for plastic containers in a separate drawer, so they don’t all fall out when you open the cupboard. It is also a good idea to match up lids with containers once in a while and throw away any stray pieces.