
One of the most indispensable kitchen appliances is certainly the crockpot. Simply pop in your ingredients, turn it on in the morning, and come home to an incredible meal that literally cooked itself while you were away. With fall approaching, you’ll find dozens of recipes online for great stews, soups, and roasts, but you may not know that you can also use your crockpot to make a homemade breakfast staple that’s better tasting — and better for you — than anything you can get at the store. We’re talking about homemade yogurt. Curious? Read on…

Homemade yogurt in a crockpot
Making yogurt in a slow cooker is quite time-consuming, but since the crockpot does virtually all of the work, it couldn’t be any easier to make. In addition to milk and a small container of plain yogurt (with active cultures), you’ll also need several coffee filters, one of the most cost-effective tools for straining food and beverages.
You’ll also need a kitchen thermometer, so if you don’t already own one, you can pick one up anywhere kitchen gadgets are sold, at your grocery store, and definitely online.
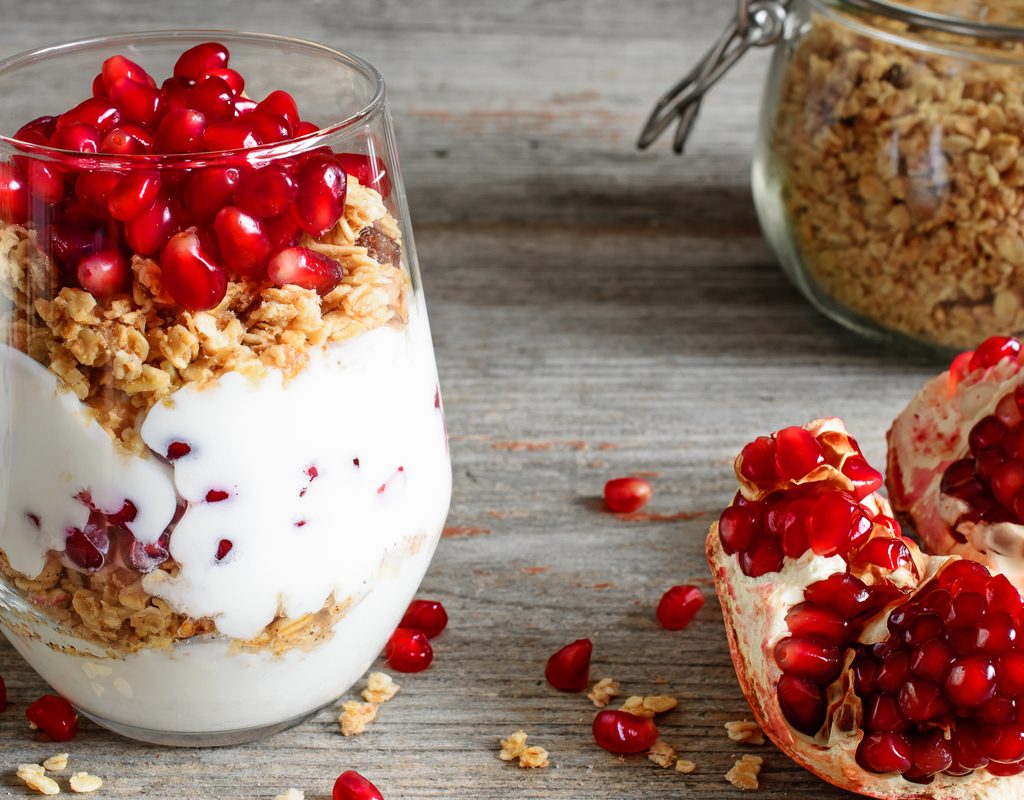
Once your yogurt is done, you can sweeten it with fresh fruits, homemade granola, or some drizzles of honey. Now, you have all the ingredients necessary to make fresh and healthy yogurt parfaits or a quick snack for the middle of the workday. Just dole out the yogurt into small glass mason jars, transport them in a lunchbox, and dig in whenever you’re feeling peckish.
How to make yogurt in a crockpot
Ingredients:
- 1/2 gallon milk — You can use any kind of milk, but whole milk will make a thicker, creamier yogurt than lower-fat varieties
- 1/3 cup plain yogurt at room temperature (the yogurt must have active cultures listed on the container)
Instructions:
- Turn your slow cooker on high and pour in a half-gallon of milk. It should take about 2 to 2 1/2 hours to bring the milk’s temperature to between 180°F and 185° F. Use your kitchen thermometer to confirm the temperature.
- Once the milk is at the proper temperature, turn off the crockpot and allow the temperature to drop to approximately 115°F, but anywhere between 110°F and 120°F will do. Again, monitor the milk’s temperature with your kitchen thermometer.
- Take one-third cup of room temperature yogurt and mix it into the cooled-down milk. To do this, scoop out about a cup of milk and mix it gently with the room-temperature yogurt in a small bowl. Drizzle the milk and yogurt mixture back over the top of the milk inside the slow cooker, but do not stir it in!
- Take a large towel and wrap it around your slow cooker insert. Place the towel-wrapped insert inside your oven, ensuring the oven rack is low enough to allow both the insert and lid to fit inside. Turn on the oven light to keep the milk warm, and leave the pot inside your oven, undisturbed, for at least 8 hours (overnight is even better).
- Remove the yogurt from the oven and refrigerate it for at least four hours to give the yogurt time to set more firmly.
Although your yogurt is ready to eat by this step, you can create a thicker consistency (more like the kind you buy in the store) by adding a straining step to the process. It will only take a bit longer, but the end result is worth the effort.
- Line a colander with coffee filters — one at the bottom and several up the sides as needed. Place the colander over a large bowl and transfer small batches of yogurt to the colander and allow it to strain for about half an hour. Do this in small batches for the best results.
- Once the batch is fully strained, scoop out the yogurt and place it into small, airtight containers. Then, replace the filters and proceed to strain and scoop the rest of the yogurt.
- Refrigerate the containers of yogurt, then serve with fruit, nuts, granola, or honey to sweeten it before eating. Your homemade yogurt should keep in the refrigerator for about a week.
- Pro tip: Save a half cup of this yogurt to use as a starter for the next batch so you don’t have to purchase more plain yogurt.
Once you’ve had homemade yogurt, it will be hard to go back to eating the store-bought variety. You know exactly what’s in this tasty treat, and you can customize it to your liking every time. Not to mention that with grocery prices always on the rise, homemade meals are a more economical option, too.


